Cover Button Jewelry {Tutorial}
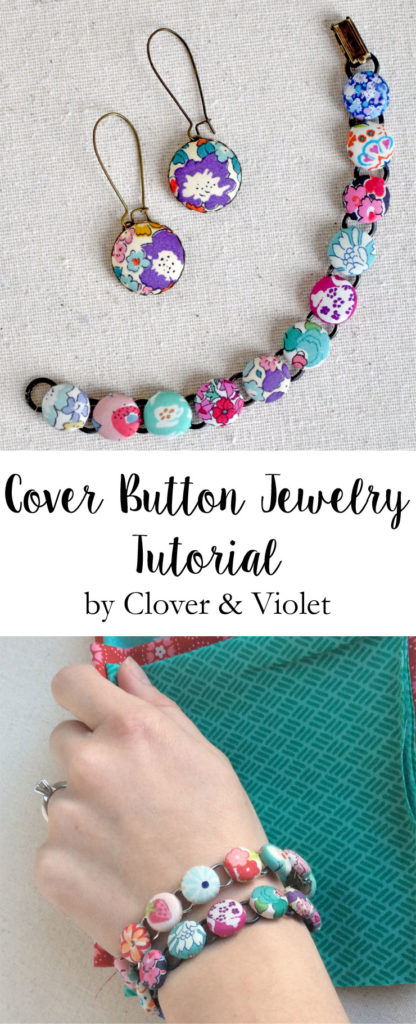
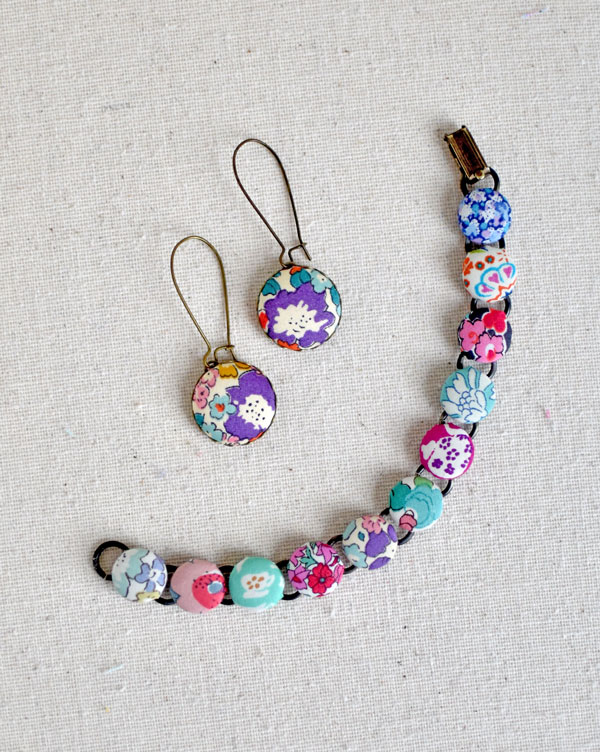 While I love having cozy quilts all around my home, I also really love finding ways to make fabric wearable, so I can enjoy it everywhere I go. When I attended Swapaholics Retreat we made cover button bracelets, and I couldn’t help but make some more after I returned home {and matching earrings too!}. I get lots of compliments when I wear these out, so it only seemed right to make a tutorial so everyone can make them! First, here’s some supply information (note: I am just linking to searches on Etsy, which is where I usually purchase craft supplies not readily available locally):
For attaching the buttons
- Sandpaper for metal (so the glue will really stick)
- E6000 Glue (I like the small tubes that come in a four pack)
Earrings:
- Size 30 (3/4″) cover buttons & tool (also available at fabric and craft stores)
- Round Lace Edge Cabochon 18mm
- Kidney Ear Wires (I prefer 30mm)
- Pliers
Bracelets:
- Size 20 (1/2″) cover buttons & tool (also available at fabric and craft stores)
- Disk and Loop Bracelet with 9/9.5 mm disks
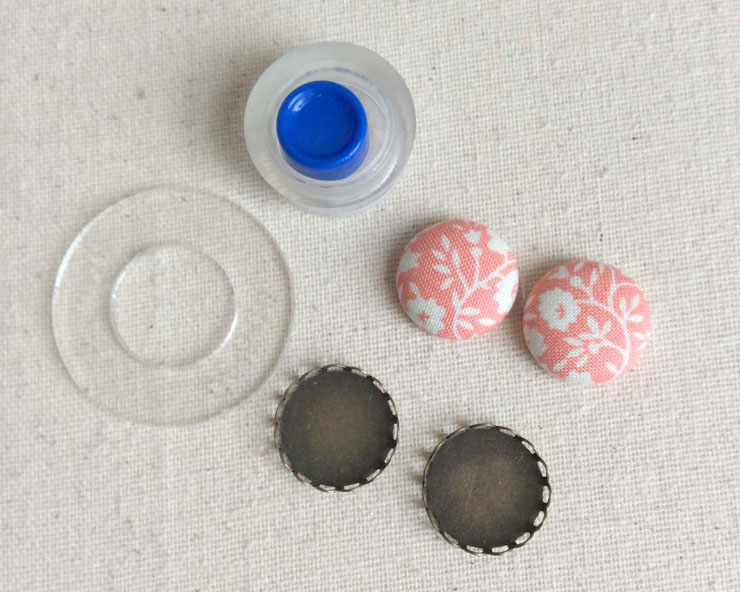 First, cover your buttons following the directions on the package (here’s a tutorial, you’ll just want to use flat backs or pull the button portion out with pliers).
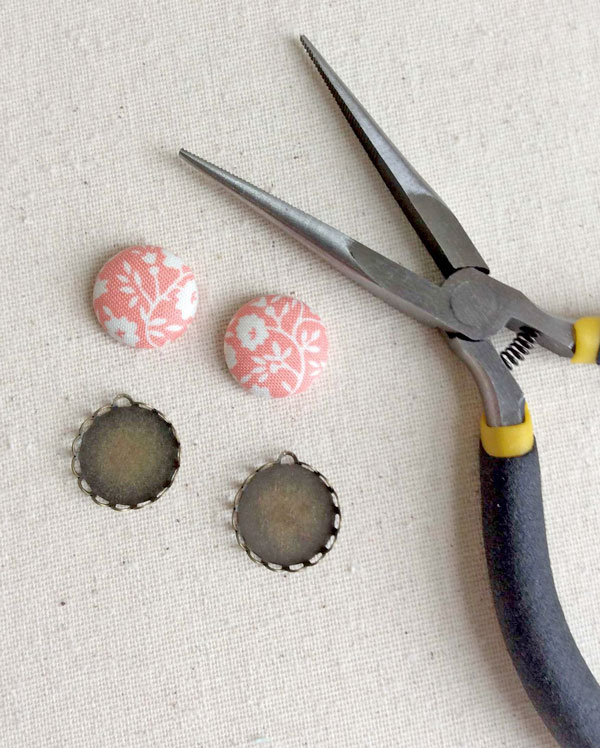 Use the pliers to bend one of the lace loops up, this is where you’ll hook your ear wire.
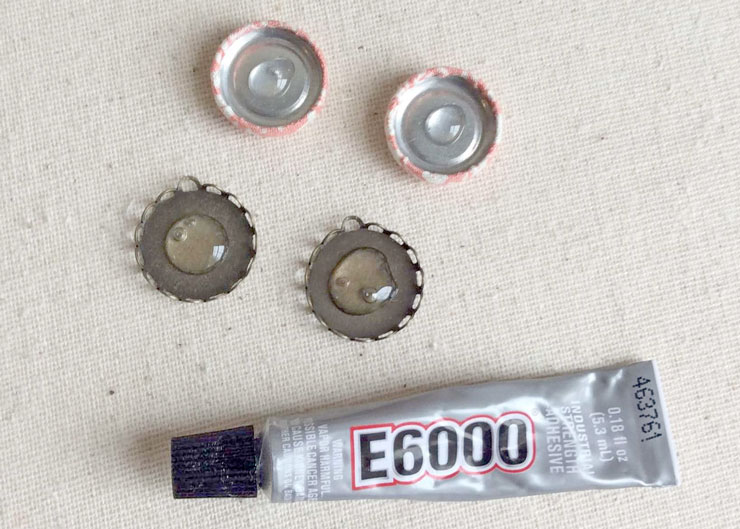 Sand the settings a little bit, then add some E6000 to both the buttons and the settings, wait two minutes (as directed on the package).
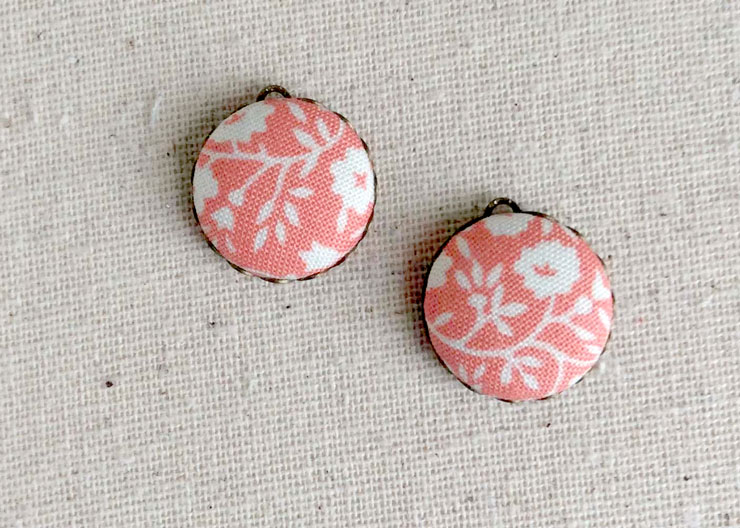 Stick your buttons inside the settings and let them dry overnight (I usually weight them down with a heavy book so they don’t slip out while drying).
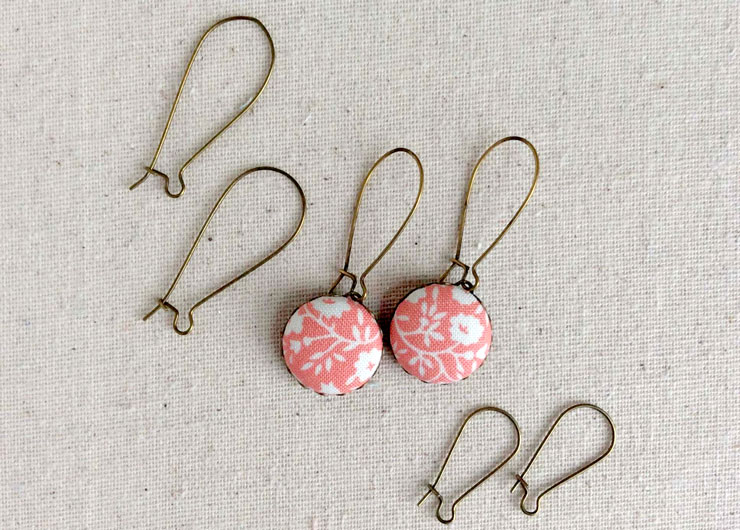 Then just choose your favorite size ear wire and slip it through the loop you made by bending the lace loop.
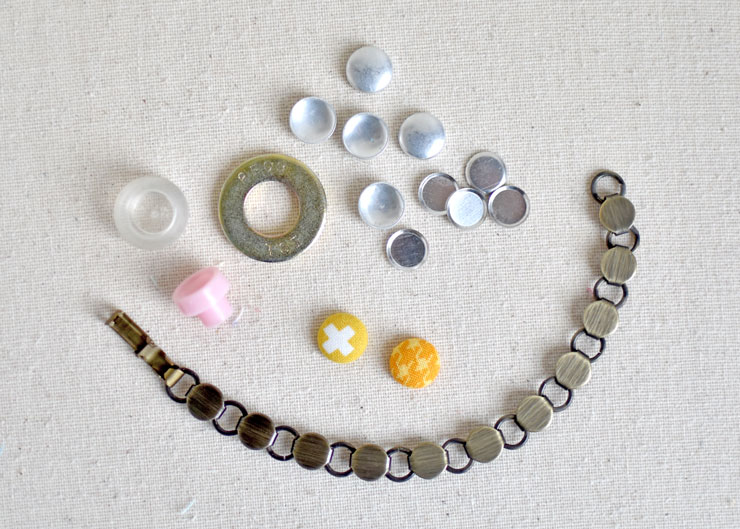 Glue your bracelet buttons the same way, and let dry overnight. This is a great way to make unique jewelry for yourself or friends, and the fussy cutting options are endless! Here are the bracelets I made myself (taking a photo of your own wrist is surprisingly difficult!):
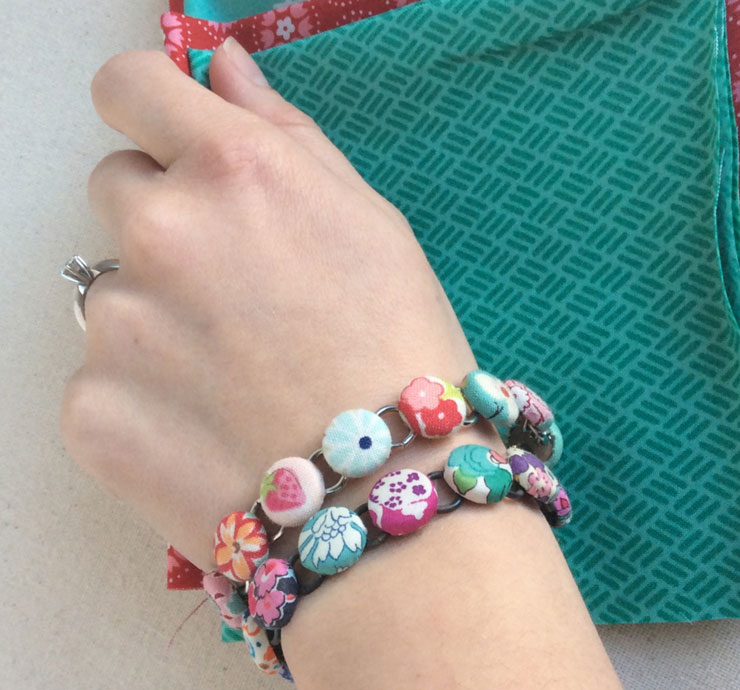
I’ve had a lot of fun making these for myself and for gifts, and they use up the tiniest scraps, which is also great. I’m generally not a bit jewelry person, but I love having some pretty fabric on my wrist!
Pin it for later:

I’ve made fabric covered button bracelets before using coordinated fabrics from charm packs. You can cover several buttons with one little charm square if making them for craft fairs, even if you do some ‘fussy cutting’. A couple of my younger granddaughters received bracelets made with “Frozen” fabric scraps,that were a hit.
Those are so cute! So pretty! I love them! I once made some ponytail holders with cover buttons and elastic, but I never thought of this. Thanks for sharing!
thank you for sharing I love fabric and paper,never thought of making a bracelet with ,where can I get the covered bracelet and accessories than you .nta
I have yet to find a source for refills for the kits you purchase to get started that are reasonable. Any suggestions? I have bought same from Michaels and Hancocks.
Aloha, I made these bracelets with scraps of fabric I had left over from my Hawaiian quilt making project. I purchased my button kit from Ebay’s Ilikebigbuttons. They supply all size covers, tools, and refills. I hope this helps. Mahalo
These will make lovely Xmas gifts and being able to use fabric scraps is an added bonus.
I really like the bracelet, but have no idea how it was put together after reading this tutorial.
Glue the buttons to the bracelet, just like for the earrings!