Binder Pencil Pouch {Tutorial}
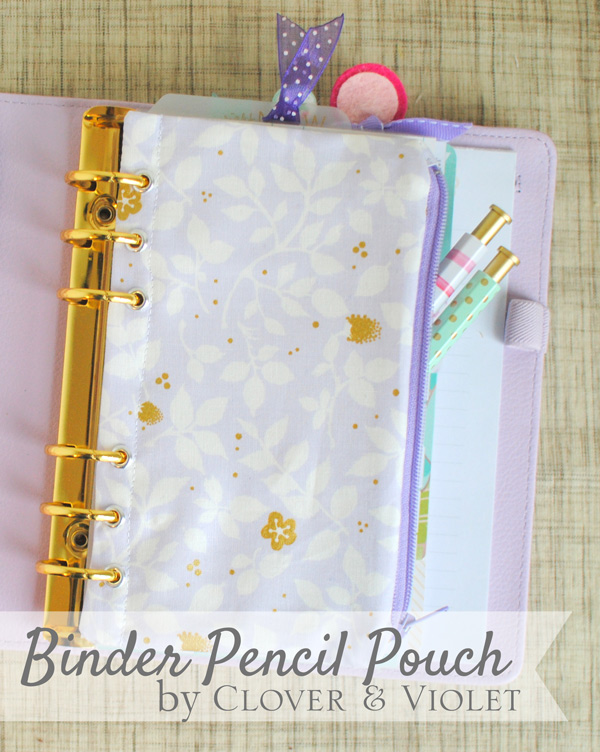 More planner love today! For the last #makeyourplannercuterswap, I made a binder pencil pouch for my partner to clip in her planner. As you know, I really love my planners, so I’m especially excited to make sewn accessories for them, that way I can use fabric in my planning as well. If you’ve never made a zipper pouch before, this is a great one to start with, no fancy interfacing, just fabric! Be sure to check out my zipper only tutorial too, for a more detailed look at sewing the top zipper.
I’ve listed the measurements for a personal size with a5 in parenthesis. If you have any other size, just measure your dashboard and add 1/2″ to height and width. You’ll need:
- (2) 4 1/2″ x 7 1/2″ (4 1/2″ x 9″) rectangles for outside
- (2) 4″ x 7 1/2″ (4″ x 9″) rectangles for lining
- (2) 1 1/4″ x 2″ rectangles for zipper tabs
- 7″ (10″) zipper
- 6 eyelets and tools
Read all directions before beginning. All seam allowances 1/4″. RST = right sides together; WST = wrong sides together.
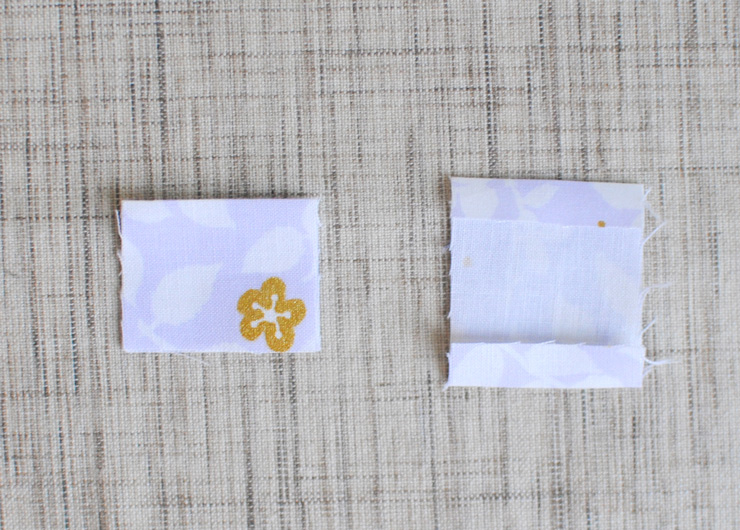 Fold the zipper tabs on half, WST (1 1/4″ x 1″), then unfold and fold 1/4″ of each short edge toward the center, retold.
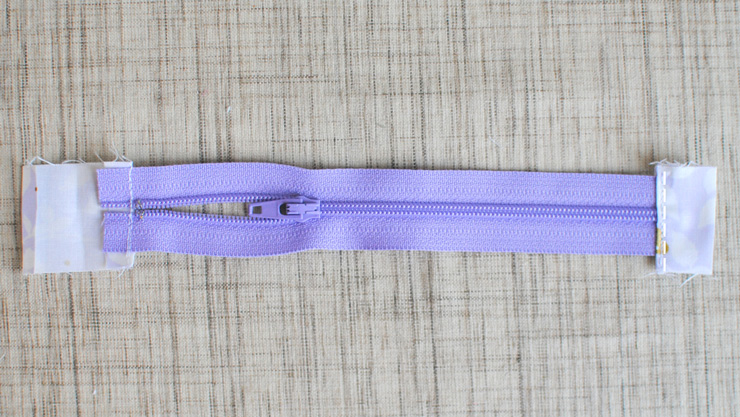 Trim the zipper to 3/4″ shorter than the pouch pieces,new the zipper tabs to the zipper ends, but only just past the 1/4″ folds as shown.
 Place the zipper face down on one outside piece.
 Then place one lining piece RST on top of the outside and zipper. Sew along the top edge.
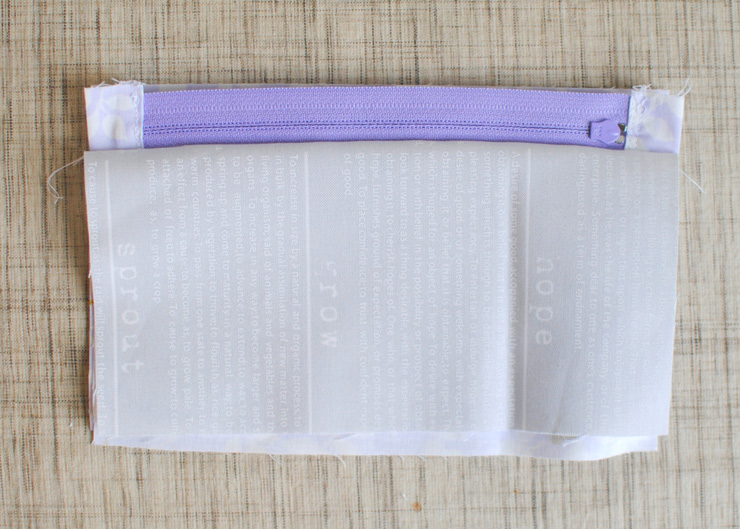 Fold the pieces WST, then place the zipper face down on the other outside piece. Place the second lining on top, and then sew.
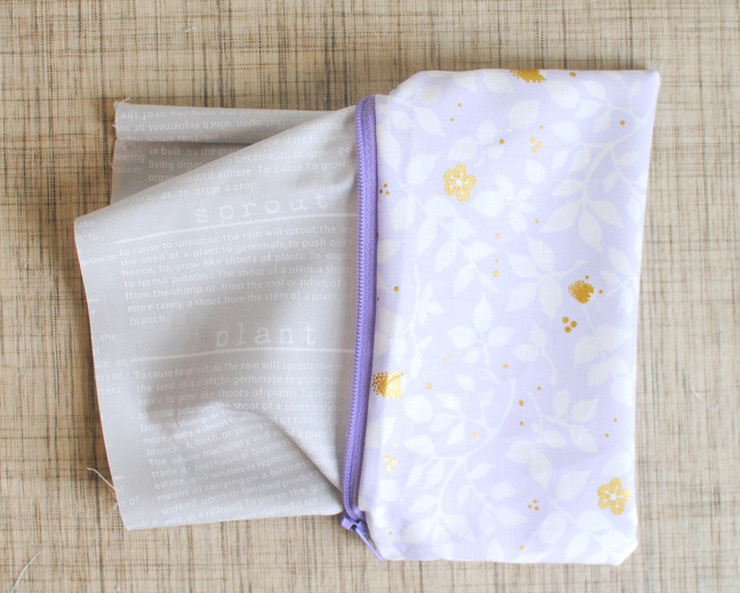
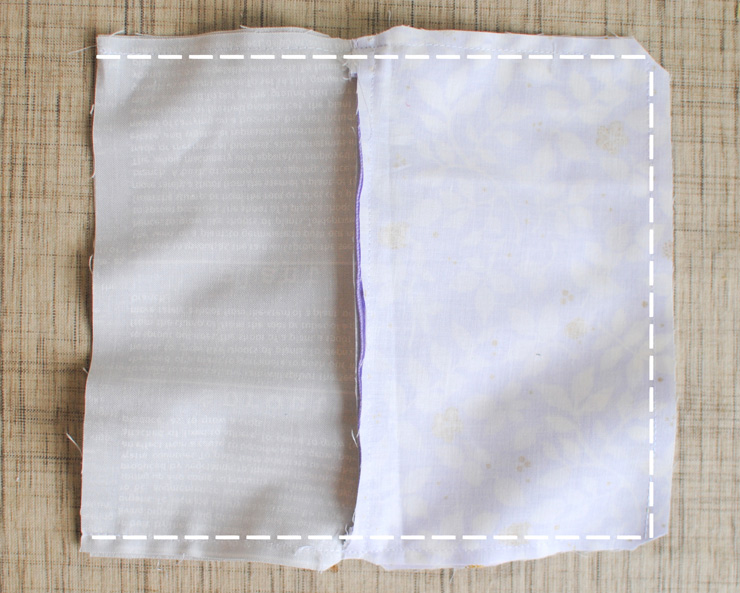 Open the zipper almost all the way, then fold the outside pieces RST and the lining pieces RST. Sew around the sides and outside bottom, leaving the entire lining bottom open.
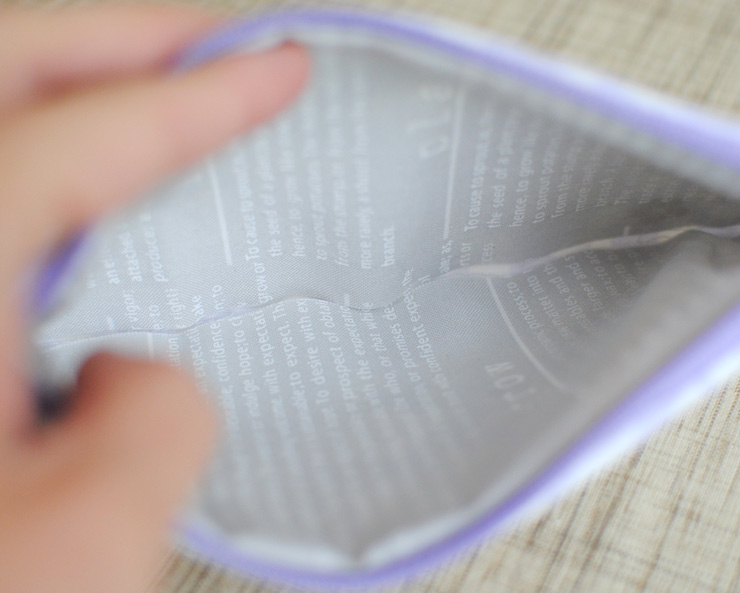 Tuck the lining into the pouch, carefully pushing out the corners.
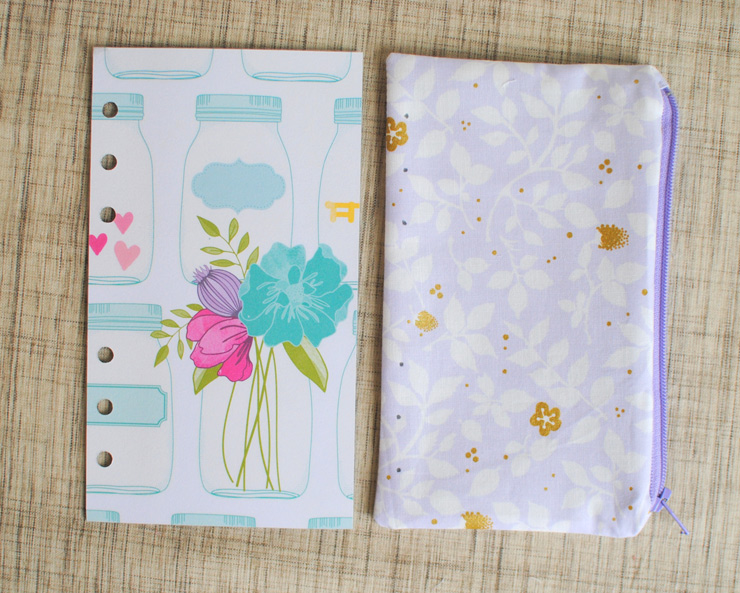 Mark the holes for the eyelets.
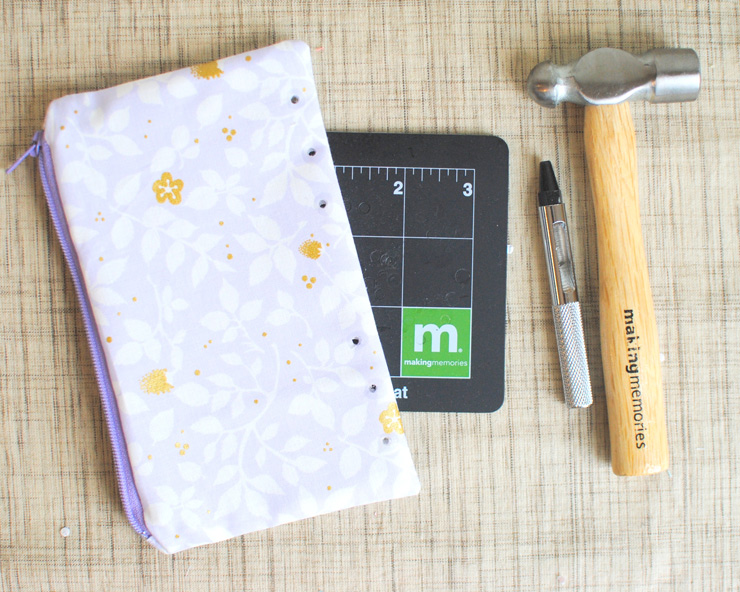 Use a hole punch and eyelet tools to set the eyelets. I also sealed my fabric with a seam sealer to make it extra sturdy.
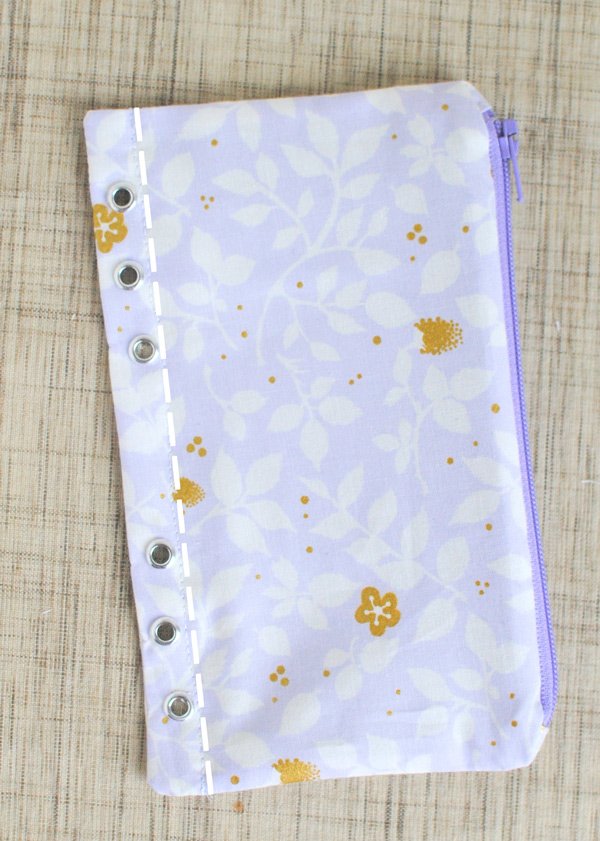 Sew a straight line next to the eyelets to finish the lining bottom and prevent any extra stress on the eyelets.
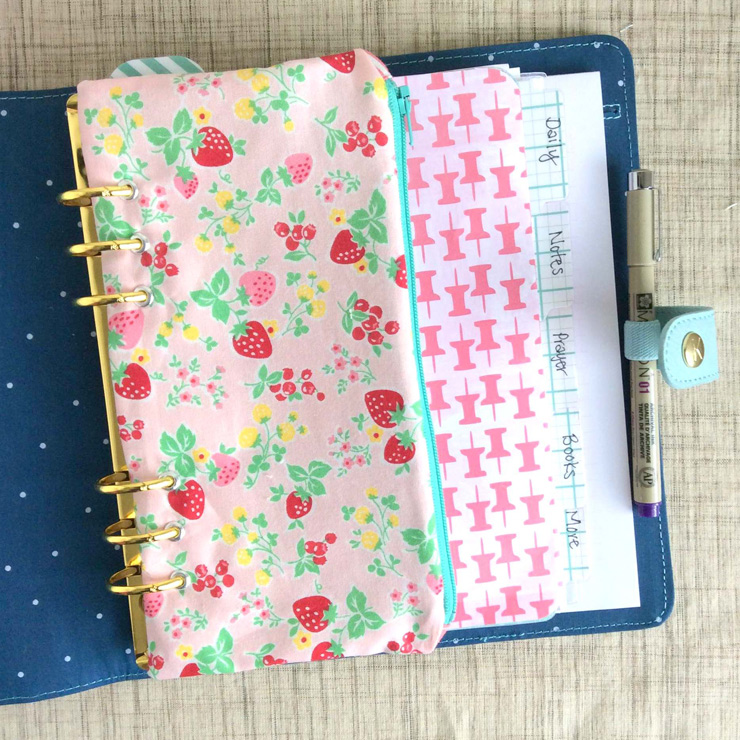
 Then snap your binder and you’re all set to take some supplies with you. If you make one I’d love to see it. Share it with me via e-mail or, if you share on Instagram, tag me @cloverandviolet and #binderpencilpouch #cloverandviolet.


I wonder if you put a strip of iron on adhesive across the bottom before you put the eyelets in it would make it even stronger?
I can just imagine having beautiful pencil pouches for school…back when I was in high school. That would have been amazing! I definitely want to make these for Karina for school and for me for…something. I’ll make up a reason! I love this!
Fab tutorial. I really need to make one of these now.
And it has to be a strawberry one, just like yours. Strawberry prints make everything extra lovely.
This is such a fun project! I’m not familiar with seam sealer, though. Can you explain?
This just makes me smile, thinking of back to school. Thanks ladies!
I am new to organisers. This seems to be a brilliant idea for keeping all types of bits and pieces together. You have also explained it very well.
This is really cute and nice to make as gift sets. I shared this tutorial on my Facebook craft page with a link back to this page. Thank You!