Bags for Quilters: Sew-In Magnets
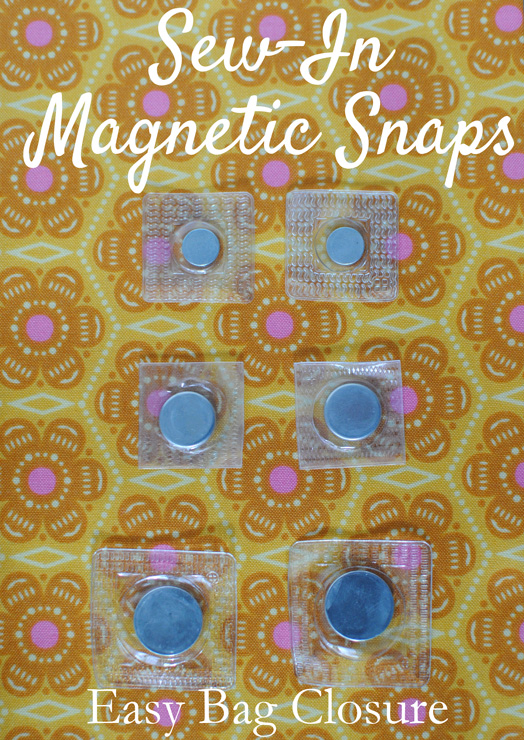 If you’ve ever made one of our bags, you’ll likely have seen the requirement for sew-in magnetic snaps. These are my very favorite bag closure. I love them because they’re easy to use, both when it comes to putting together the bag, and when using the bag itself.
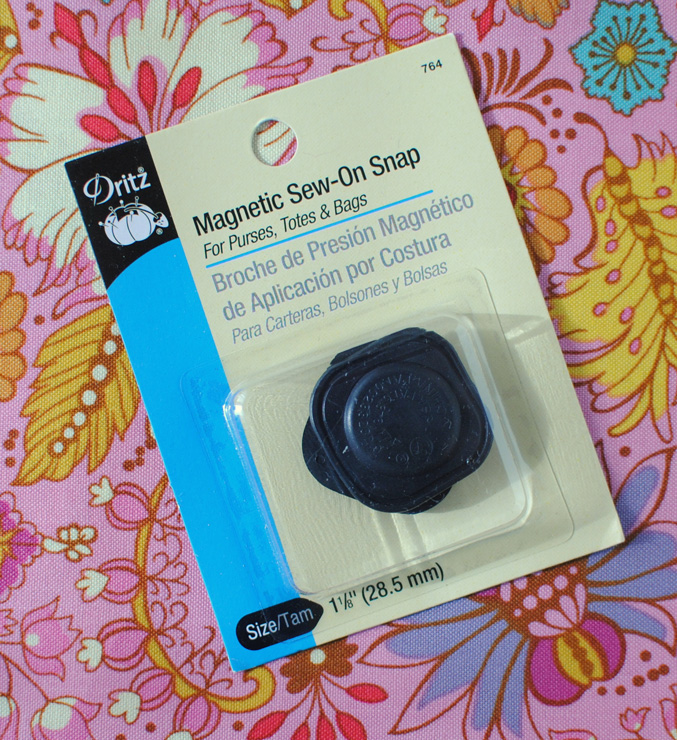 There are two kinds readily available: the ones pictured at the top I bought from Tantalizing Stitches {my favorite hardware shop in the US}, they come in a variety of sizes. I generally use the smaller ones for wallets and notebook covers, and the larger for bags. The one in the photo directly above is from JoAnn Fabrics and comes at a much higher price {I typically buy them when the notions are on sale, or I need one right away}, however, if you are just making one bag, it isn’t much different than paying shipping for a less expensive magnet.
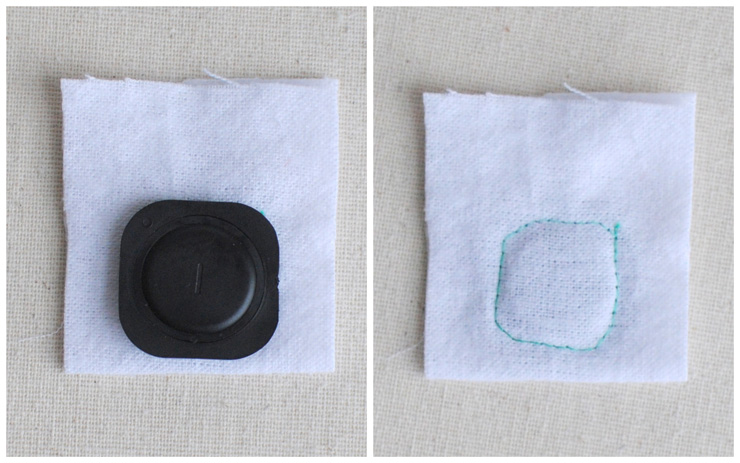 When using them at the top of a bag {which is where I most often use them}, I sew the magnet into a piece of flannel {interfacing or a scrap of fabric would work too} to keep it secure. And, if you don’t have a magnetic snap made for bag making, you could use this method to sew a regular magnet into a bag as well, just make sure you choose something strong enough to hold through a couple layers of fabric!
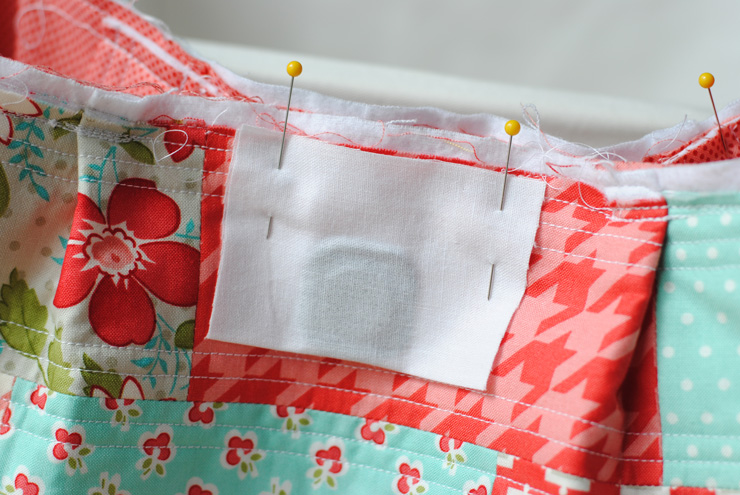 Here’s a picture of a magnet on the outside of the bag {this is the Louisa bag} to show you where I position them, then I just slip this piece between the body and the lining and it is held in place by the seam. Slip one of these on each side of the top of your bag and you have an instant closure, this is a great addition to a simple tote, like the Pepper tote {a free pattern!}.
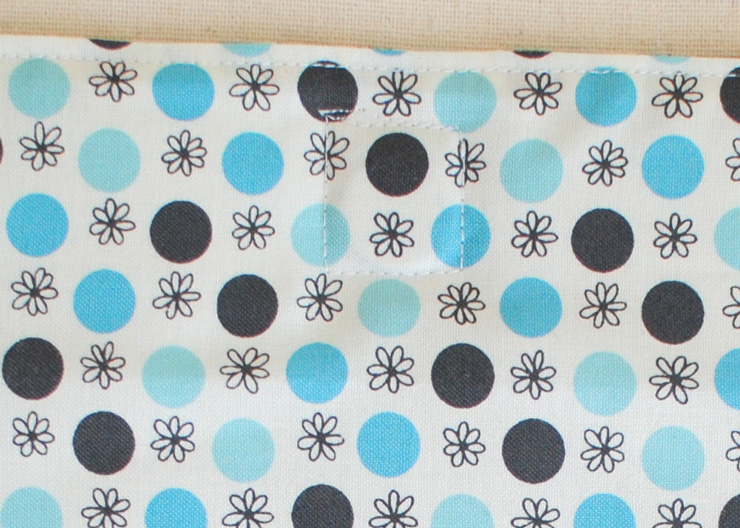 If the magnet is not at the top of the bag outside {like the Felicity bag}I just sew through it on the lining side to keep it in place, as you can see here. You can sew the bag only to the interfacing and flannel, to make it truly invisible, or, use a coordinating thread like I’ve done here.
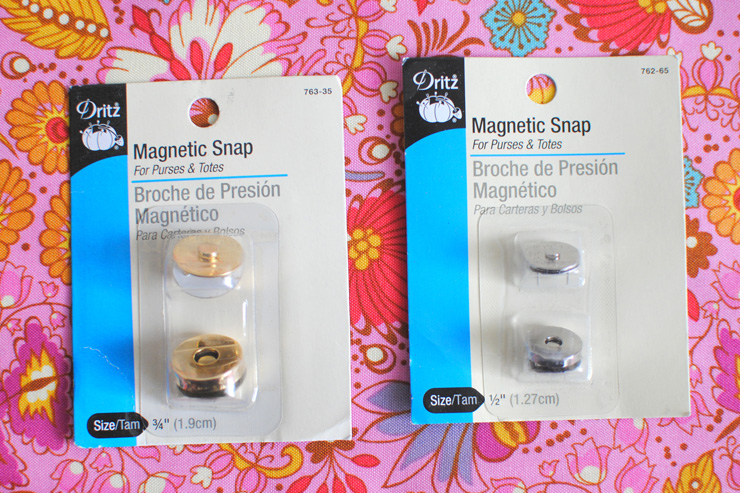 Finally, if a pattern calls for a Sew-In snap, it can also be replaced with a regular Magnetic Snap like these. Personally, I just love the ease of the sew-in type and worry that the metal might rip my fabric or rust if washed too often {yes…I’ve had hardware rust on my bags before, guess that’s the result of too much washing – such is life with little kids!}.
I’ve got one more planned bags for quilters post, but if there’s anything else you’d like to know, please leave a comment so I can cover it before I wrap up the series! I hope you’ve learned a little something and, if you’ve never made a bag before, are encourage to try! I really love getting to use all the amazing fabric out there for more than just household items. I think bags are a great spot between garments and quilts. Have a happy weekend!
P.S. Lydia colored on my usual linen board with a red, non-washable crayon…and I haven’t taken the time to make a new one. So, I hope you enjoy the Anna Maria Horner Folk Song that I used for my backgrounds. It was sitting on my cutting table and is so pretty I couldn’t help but grab it when I was taking these photos. I’ll have it made into something fun soon {sneak peek on Instagram!}.

These are so neat! I haven’t seen these sew-in magnets before and just tried them out for the first time. I really like them too! I was only able to get the black ones and they are rather pricey. So I am going to order a bunch of the others online. Thanks for posting about these magnets. Learn something new everyday!
Thank you for the info on magnets. Such a good idea for using a sewn in magnet. I didn’t know this before your post.
Thanks for that information! It’s helpful for me as someone new to sewing.
This post is very helpful! Thank you!
Amazing post Jennie ! sew-in magnets is really great idea for me. And i also want to try.Your article is offer proper information about sew-in magnets bags with pictures. I really enjoyed your post.