Bags for Quilters: Handle and Strap Making
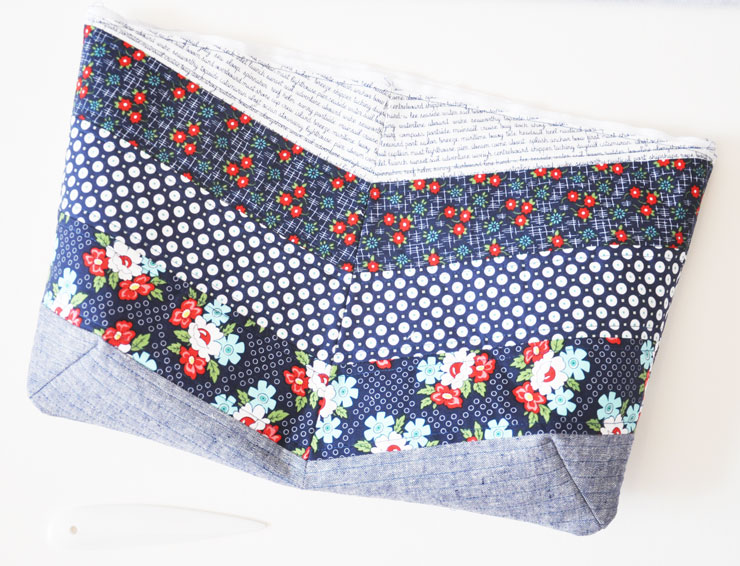
I have been making a new Penelope Purse using Daysail from Bonnie and Camille by Moda for the pieced part and Robert Kaufman Essex Linen in Denim for the accents. I am really loving how this is turning out. Using the Essex Linen adds such a nice dimension to the purse, I feel.
Today I am going to talk about the handle/strap application that we use and why.
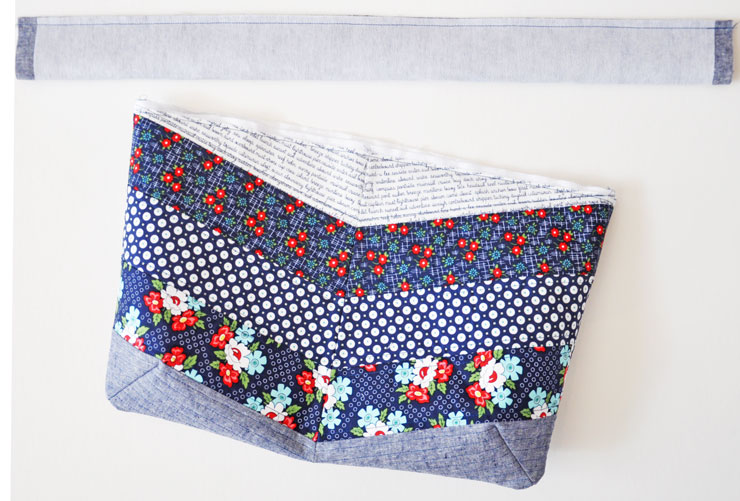 This first photo shows the length of strap with the interfacing already fused and then it sewn lengthwise into a tube. We like to interface our handles and straps to give them that extra strength and body. The handle gets used so much that we don’t want it to become wrinkled up and flimsy. The interfacing is just wide enough to cover the length of the strap and cut to the width of it. Some of the longer handles/straps require piecing but that is not a problem, as we use fusible interfacing. Which Jennie spoke about in our last “Bags for Quilters” post.
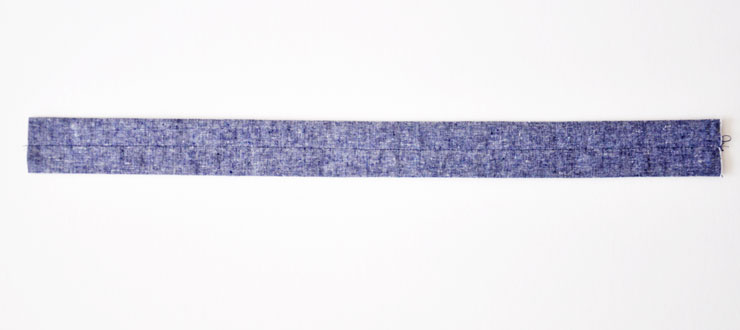 This is the strap after it is sewn, turned and pressed flat, the seam falls down the middle in the back. We like this application because then there is a neat, complete tube for your handle or strap. No folding or trying to get them even, and it just seems better to us.
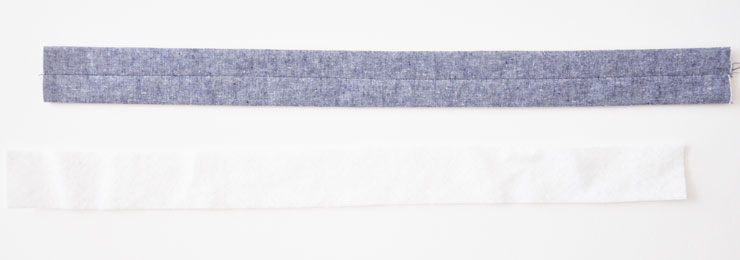 Now that the strap is sewn it is ready for the batting or flannel to be inserted in to it. (Use a larger safety-pin or bodkin to pull it through) they both work about the same. Batting is a good way to get a lot of padding without a lot of work. Sometimes we use two layers of flannel and this is about the same for thickness. I like the extra padding in the strap, because if you have ever filled a purse/bag really full you know how the handle or strap can cut into your shoulder. Well this is the reason for the extra padding, it is to make it more comfortable. I have even added three layers of flannel before, but one batting and one layer o flannel is usually sufficient. (Maybe for a larger bag that you will be filling up with heavy stuff you will want to have more thickness). The key is to make it so that it is comfortable for you!!
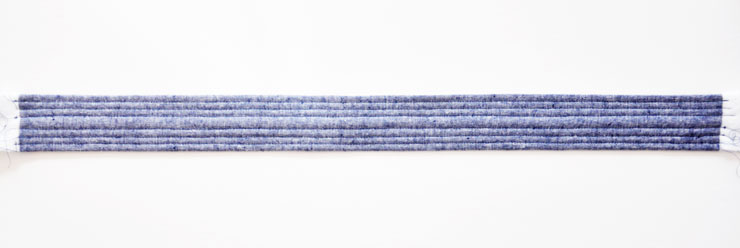 Here is the strap with the batting and the stitching lines sewn. Now it is nice and sturdy because it is interfaced and soft with the flannel or batting for comfort on your shoulder. It looks great with nice lines sewn down the sides, or like this one I sewed several lines. I like it!! It is ready to be added to the purse!!
 *I added this additional picture so you could see the tool better.* The picture above is showing the bone tool that I used to get nice rounded corners on my Penelope Purse. I used the rounder end and pushed it out until it was even and the way I wanted it to look. For sharper corners I use the other end, it works great for corners that need to be pushed out.
Now for the extras!! We are also hosting a casual sew along of our Penelope Purse. (Which is on sale for $5.00 in our shop). We would love to have you join us. If you do, please share your pictures on Facebook or instagram with the hashtag penelopepurse. Or leave a link to your blog post in the comment section of this post and you will be entered for some giveaways along the way. Be sure to post your finished purse by April 10th. Have fun and enjoy sewing and then carrying your purse around.

Hello friends, its impressive article regarding tutoringand fully explained, keep it
up all the time.
aeff3ab674421bdeadba1ecd4440bbde
Simply desire to say your article is as astounding. The clearness on your publish is just great
and i can assume you are knowledgeable in this subject.
Well along with your permission let me to seize your RSS feed
to keep updated with coming near near post. Thank you 1,000,000 and please keep up the enjoyable work.
aeff3ab674421bdeadba1ecd4440bbde