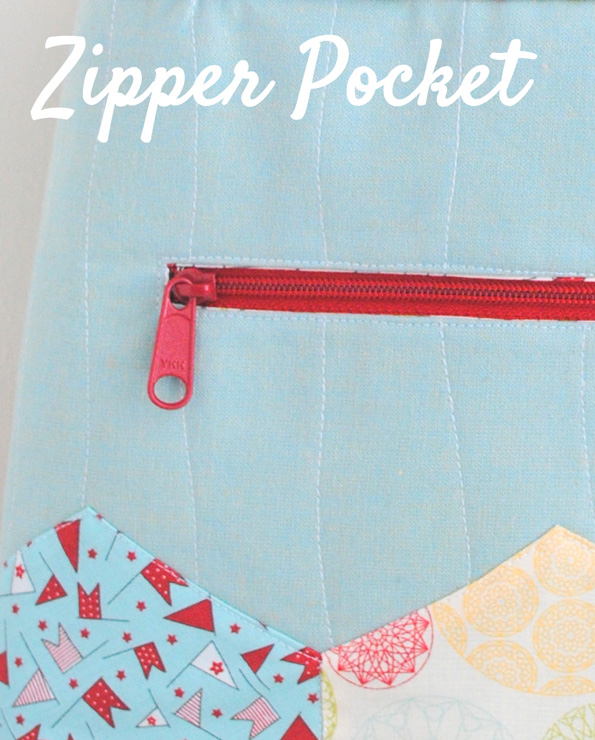
Zippers 101 :: Zipper Pocket
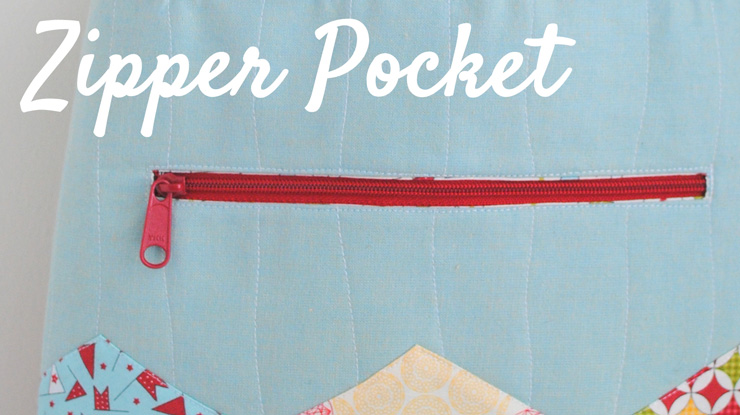 Now, maybe you’re thinking, I’ve seen this kind of zipper tutorial before. Well, that’s probably true, as this is a pretty common type of zipper. However, I’ve added some tips and tricks I’ve learned along the way to help you get that perfect zipper, so you can feel confident including it on the outside of your bag, not just inside!
People tell me all the time they can’t do zippers. Not “don’t want to” or “don’t like t”o, but that they just can’t. The amazing thing is, zippers really aren’t that difficult. They just take a little bit of time and practice. And, since I’ve put in a lot of zippers, I have a few tips too!
So, let’s get started. Since exposed zippers are a really big thing right now, I thought it would be fun to put our zipper pocket on the outside of the bag instead of the inside {and, truth be told, 10+ years ago, as a college student, I bought a fabulous aqua and white patterned bag with a bright green lining while on my first trip to NYC, and it had a zipper pocket on the outside…it was probably my first adult bag crush! I used it until it fell apart…and the very first bag I ever made was to duplicate the size and shape of that one!}.
Anyway, now for our zipper. The zipper pocket in these photos is 10″ x 20″ and accommodates an 8″ zipper. To adjust your pocket size, just make sure you make the width 2″ wider than your zipper, for an inch on either side. For length, the pocket needs to be twice as long as it will be when finished. I prefer my pockets an inch or two shorter than the body of my bag, so the things inside do not fall all the way to the bottom of the bag.
When doing an outside exposed pocket, I like to choose a bold zipper that coordinates with the pocket fabric. This way, if some of the pocket fabric shows, it is camouflaged by the zipper. Or, use coordinating fabric and zipper on all pieces.
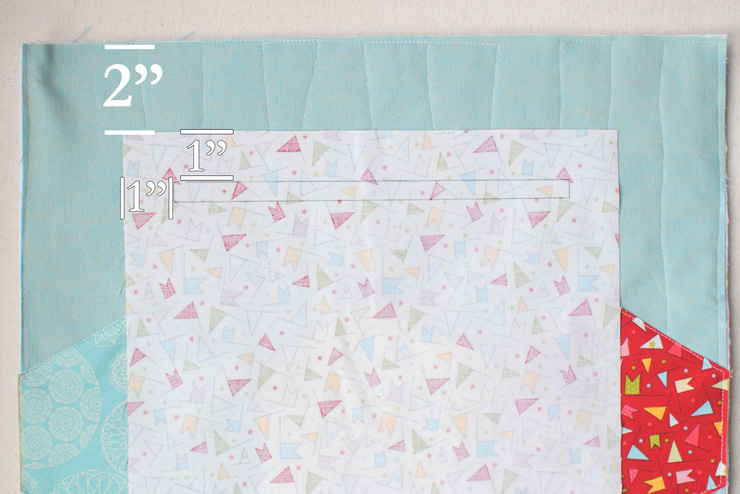 On the wrong side of the pocket panel, 1″ below the 10″ edge, draw an 8″ x 3/8″ rectangle. Position the pocket piece, centered 2″ below the top edge of the bag. The top of the rectangle should be 3″ from the top of the bag.
Tip: If you’re using a bulky interfacing, like fusible fleece, use these measurements to trim a rectangle of interfacing away from the bag.
 Sew around the rectangle through the pocket piece and the bag body. Cut a straight line down the center of the bag. Clip toward corners.
Tip: Use a pair of sharp embroidery scissors to clip the points right to the threads without clipping the threads. This will help get a nice, square pocket.
 Push the rest of the pocket through that opening.
 Press the opening square from the wrong side of the bag body.
Tip: Press the pocket from the back using water or a starch {I love Best Press or Flatter}. Gently flatten and tug the fabric so that you can see the seam and a little bit of the bag exterior from the wrong side, this will help prevent seeing very much of the pocket fabric on the outside.
Press your pocket again from the front, making sure not to distort the rectangle.
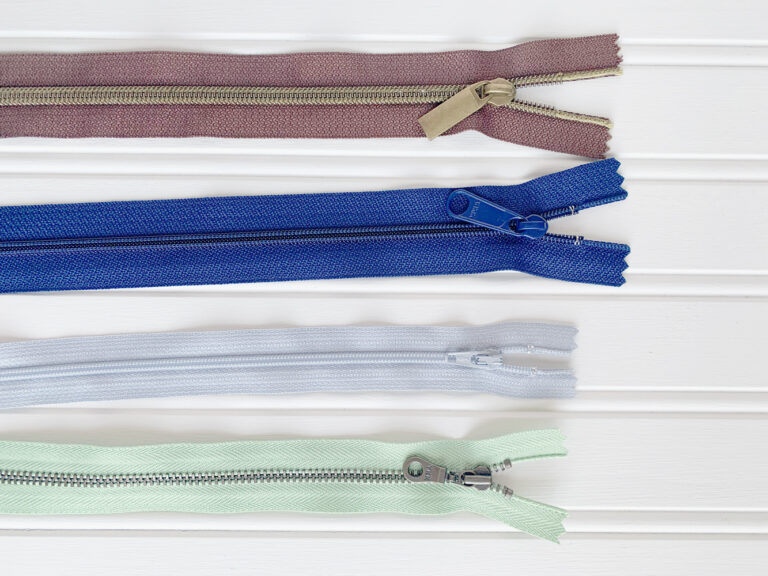
If using a longer zipper, trim to about 9 1/2″.
Tip: I cut a strip of Steam-a-Seam in half lengthwise and then fuse it to the zipper. By cutting it in half, this assures that no part of the Steam-a-Seam shows through the zipper opening. You could also use glue or even pin.
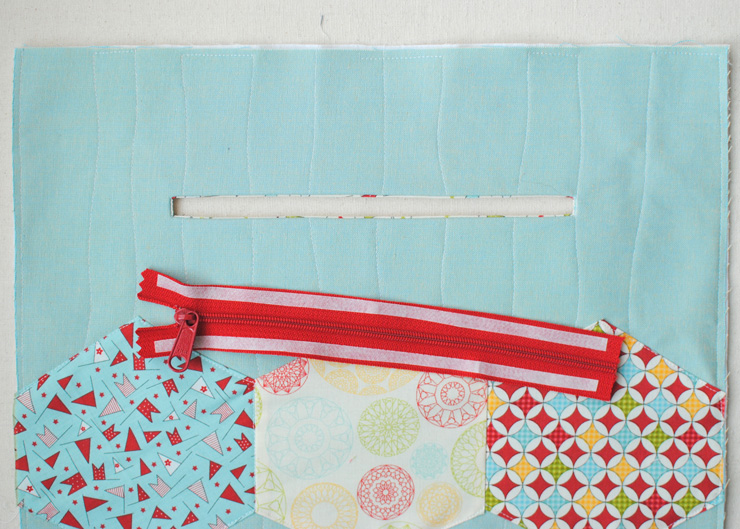
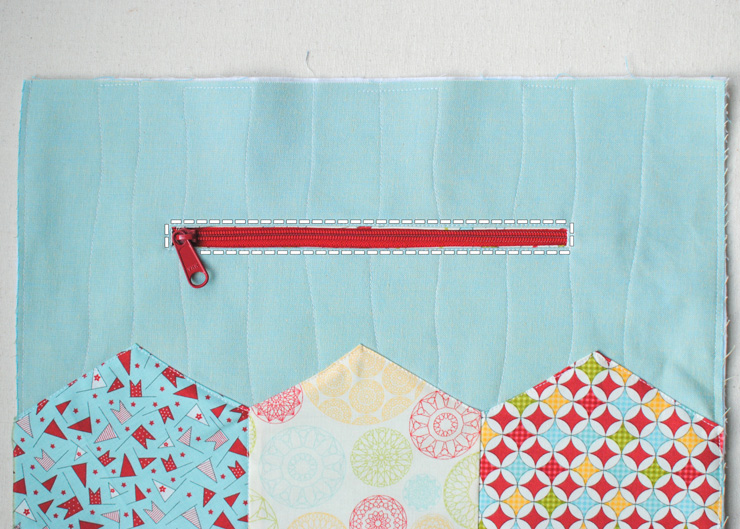 Fuze the zipper in the rectangle, being careful not to distort it.
Tip: Place the bag face down and then carefully arrange the zipper. Fuse it briefly and then check position. If you’re unhappy, warm it again and pull the zipper away. When it is in the right place, fuse for several seconds to secure.
Sew around the zipper close to the edge of the fabric. I back stitch at both ends to secure the zipper.
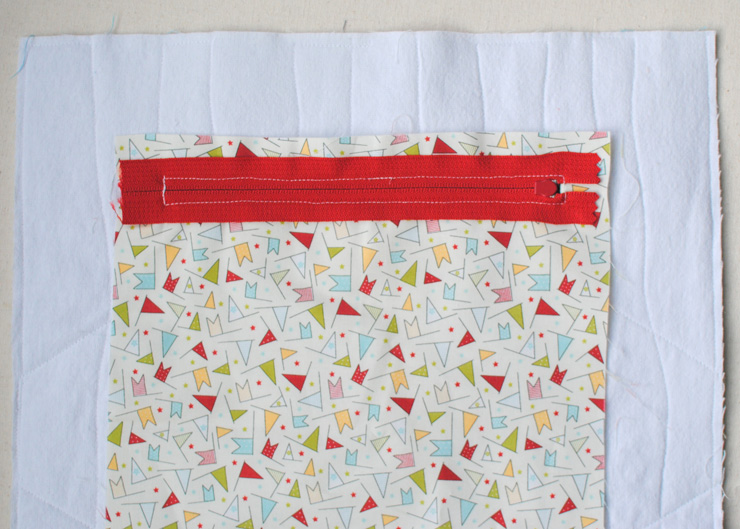 Here’s what the pocket should look like from the back.
 Then, fold the pocket piece in half to cover the zipper. Sew 1/2″ from each side and top, being careful not to catch the body of the bag when sewing.
Tip: I like to catch the edge of the zipper ends in the side seams and back stitch again over the zipper. This way there are no raw edges inside the pocket.
And, there you have a perfect zipper!
Feeling good about your zipper skills? Then put them to good use with the expose zipper on the upcoming Pepper Tote!
Oh, and if you’re in the mood for a matching pouch, check out my zipper only tutorial, this will help you get those perfect corners without any gaps on the top of your zipper pouch!
One last thought, don’t be discouraged if your first few zippers don’t turn out beautifully {though they probably will}, I have sewn a lotof ugly zippers! A lot of perfecting the zipper is practice!
 If you’re looking for more zipper ideas, tutorials, and inspiration, visit our Zippers 101 page. We also have a detailed tutorial on installing zipper tops for pouches, you can find it here. And, check back on Wednesday for the free pattern to go along with this zipper technique!
Do zipper scare you {or are you a confident zipper user}? What other types of zippers would you like to learn how to sew?

One Comment