Last-Minute Gift Tutorial: Patchwork Tote
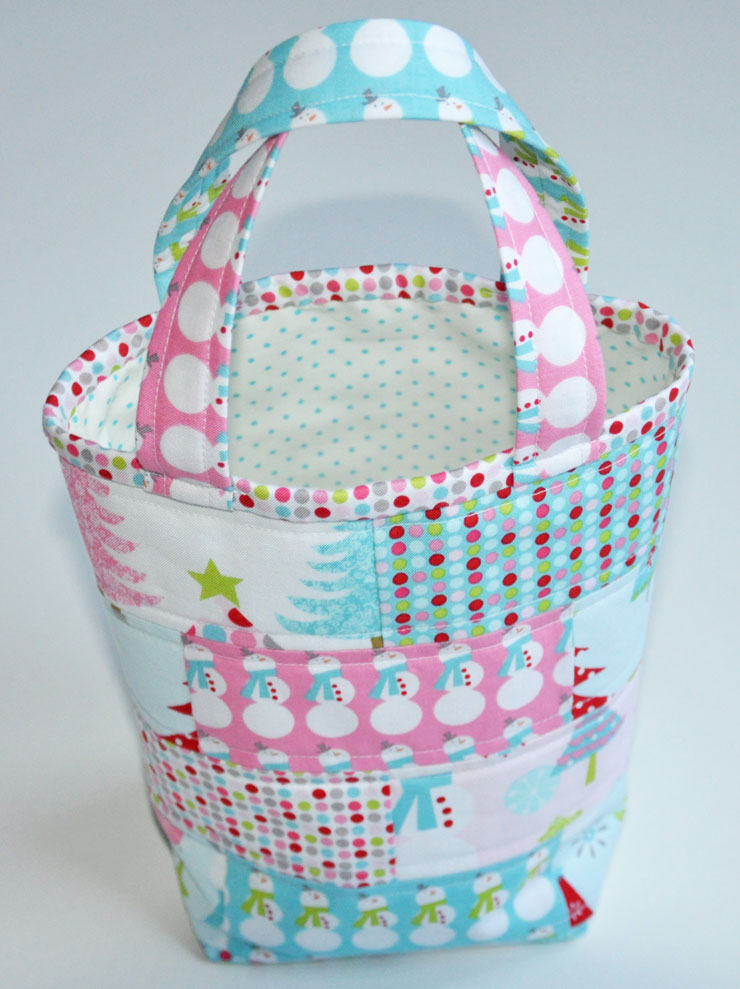
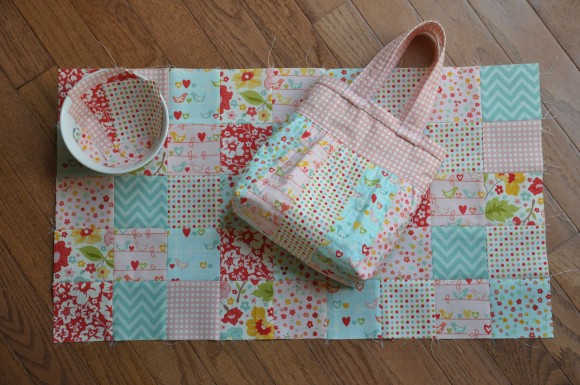
Today I am sharing a small tote that can be made quickly, easily and last-minute.
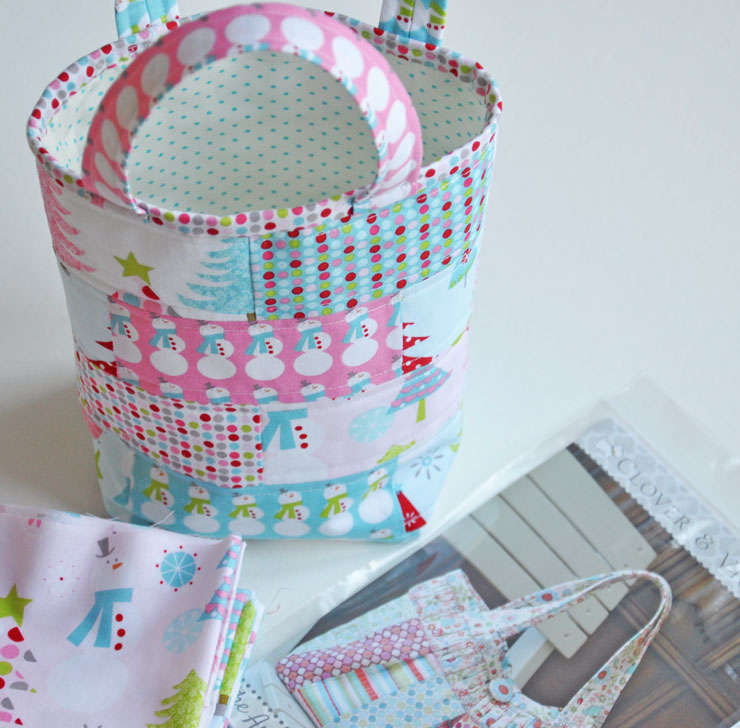
It measures 8 3/4″ tall by 8 1/4″ wide, has two handles with binding and is fully lined. I made my little tote with Riley Blake Christmas Basics. I love the colors of it and the cute little snowmen too!! The lining is also a Riley Blake dot, one of my favorites, they are included in a lot of low volume bundles!! Cute!!
Now for the supply list:
I used 8 different fat quarters for a variety of prints. From the fat quarters you will need:
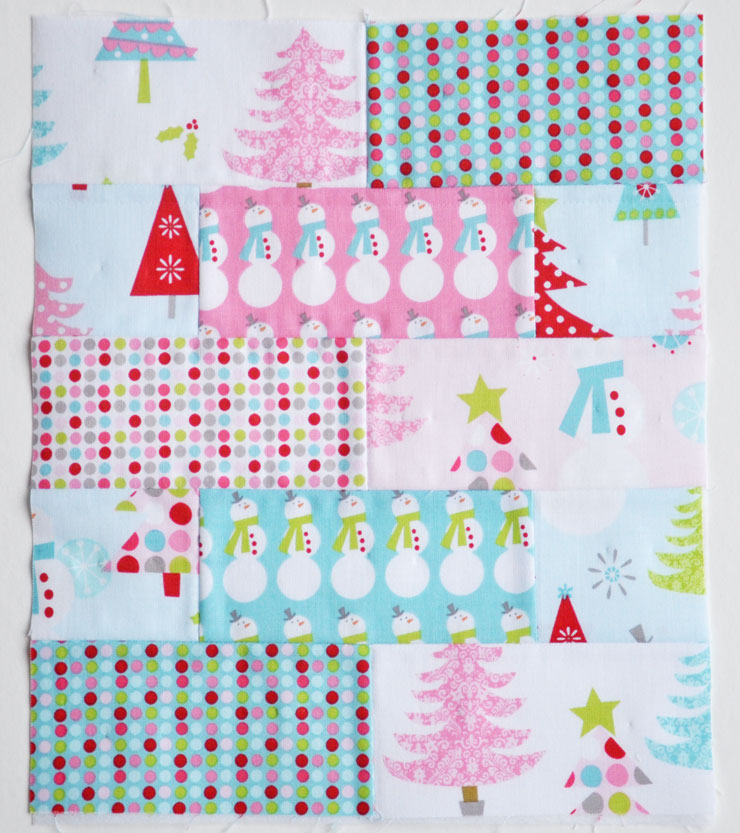
16- 2.5″ x 5″ squares (body)
8- 2.5″ x 2.5″ squares (body)
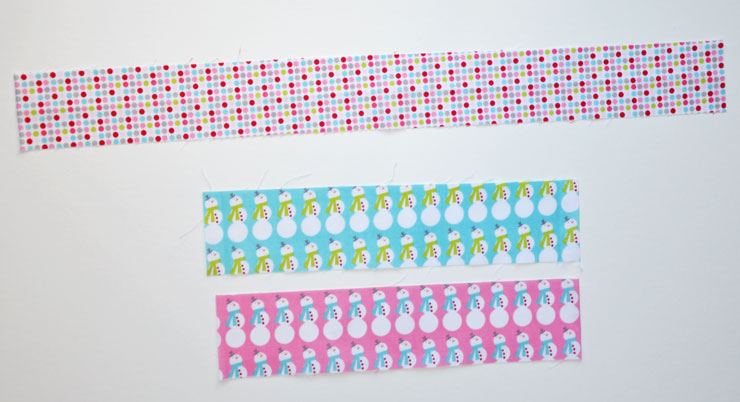
2- 11″ x 2 1/2″ pieces (handles)
1- 24″ x 2 1/4″ piece (binding)
For the lining:
1- 21 1/4″ x 10″ (You may also lay your patchwork piece on your fabric and cut your lining exactly the same size, because with seam allowances it will be the same.)
Interfacing:
1- 20 3/4″ x 10″ (body)
2- 11″ x 2 1/2″ (handles)
Flannel:
1- 21 1/4″ x 10″
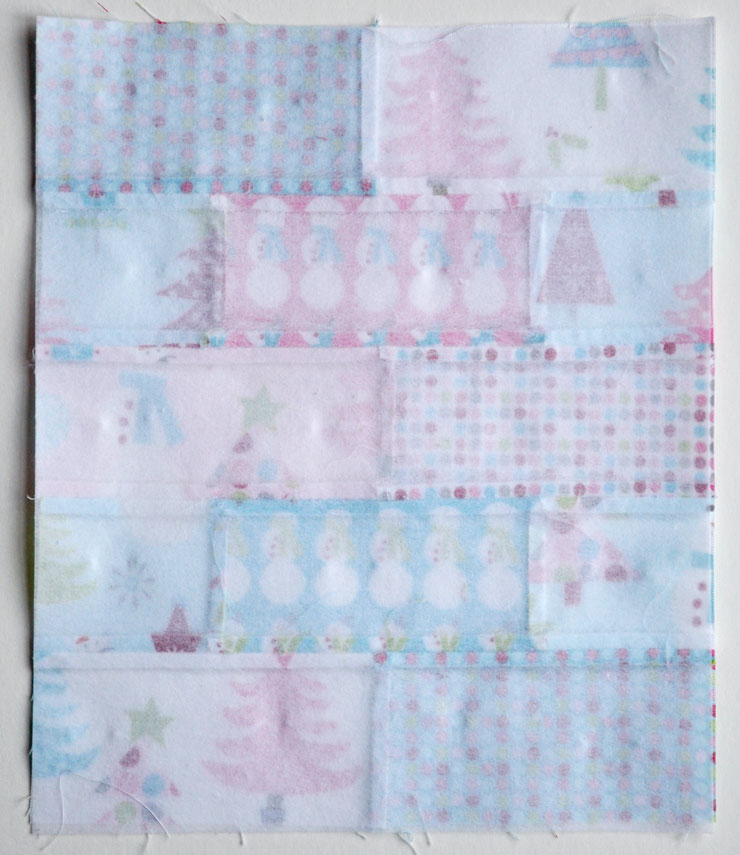
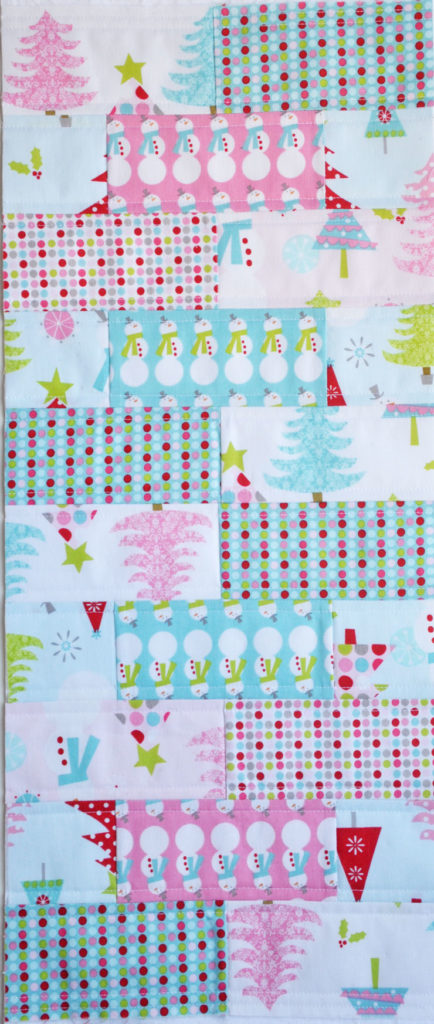
Cut your squares from the fat quarters, sew them in this pattern using a 1/4″ seam allowance. (Begin by sewing them in horizontal rows and then into one piece). You will make two of these, a front and a back. I ironed the seam allowances to the darker fabric in each row and then pressed the seam allowances open after the rows were joined together.
Fuse interfacing to the wong side of the front and back piece.
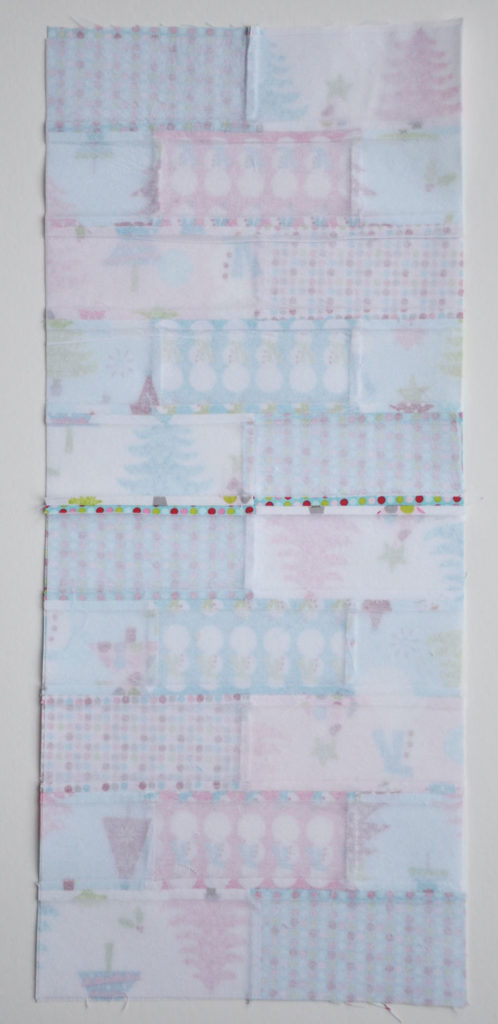
Sew the two panels together. Press seam open.
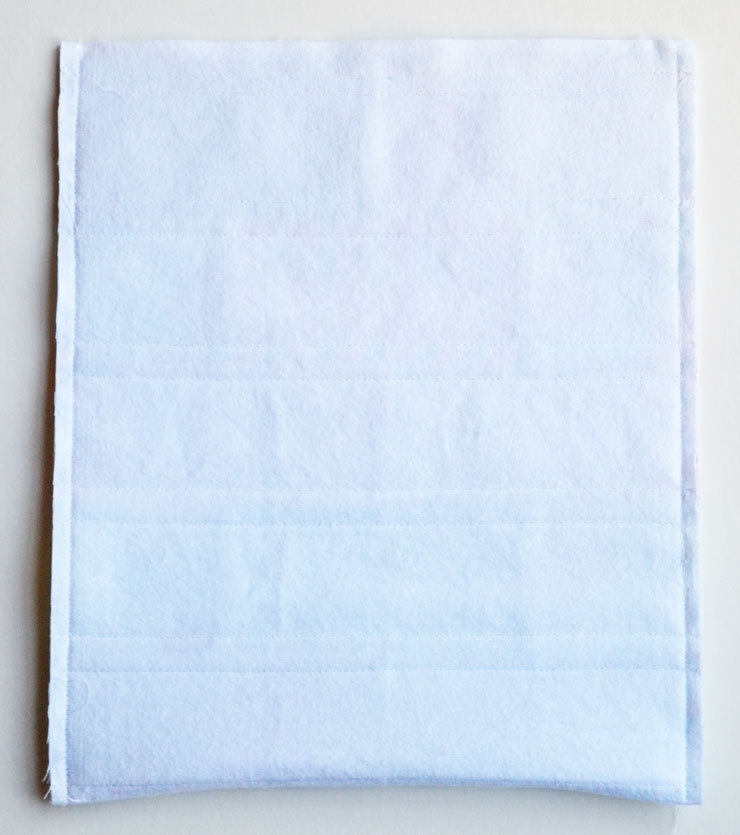
Layer the long panel with the flannel and quilt 1/4″ from each horizontal seam line. Trim anything that is uneven on the sides but leave approximately 1/4″ of flannel above both the top and bottom.
Fold patchwork piece in half and sew along both sides using 1/4″ seam allowance.
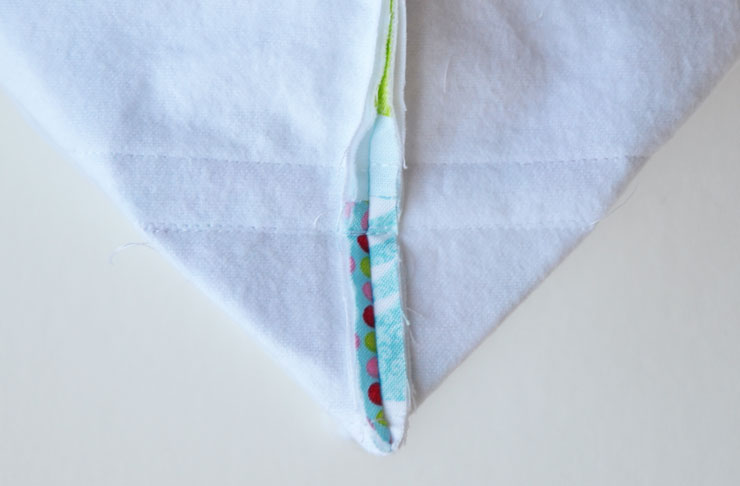
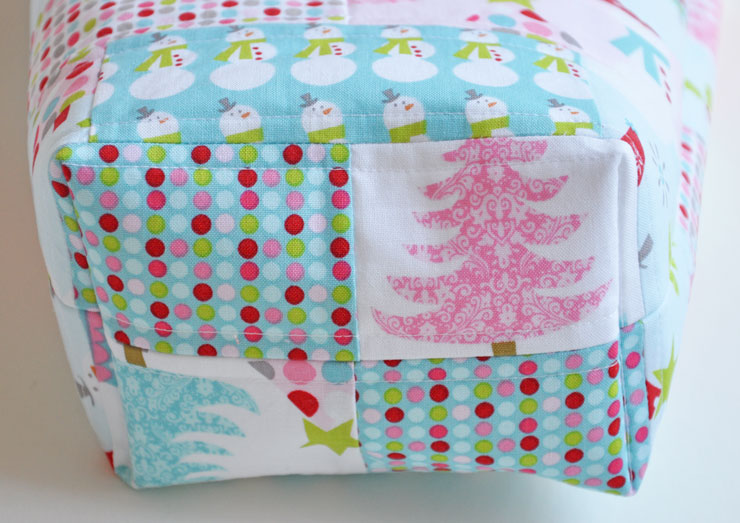
Press seams open and sew along each side at the bottom, to create corners. I sewed right below the last stitching line that I quilted from the front.
Trim the corners 1/4″ below the sewn line.
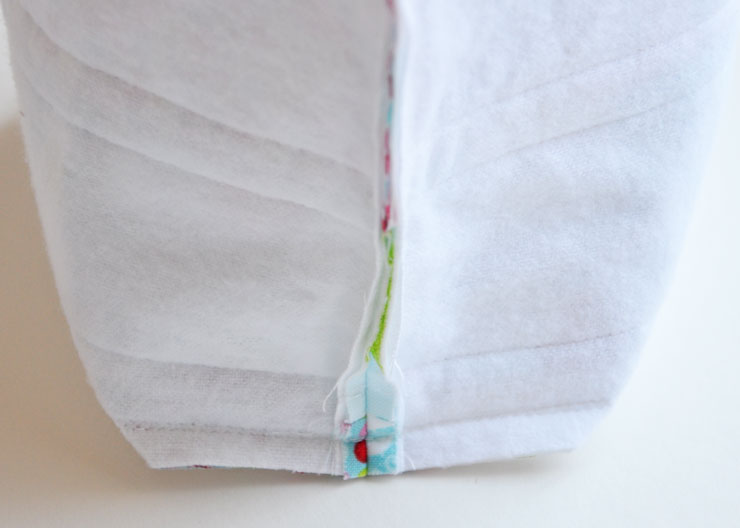
The outside will look like this when you turn it.
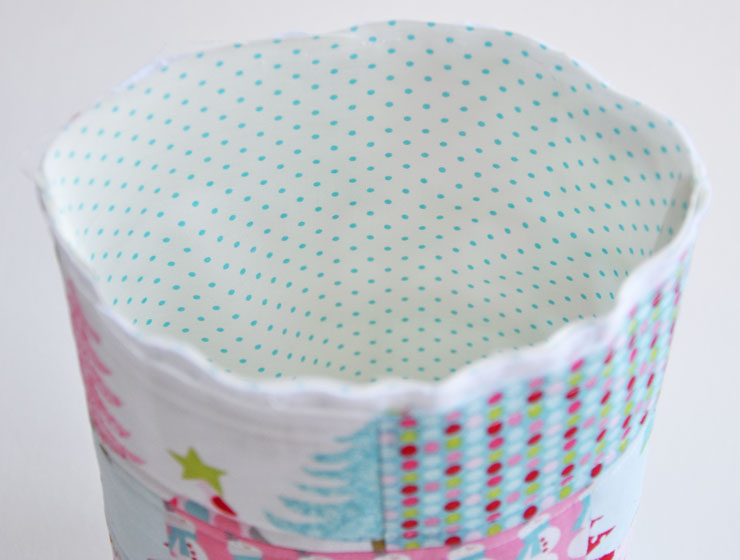
Sew the lining piece the same way as you sewed the outside patchwork piece, make the corners the same and this time do not trim away excess at corners, tuck them under the lining at the bottom. Place the lining inside the outer patchwork body.
Fuse the interfacing to the wrong side of the two handle pieces. Fold the binding strip in half lengthwise and press.
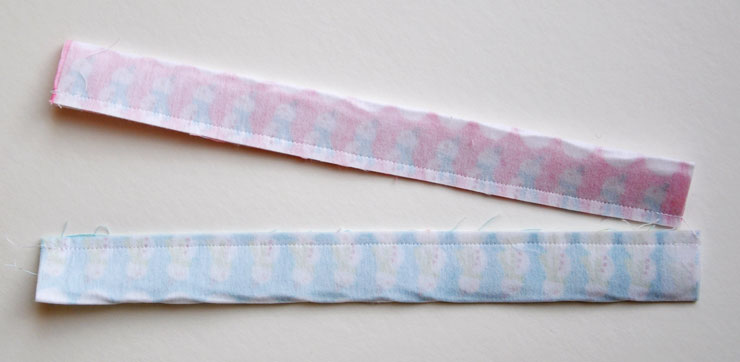
Fold the pieces right sides together and sew 1/4″ along the long edge. Press seams’ open.
Turn the handles right side out, I use a safety-pin for turning. Press the handles flat with the seam allowance in the middle of the back. Top stitch 1/4″ along each long edge.
Place the handles seam side out 1 1/2″ from the center seam on the front. Do this on both sides, stitch them in place.
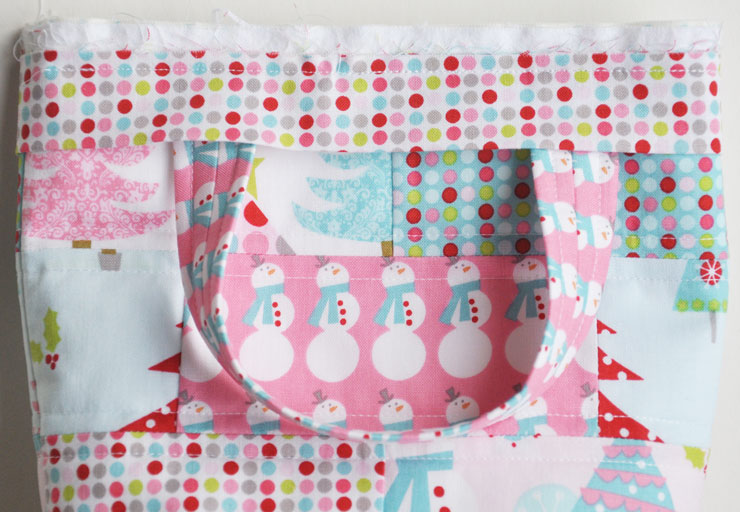
Place folded binding on outside along the top edge with the raw edge facing the top of the bag leaving two tails at the beginning and the end that are not sewn for joining later. Sew with a 1/4″ seam. Join the binding in the same way you would for a quilt. You may trim off excess flannel at the top to about 1/8″ inch. Turn the binding to the inside and either stitch by hand or machine. I usually do this by hand because I like that process!! On the outside of the bag sew a seam just above the binding for each handle to secure the handles, this will also keep them from flopping over! You will be able to see that in the photo below.
Now you are all finished with your patchwork tote and are ready for filling it up with goodies. I found that a pattern and a small stack of fabric fits nicely inside. I also think it would be fun to fill with some fun treats for a child in a long car ride. Snacks and toys would fit perfectly. Or under the tree with a special gift would be nice. What ever you decide, I hope you enjoy your little tote.
Have a great weekend. I am sure it is going to be a busy one for most of us. I have lots of things to finish up before Christmas!!



I have really enjoyed this little series of tutorials for last minute gifts. Thanks so much!
Love the patchwork tote! So cute! I appreciate your kindness. Happy Holidays to you and your family!
Thank you for the great tutorial! I’ve bookmarked it for later use.
Clara, this is precious! Thank you for a great tutorial. Love and Happy Christmas to all of you! XOOXXO
This is completely adorable! Thank you for sharing!!
This is such a cute idea!! Love it. Especially if you have the cute fabric in your cupboards already to use!
bonjour,
Je viens de découvrir votre blog et tout est très joli et vraiment de bon goût.
Mais malheureusement je ne suis pas très douée en anglais.
Est ce qu’il y a un moyen d’avoir une traduction pour pouvoir réaliser vos très jolis sacs ainsi que les autres tutos.
Je vous remercie par avance et vous souhaite une bonne continuation de ce que vous faites.
Bonne journée,
cordialement,
Martine LAMARQUE