Last-Minute Gift Tutorial: Embroidered Hoop Ornament
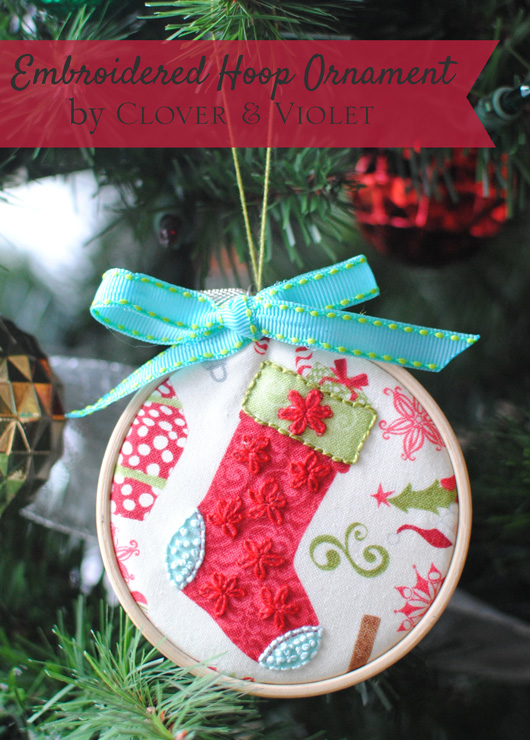 Merry Christmas and welcome! This is our final last-minute gift idea, and these truly can be made at the last minute {I made one yesterday and gifted it before the glue had fully dried!}.
You’ll need:
- 3″ Wooden Embroidery Hoop
- 5″ square of fabric for front {backed with interfacing if desired}
- Embroidery threads
- 3″ squares for back of:
- Glue {I used Aleene’s Tacky Glue}
 First, fuse interfacing to the back of your 5″ square, if desired. Then embroider whatever you’d like! If you’re new to embroidery, check our our Embroidery 101 page for stitch tutorials and other information.
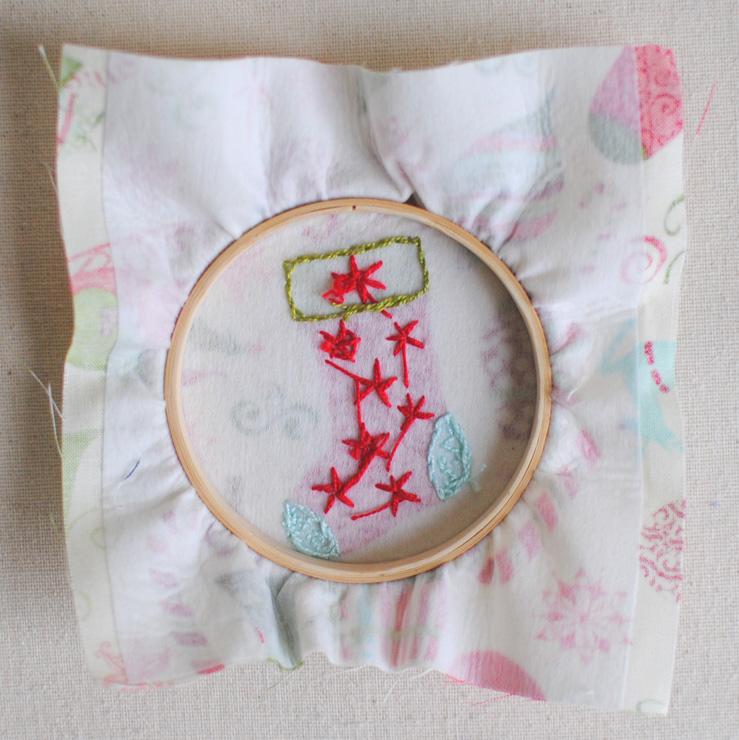 Here’s what the back of mine looked like when I finished. Now, let’s cover those stitches!
 Cut a 3″ square of the backing fabric, fusible fleece, and wonder under. I found it worked best if the fusible fleece was a tiny bit smaller than the fabric and the wonder under.
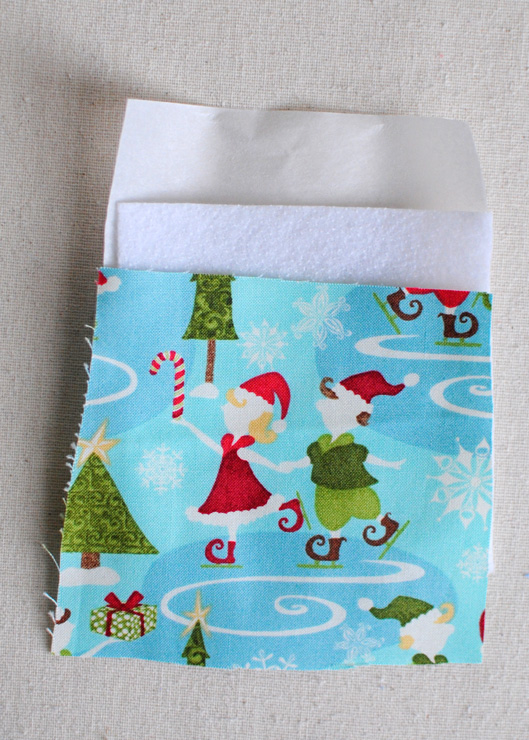 Place the Wonder Under paper side down, next, layer the fusible fleece with the fusible (dotted) side up, and finally, place the fabric on top, right side up. Fuse all three together and let cool.
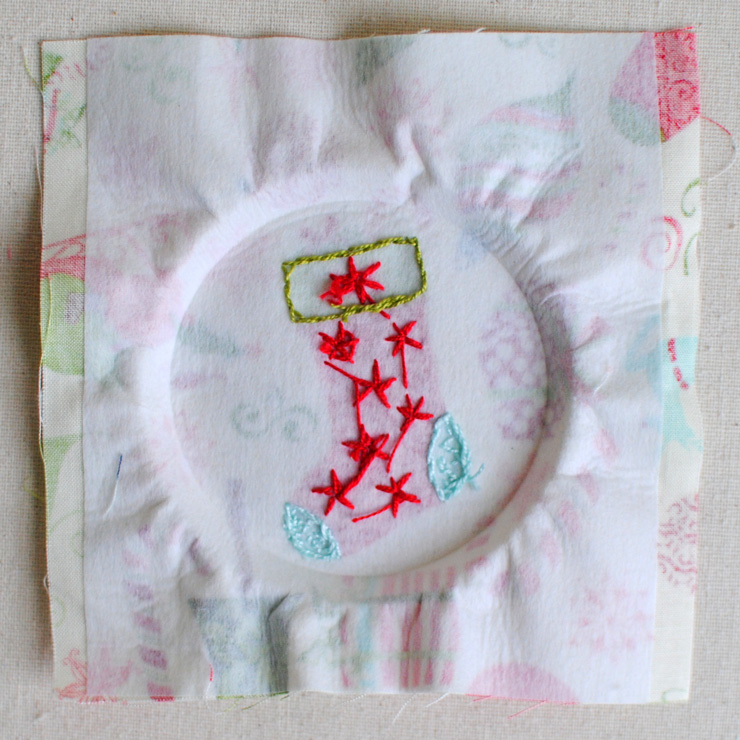 Take the embroidery out of the hoop, do not press it, we will use the hoop mark as a guide for placing our backing.
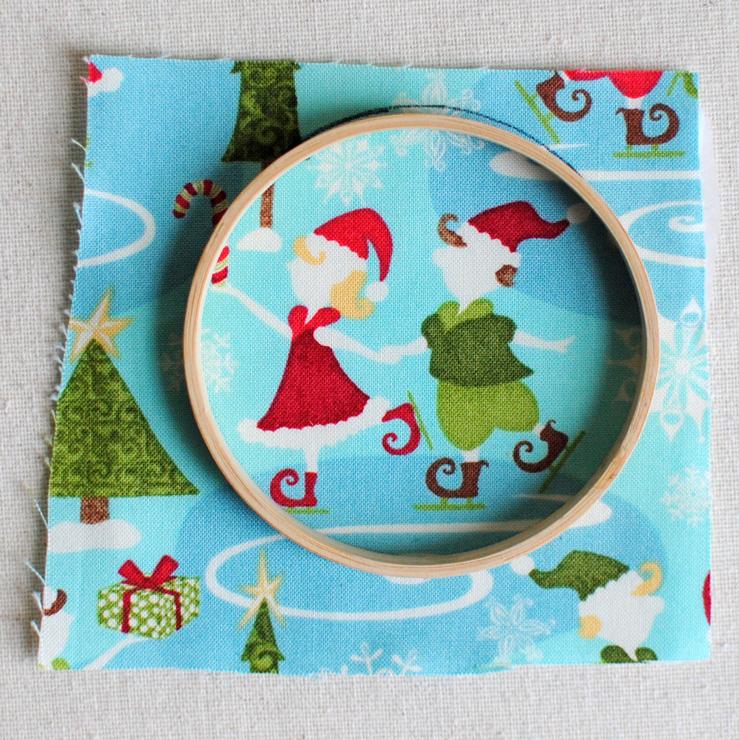 Use the inside embroidery hoop to draw a circle on the fabric. Make sure you draw around the outside of the hoop.
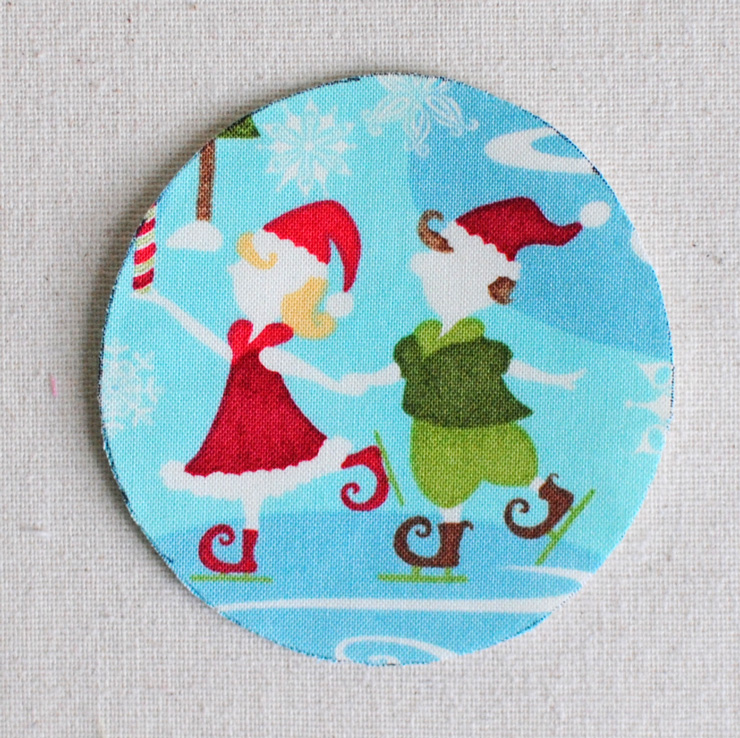 Cut along the drawn line. Then tear away the paper backing of the wonder under.
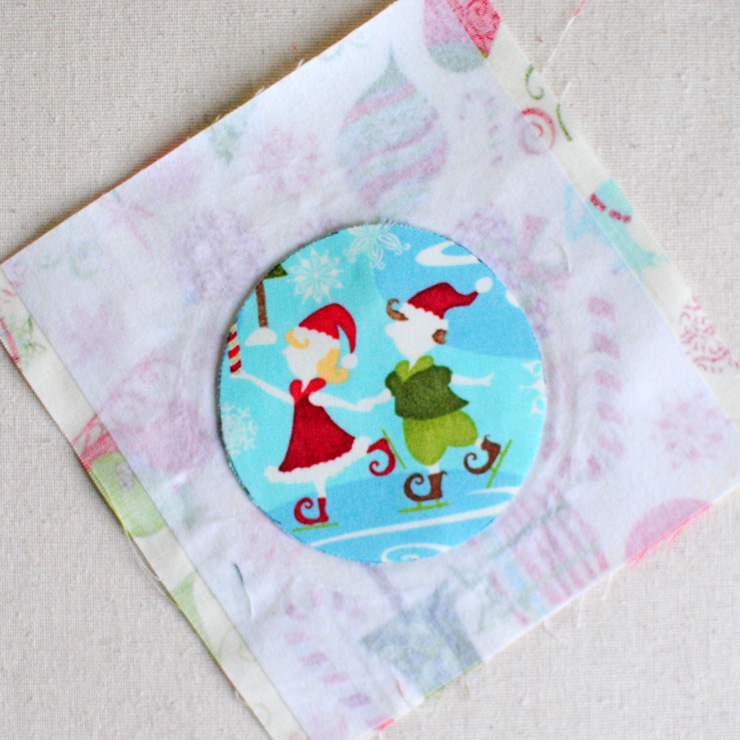 Fuse the backing circle to the wrong side of the embroidery piece, using the hoop mark as a guide.
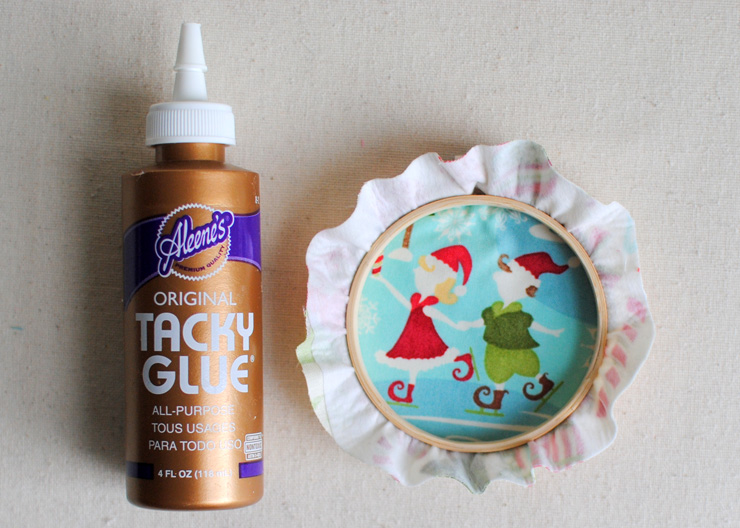 Place the embroidery back in the hoop. To get the hoop nice and snug, I used some needle nose pliers to turn the clasp a couple extra times.
Trim the extra fabric to about 1 1/2″ larger than the hoop. I carefully folded some of the fabric around the hoop and creased it with my fingernail as a cutting guide.
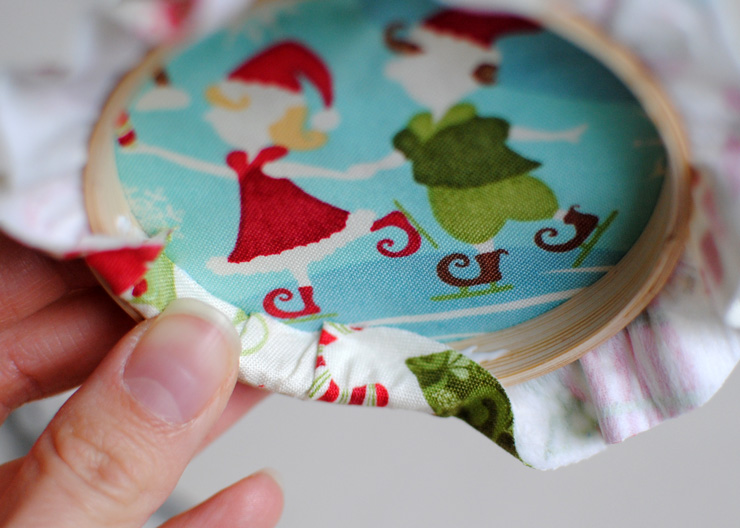 Put a bead of glue around the inside of the hoop and stick the fabric down as you go around. The great thing about the Tacky Glue is that it holds the fabric in place after a few seconds of pressing.
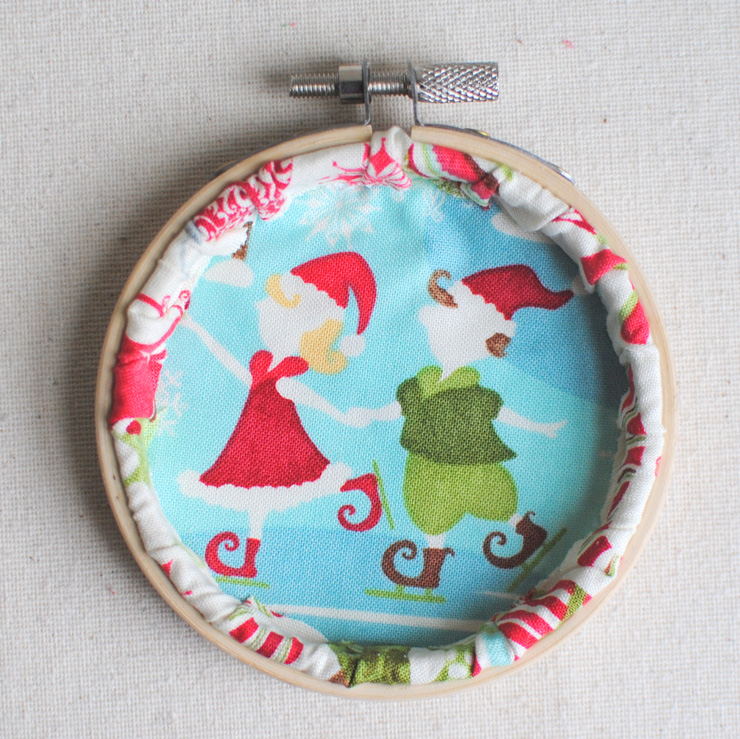 Continue around the whole hoop and you’re done! I think the back is almost as cute as the front!
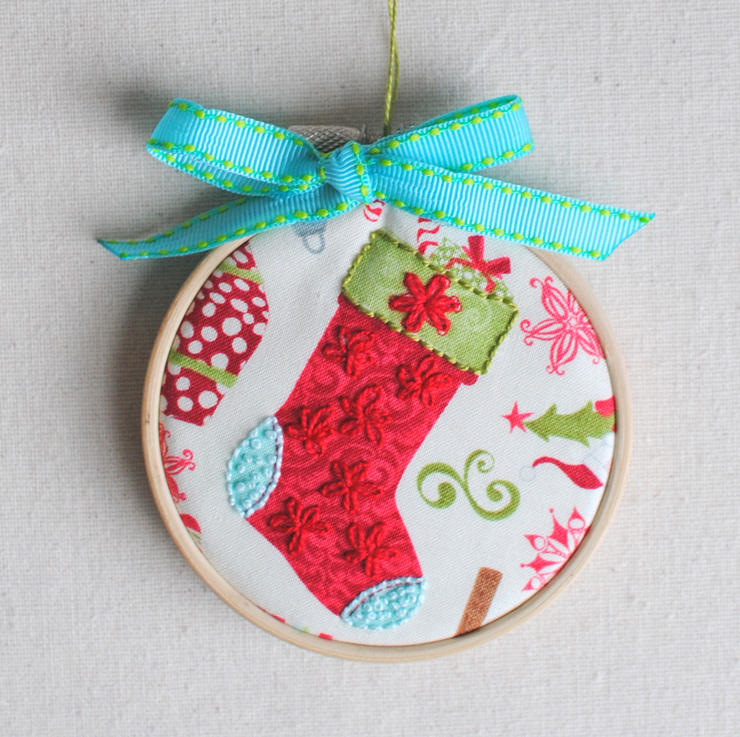 Add a string for hanging and a cute ribbon and you have a great ornament for gifting or for your tree!
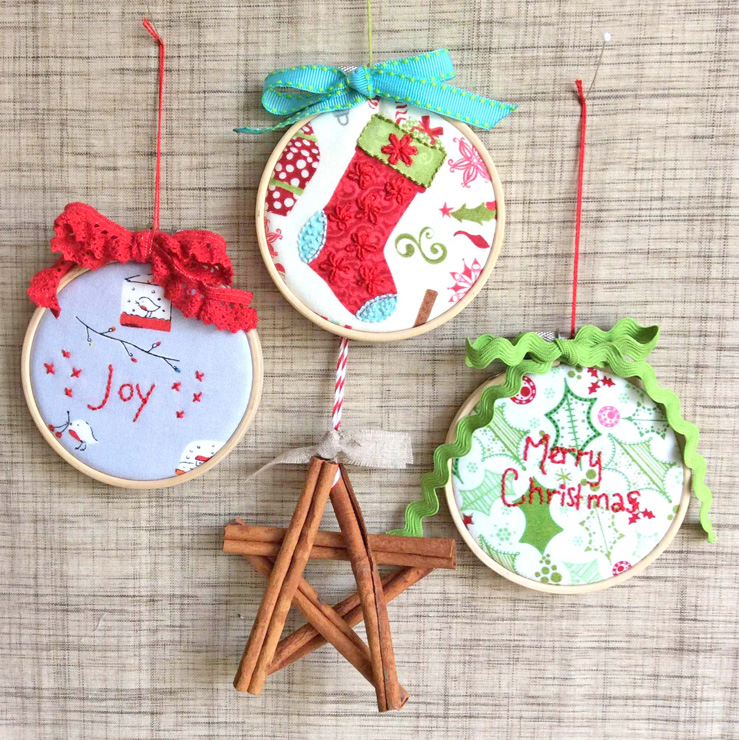 And here are 3 of the 4 I made {I didn’t take a photo of the last one because I ran out of time!}. I hope they’ll be loved! And, one of our ornament recipients was a guy, so I grabbed some cinnamon sticks that I happened to have {lucky!} and made this cute star, you can find the tutorial for it here.
Merry Christmas! I hope you all have a wonderful holiday with your families and we’ll be back with some fun new things soon! As always, thank you for your kind comments, we so appreciate your taking the time to visit! Blessings to you and yours! xo

You sure have a gift. These are beautiful and to be treasured!
Merry Christmas to you and yours too!
Great ornament idea and so cute! I’ll be shopping for 3 inch hoops. Appreciate your kindness!
Oh my gosh those are so sweet and so pretty! I’m sure the recipients will love them.
Sew sweet Jennie! Quick and festive! Happy Christmas to all five of you! I hope we can get together in the new year. Lots of love! XOXO
This is a really thoughtful and precious gift to win. I could use a planner as I am getting forgetful as I get older. I try to write things down but then I don’t really remember where I actually wrote it done on. This is just the perfect solution. Thank you for the chance to win and to share with us this great giveaway. Merry Christmas to you.
Sandi Timmons
This is such a sweet idea, and a really lovely make! Wishing you and your family a very Merry Christmas!
Helen xox
These are so adorable, great tutorial on how you finished the back.
Thank you so much for the Erin Condren planner. It arrived in the mail yesterday, and I love everything about it. I got to put pics of my kids on the cover, and I even made some customizable stickers. I’m looking forward to greater organization in 2015.
I came looking for this tutorial after seeing the lovely way you finished Tiffany’s hoop at Swapaholics. This such a clever and neat way to finish a hoop. Thank you for sharing!
thanks, it’s very nice