Mini Medallion Series : Border 3
Hello again C&V readers! Another month brings us yet another border on our mini medallion quilt. Are you sewing along? Don’t forget to show us your minis … Keep sending me links in your comments and tagging me @sewlux on Instagram with #minimedallionqal ! I have really enjoyed seeing all the great versions of this quilt popping up! 🙂
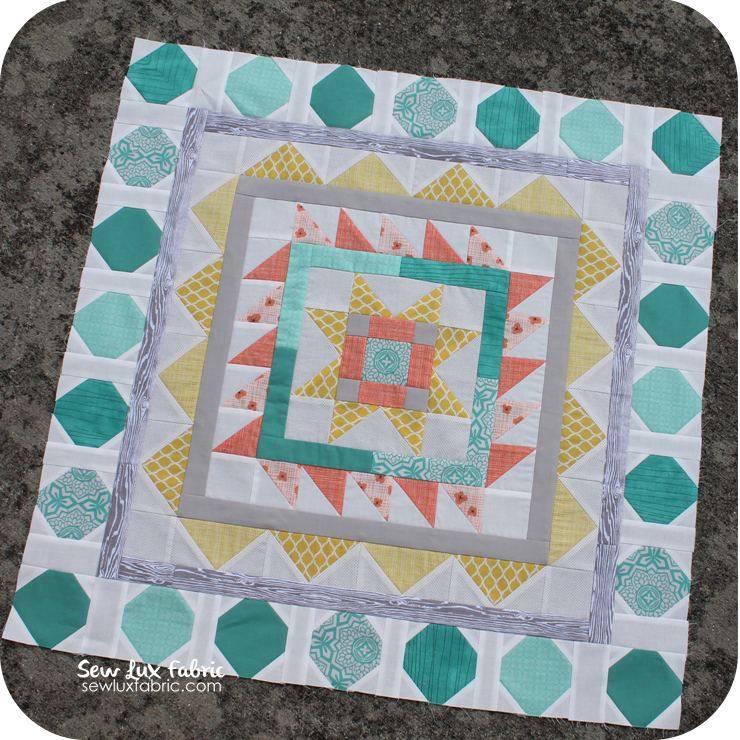
This month, we’re making a polka dot border using a snowball block. I recommend cutting, marking, and then sewing them all at once (chain piecing) to get this border whipped up quickly!
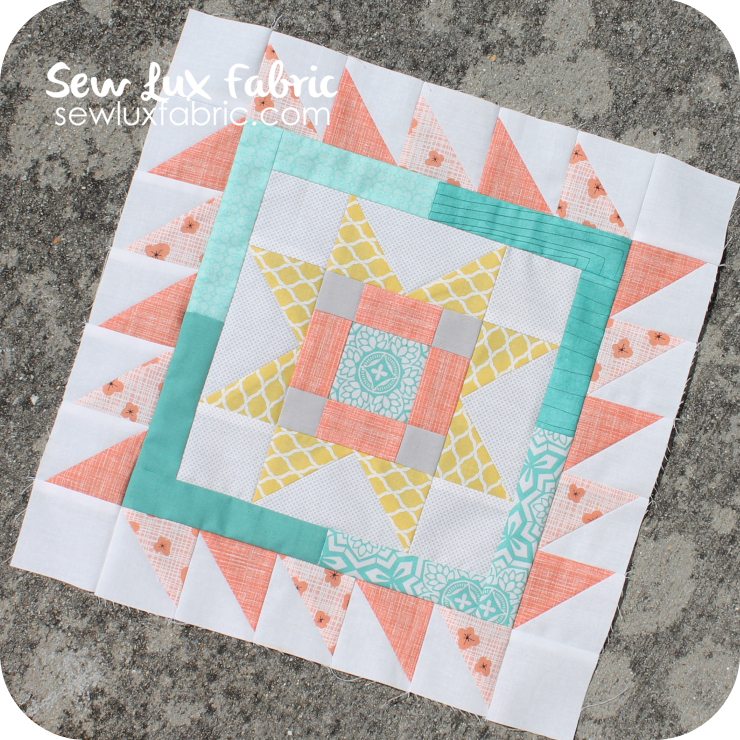
Here’s where we left off last month …
Are you ready for our next border?
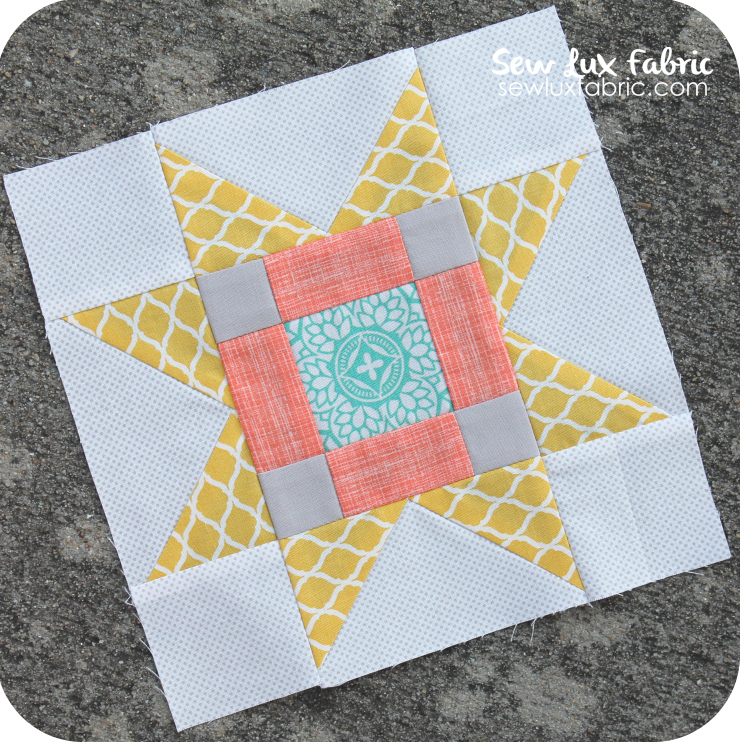
(Missed out on the center? Learn more and get the pattern here. Find the first border here and the second border here.)
Month 4 – Sew Border #3:
Cut the following:
- From Background: Cut ninety-six 1.5″ squares; eight 2″ x 3.5″ rectangles; and sixteen 1.5″ x 3.5″ rectangles.
- From each of 4 Teal Prints: Cut six 3.5″ squares (you’ll need a total of 24 squares)
- From the Grey Print: Cut two 1.5″ x WOF strips – subcut to two 1.5″ x 20.5″ strips and two 1.5″ x 22.5″ strips. (Note: Since I was using a directional print from a FQ, I cut five 1.5″ x 18″ strips and pieced them together to make the pieces I needed.)
Sew as follows:
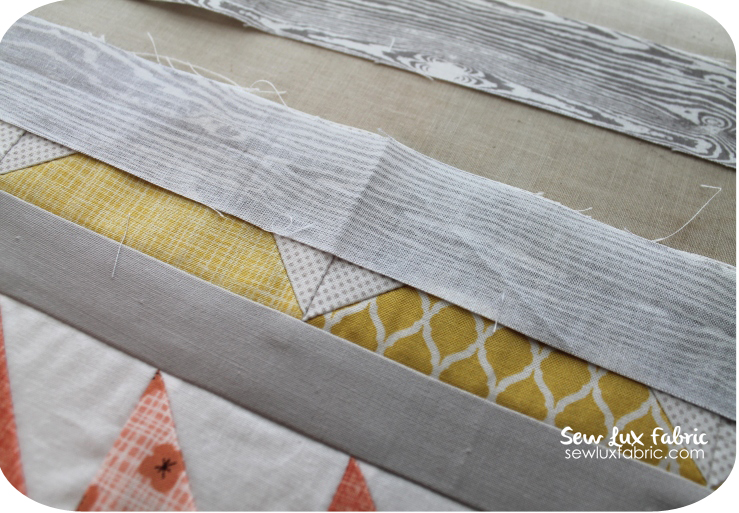
Attach the two 1.5″ x 20.5″ printed grey strips to two opposite sides of the medallion. Sew using a 1/4″ seam and press toward the grey border.
Then, sew the two 1.5″ x 22.5″ grey strips to the remaining two sides. Again, using a 1/4″ seam and pressing toward the grey border.
TIP: When I am sewing a simple border to a pieced strip, I like to have the flat fabric (in this case the grey solid) on the bottom. This helps me make sure the bulky seams don’t get hung up in my feed dogs and I can also make sure I am not cutting off any points on half square triangles or geese with my seam allowance.
Now let’s get those snowball blocks rolling!
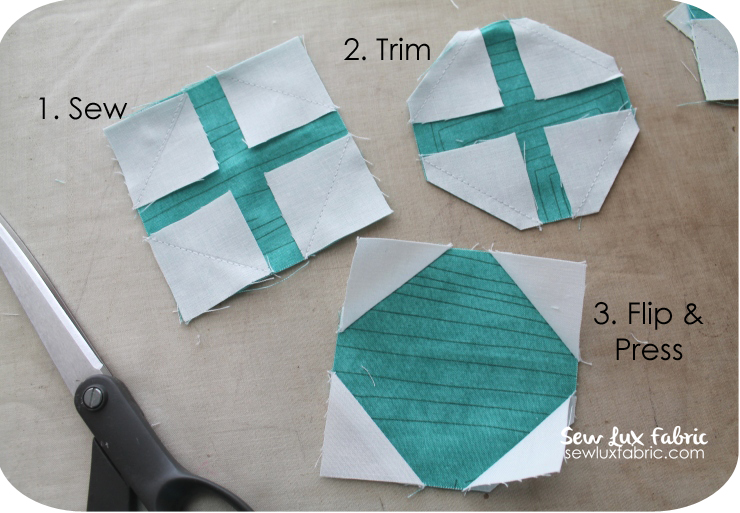
Draw a diagonal line on the wrong side of each of the ninety-six 1.5″ background squares using a removable pen or pencil. (I know you may be thinking … “C’mon, that’s a lot of squares … can’t I just eyeball it?” Take the time to mark the squares … your piecing will be better and you’ll be more pleased with a more accurate end result!)
Place a background square right sides together in each corner of a 3.5″ teal square. Sew on the lines. Then trim a 1/4″ away from the line. Flip open and press toward the background. Repeat to make 24 blocks.
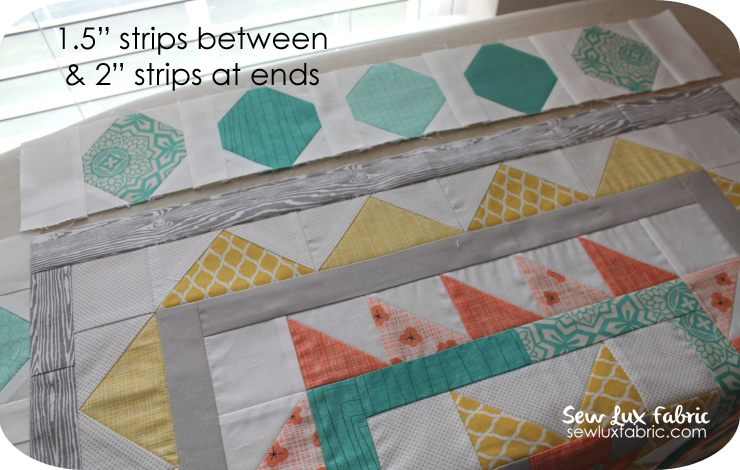
We’re almost done! Plan your layout of the snowball blocks around the medallion if you like. Next, sew five snowball blocks together, with a 1.5″ x 3.5″ rectangle between each block, to make a strip for the border. Repeat to make four border strips, alternating the jade prints. Press toward the background strips. At the end of each of the four strips, sew a 2″ x 3.5″ strip.
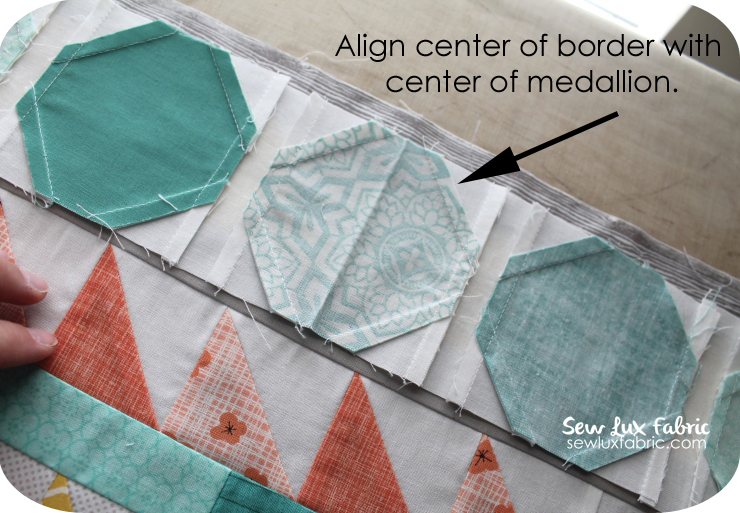
Sew one snowball border strip to the top and bottom of the medallion using a 1/4″ seam allowance. Align the center of the middle snowball block with the center of the medallion. Press toward the grey border. (If there is any overhang on the ends, its ok for now – we’ll fix it in the next step.)
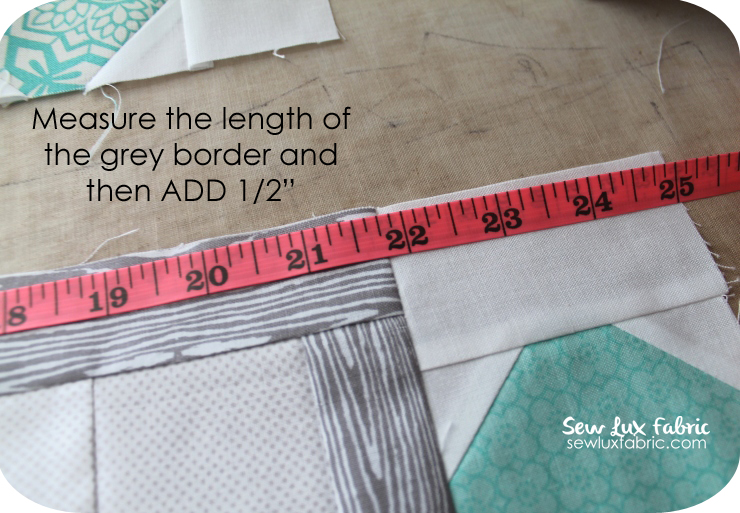
OK … here’s the important part since we want to make sure we keep our medallion square. Since pressing and seam allowances can sometimes lead to small variations in overall size, we want to measure before we attach the last two sides of this border.
Press the top well then measure the length of the sides we’re going to add to from the outer edges of the grey border. If the two sides are different, take the average. ADD A HALF INCH to the measurement. Trim the snowball border strips to this size (measurement + 0.5 inch) – being sure that the middle snowball block is at the center of the strips.
Next, sew one of the four remaining snowball blocks on the ends of the remaining trimmed border strips. Press toward the background square.
Sew these two border strips to the remaining sides of the medallion using a 1/4″ seam allowance to complete the border. Press toward the grey border strip.
You’re all done!
Here’s a downloadable file for this month’s border pattern with step-by-step instructions.
I hope you enjoyed making this border with me! I can’t wait to sew with y’all again next month as we add our next border!
If you are sewing along and sharing on Instagram, tag us @cloverandviolet @cloverandviolet2 and @sewlux and use #minimedallionqal
Happy Sewing! 🙂
Chrissy




I haven’t started yet but this is on my rather long list of mini’s. Great instructions Chrissy! Thank you.
Now I am hooked. This third border has sold me, so I’m downloading all the parts so far and will decide on fabrics. Thanks for such a lovely project!
hugs
Jenny
Last Border? The original post showed there would be 5 borders. November shows border 5 & finishing.
I love this latest border! I just finished making all my snowballs and now I need to sew them together. Can’t wait to see them on my medallion. And can’t wait to see what comes next! Thanks for putting together a great tutorial with such lovely photos.
Hi there, just wanted to let you know that there is a small error in the pattern. For the 1.5″ x 3.5″ rectangles the amount should be 20 instead of 16. For the 2″ x 3.5″ ones the amount should be 4 not 8. Thanks so much.
Hi there. Is the next pattern coming out this week? I’m just trying to decide what to work on next. Thanks.