Sewing 101 :: PDF Pattern Assembly Tips
 Recently, I made a few articles of clothing using PDF patterns and wanted to share some tips on putting together PDF pattern pieces.
I’ll admit, the very first pattern I printed I got about half way through taping and my baby {Norah at the time} crawled on it and crumpled the pieces, so I threw them in the recycle and decided never to print clothes patterns again.
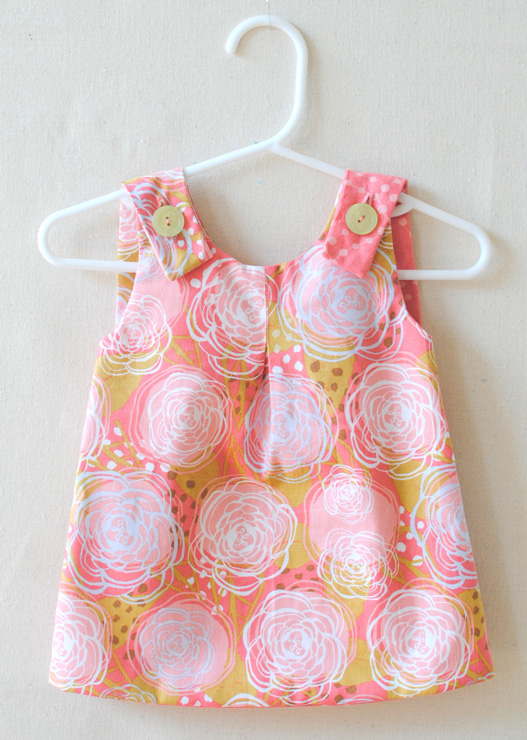
Later, I made the Rebecca Shift Dress and loved the immediate download of the pattern. So, when quilt market approached, and I didn’t have time to wait for patterns to arrive, I thought it was time to give PDF patterns another chance. I bought the Roly-Poly Pinafore and got to work. I learned a bit along the way, and a little bit more when I printed the Alder Skirt pieces. So, I then decided it was time to make Norah a Roly-Poly and here is what worked for me!
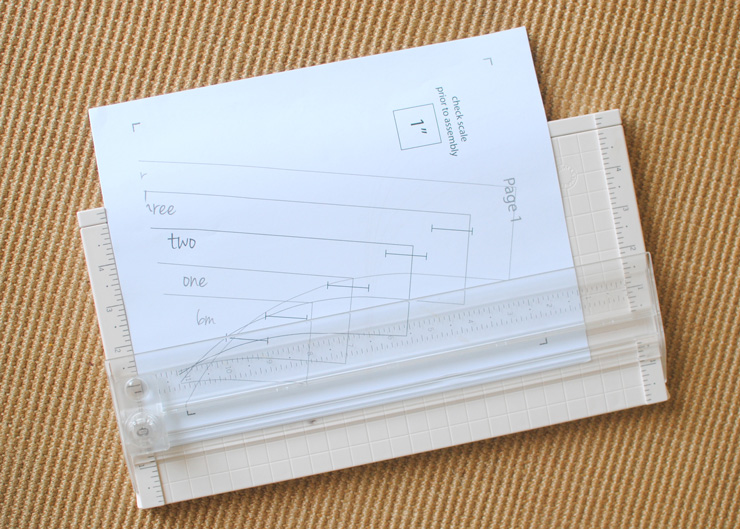
First, instead of scissors, I used a paper cutter to get the lines nice and straight.
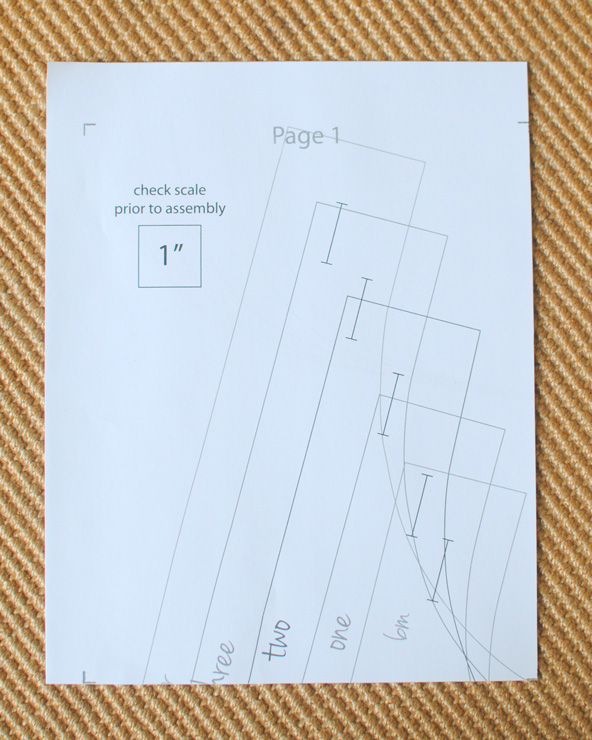
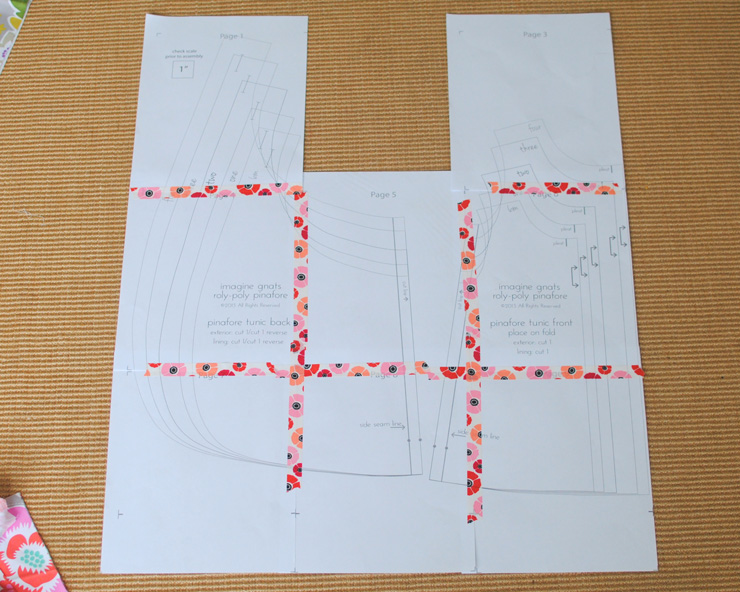
I cut off the right side and bottom of every piece. Then, when I went to line them up, I had the left and top of each piece for overlap.
I also made sure my tape extended all the way through the size piece I was making {I used washi tape because it’s cute and also it will help identify sizes later}.
I then carefully cut all my pieces out. I may invest in some Pellon 830 Easy Pattern in the future, so I don’t have to reprint for different sizes, which I will probably do lots of when making clothes for growing children.
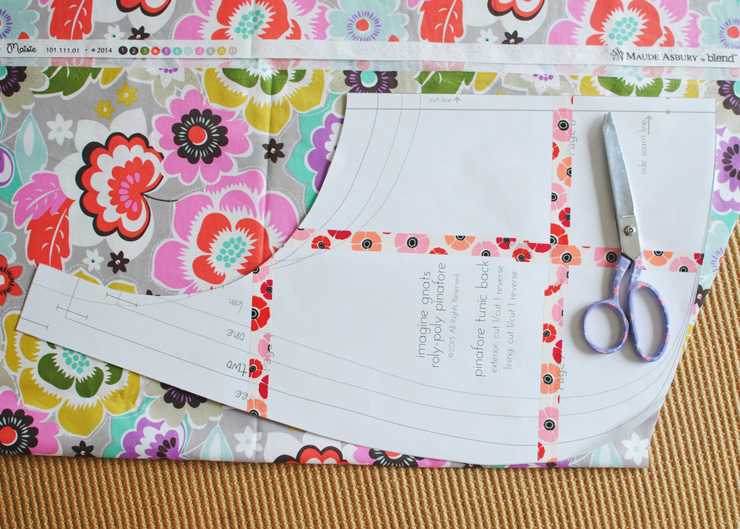
Then, just lay the pieces on your fabric and cut. I used my paper scissors as pattern weights, but really need to buy the real thing!
Do you have any tips on using PDF patterns? Do you prefer printed patterns for clothes, or do you prefer the instant gratification of PDFs?



I sometimes print the master patterns out on colored paper to make it quick and easy to find the right size.
I store them in large manila envelopes with a copy of the cover page on the front. And sometimes a sample of the fabric I have already the item up in.
I have shied away from PDF patterns mostly because I don’t understand scaling when printing them. I’m pretty computer savvy but this is on thing I have never understood what to do as a consequence I’m never quite sure if the pattern that prints is the size it is supposed to be. If anyone has hints on scaling or wants to explain it I’d really be thankful.
Hi Ruthann! Regarding scaling, usually if you set your printer to “no scaling” or “actual size” you’ll end up with pieces the right size. There is also usually a scale box on the pattern piece. I usually place a quilting ruler over it to make sure my pieces are the correct size. Hope that helps!
Great tips! I also use large washers (from the tool department) for weights, they are cheaper than sewing weights and work great.
Oh, the washi tape for identifying sizes is a great idea!
Now I am a complete novice when making clothes and have only used a couple of PDF patterns which were simple but I really struggle when it comes to getting the piece onto the fabric and i really struggle when cutting, so this last time i transfered the pattern onto freezer paper ironed it on and the cut round so that nothing moved and it turned out really well (I could even use a rotary cutter for the straight edges). I’ve used this method a few times and only on small patterns that fit onto the width of freezer paper but it has worked for me.
I use pdf patterns almost exclusively, because I like to be able to download and use them right away. I also like that I can print them out again if I ever need to. I prefer to cut my pieces to size before taping. I know it seems counter-intuitive, but I waste less tape that way, plus I like to wrap my tape around the edges to make them more stable.
For pattern weights I use larger chunks of rocks from my uncut gem and mineral collection. They work great, and they look pretty.
Love PDF patterns for their instant availability – I print two-sided (to save paper) and then trace each piece onto Pattern-Ease – then I have the master copy with all the sizes and a flexible, foldable copy to work with. Use pincushion collection for weights and cut with rotary cutter whenever possible – find the 28mm works great. Love your Rebecca Shift Dress !
When I printed out a dress PDF the thing I wish I’d done was lay out all the pieces before and roughly cut out only the pieces I need. In order to “save” paper many times all the different parts, looks or variances (like short vs long sleeve) are interlocked on the pages so you have to print them all. I could have saved myself half of the taping and cutting if I’d laid them all out before. The whole thing printed out almost entirely covered my 8 person dining room table. It took so long to tape together I could have gone to the store, picked out a pre-printed one and had it all cut out before I finished with the taping.
Nicely done! I think I’ll use this tutorial. Thanks!