Melissa Stramel Lilac Lane Patterns Quick and Easy Doll Dress Tutorial
Full details on sponsors and prizes here.
—–
 Melissa Stramel is the designer of Lilac Lane Patterns. Her patterns have a vintage feel with a modern twist. She loves to design clothing for little girls and their dolls as well as accessories like headbands and bags. Melissa also has a book, A Year of Making Life Beautiful: 45 Projects to Bake, Grow, Craft, and Sew Throughout the Year. This book is available on Melissa’s website. She also has embroidery patterns which are part of this week’s giveaway!
—–
Hello everyone! I’m Melissa and I love to create. American Girls are great, and I have lots of patterns for them. But it seems like my girls have a collection of every size of doll and some of them end up as favorites. It’s nice to be able to make clothes for them as well. Today I’ll share an easy pattern that can be adapted to all sizes of dolls. It can be quickly sewn on the machine, but if you’re like me, you usually have a million things to do until it comes time for a nice car trip. Hand sewing this dress will be quick and easy as well.
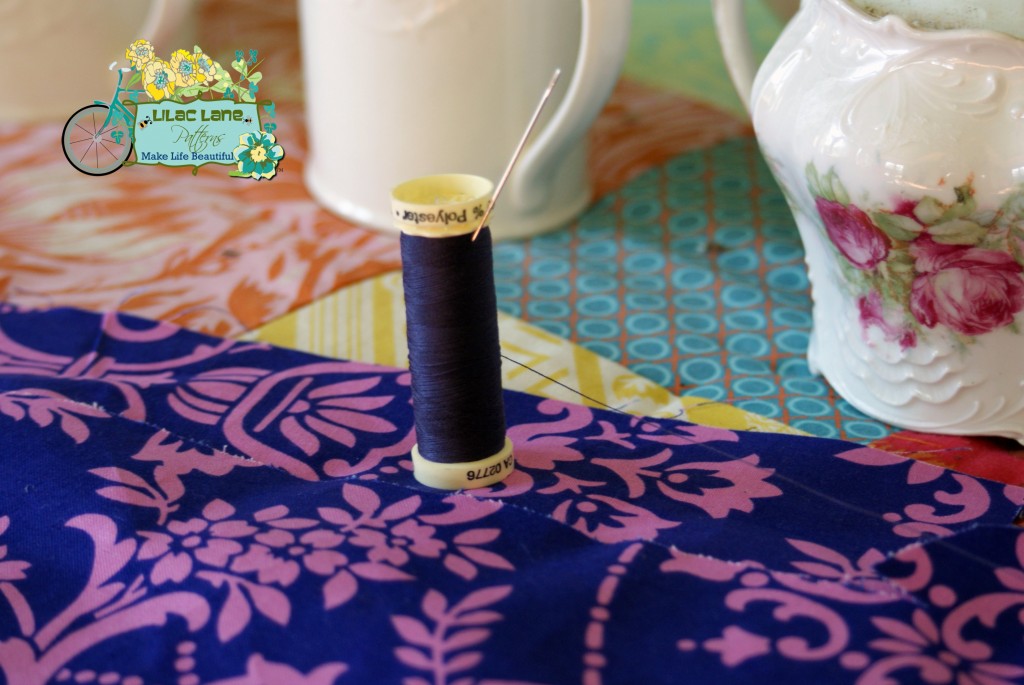
First of all, you will need some scraps of fabric. The amount depends on the size of your doll. If it has a nice printed selvage (the side opposite the writing), that will help as well. Matching thread and a needle are needed next and a couple of straight pins will help. You also need sewing shears and a bottle of water.
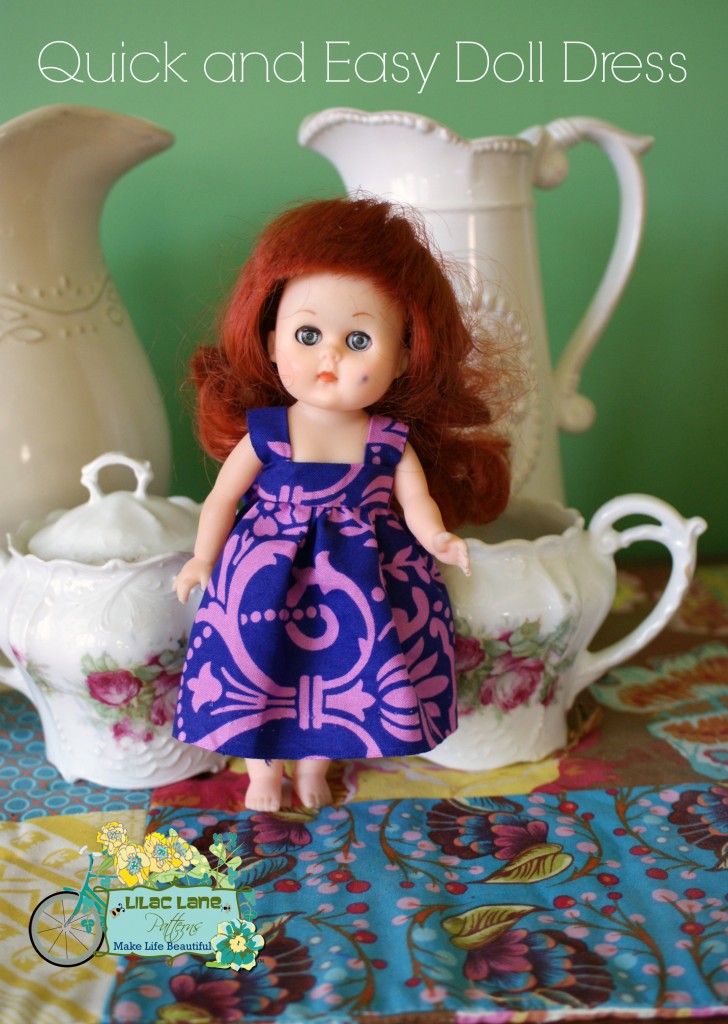
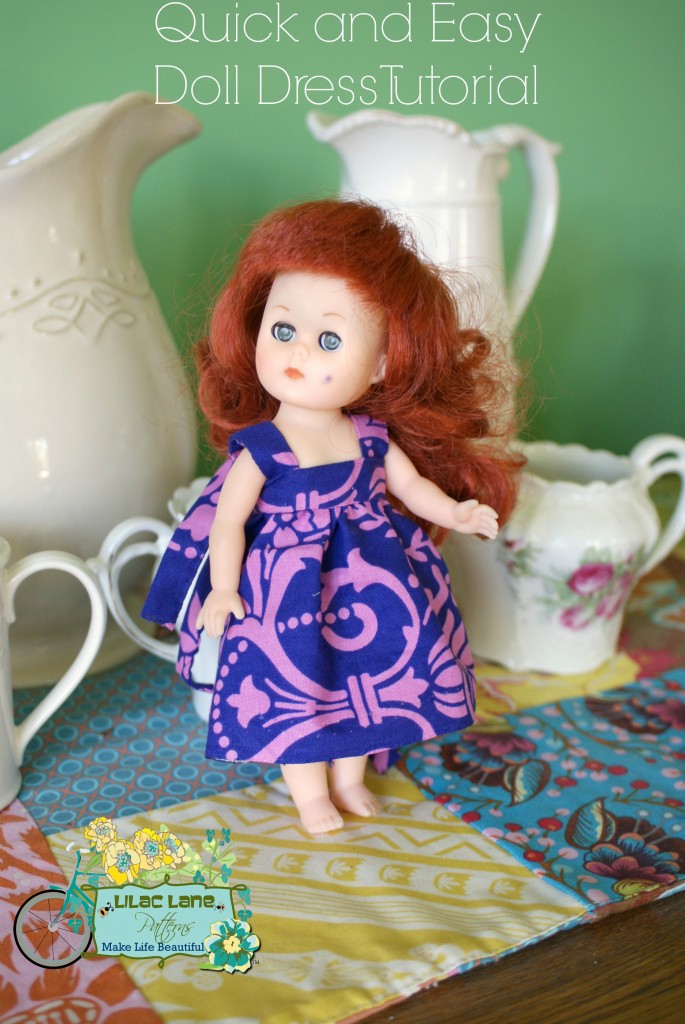
My daughter Emilie chose this well-loved little doll to receive a new outfit. She is small, so I will give you directions for both a little doll and for a bigger one where they differ.
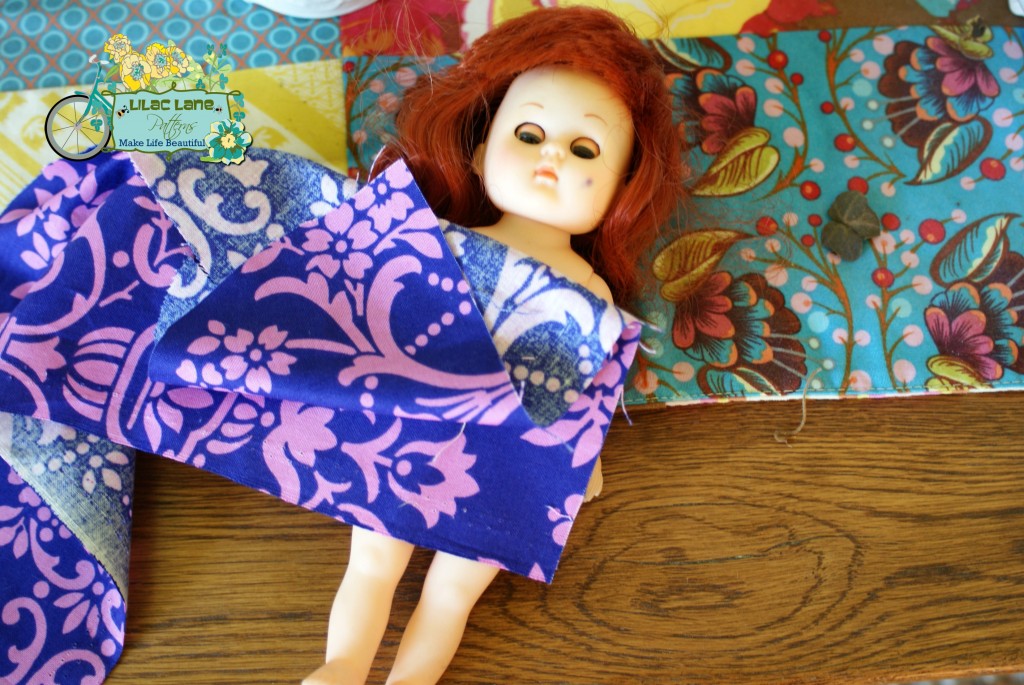
To find the length of the dress, lay the fabric on the doll and so that it hits to the desired finished length. If you have a printed selvage, use it across the bottom of the dress. Add a quarter of an inch to the top length and make a small cut so that you can tell where to cut your fabric. If you don’t have a printed selvage, add 3/4 inch to the length and make a small cut.
Next measure around the doll by pulling the fabric around her. Open up the fabric, holding it where you have determined the width and then double it. You will need double the width around the doll and a little bit extra won’t hurt either.
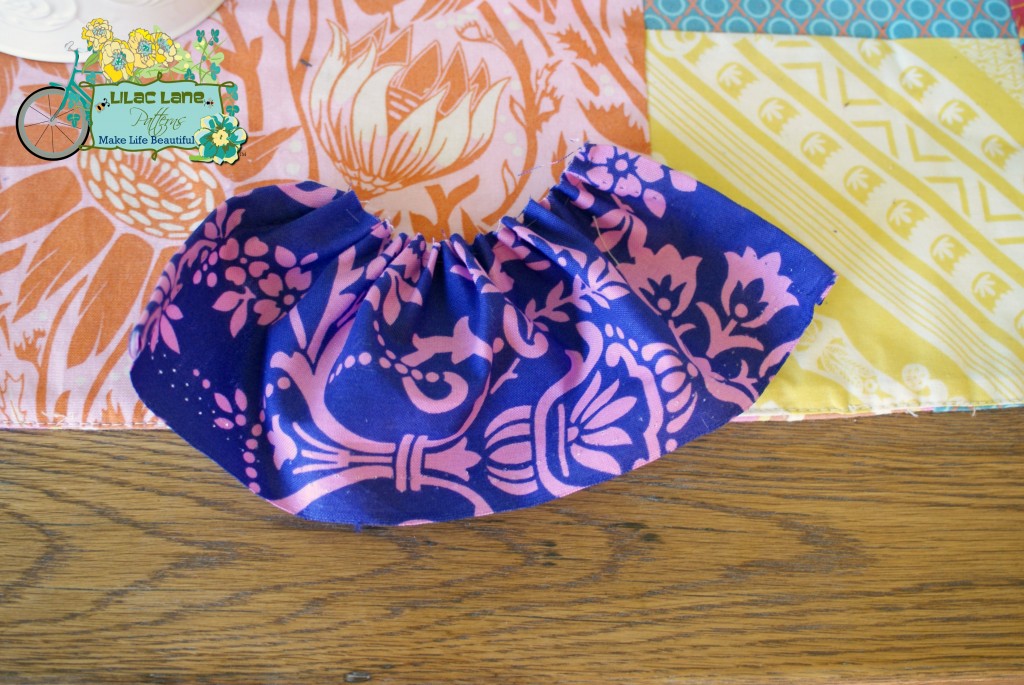
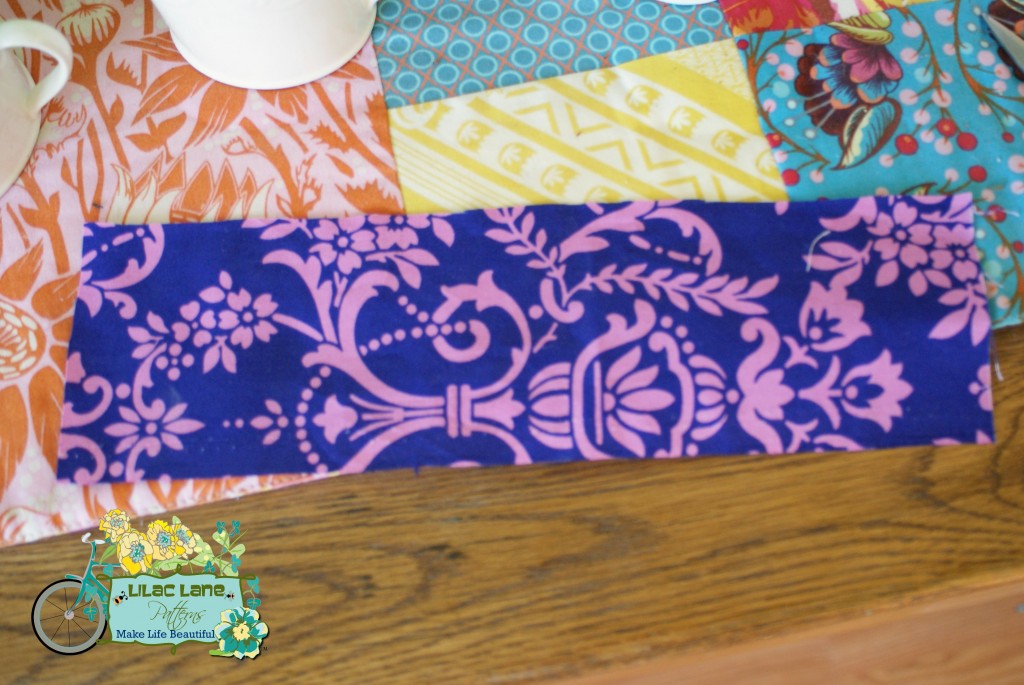
Cut across the fabric as straight as possible and at the desired width and length. When finished it should look something like this:
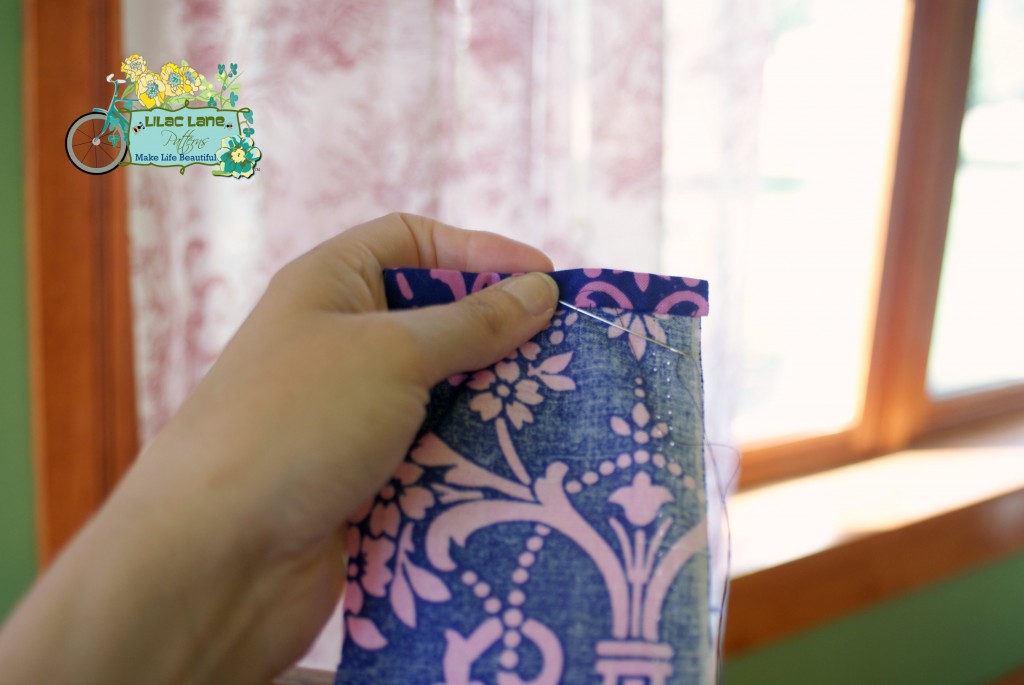
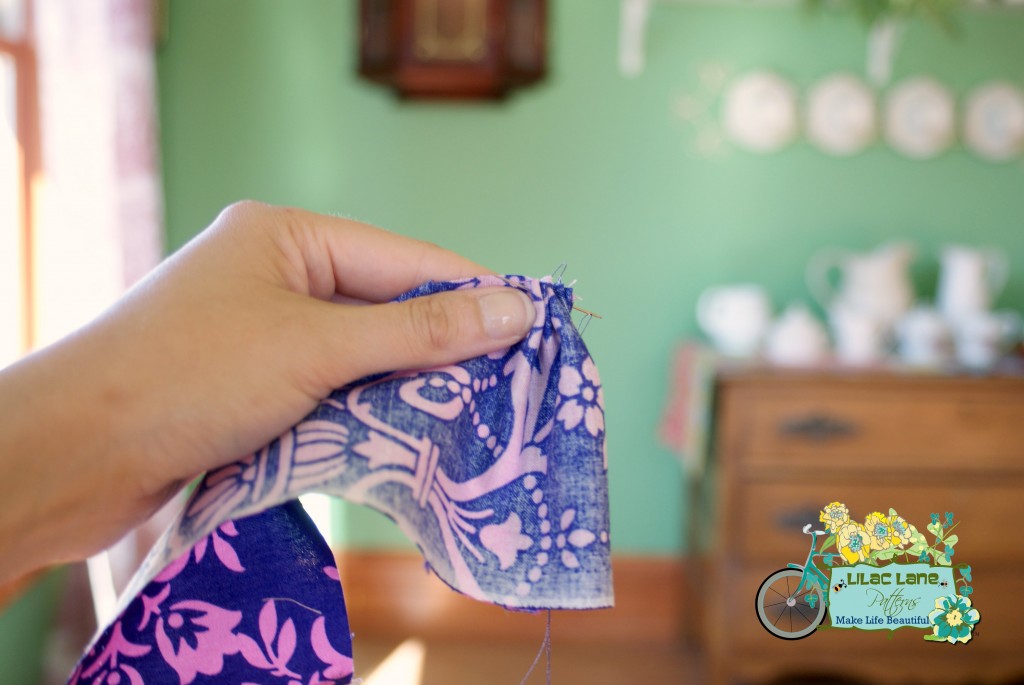
Now using your fingers dipped in water from the bottle of water, make a hem on both sides of the rectangular piece. Make this just 1/4″ turned under twice. Then sew the seam with your favorite sewing stitch. For this dress I mostly used a whip stitch. If your hem did not have a finished edge (selvage) then do the same across the bottom of the dress.
Now gather across the top unfinished edge with a long stitch.
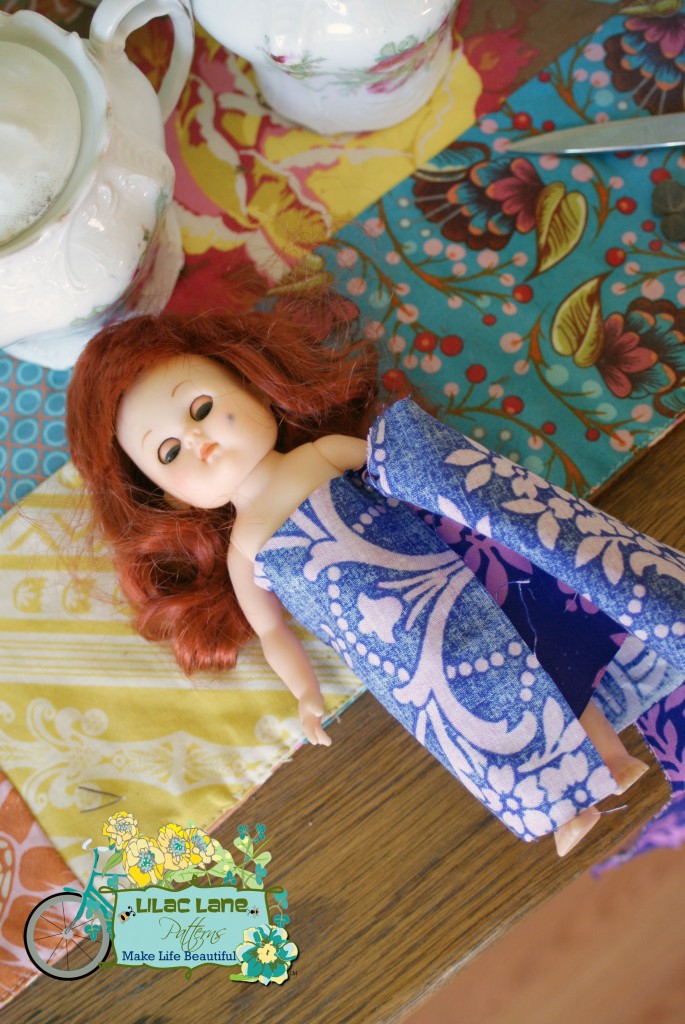
Pull up the gathers so that the dress is the width around the doll. Knot the thread to hold the gathers in place.
 The next step requires a teeny bit of thought. If you have a really small doll the strap across the chest and the straps for the arms should finish at about 1/2″. If the doll is bigger, say American Girl size, it should finish at about 1″. Use your own judgement here. If you want it to finish 1/2″ wide, you need to cut a strip 1 1/2″ wide because you will fold in a quarter inch on each side and then fold it in half (1 1/2″ – 1/4″ – 1/4″ = 1″ and then 1″ /2 = 1/2″.) Likewise if you want to finish 1″ wide, start with 2 1/2″ wide. To determine the length of this strip, you need to measure across the dress and then add in enough for a long tie on each end. For a small doll like this one, you need about 10″ at each end. This means you would need a strip about 25″ long. (10″ tie + 10″ tie + 5″ across dress) I had to piece my strip together, which is certainly fine for this project. A bigger doll needs about 15″ of tie at each end. I left 15″ of tie at each end for this doll and it ended up awfully long.
Take the strap you’ve cut and find the center. You can pin here. Then sew this strap to the dress with right sides facing, using your favorite stitch. I used a back stitch. Make sure to keep your gathers even. It may be easier to sew with the gathers facing up towards you.
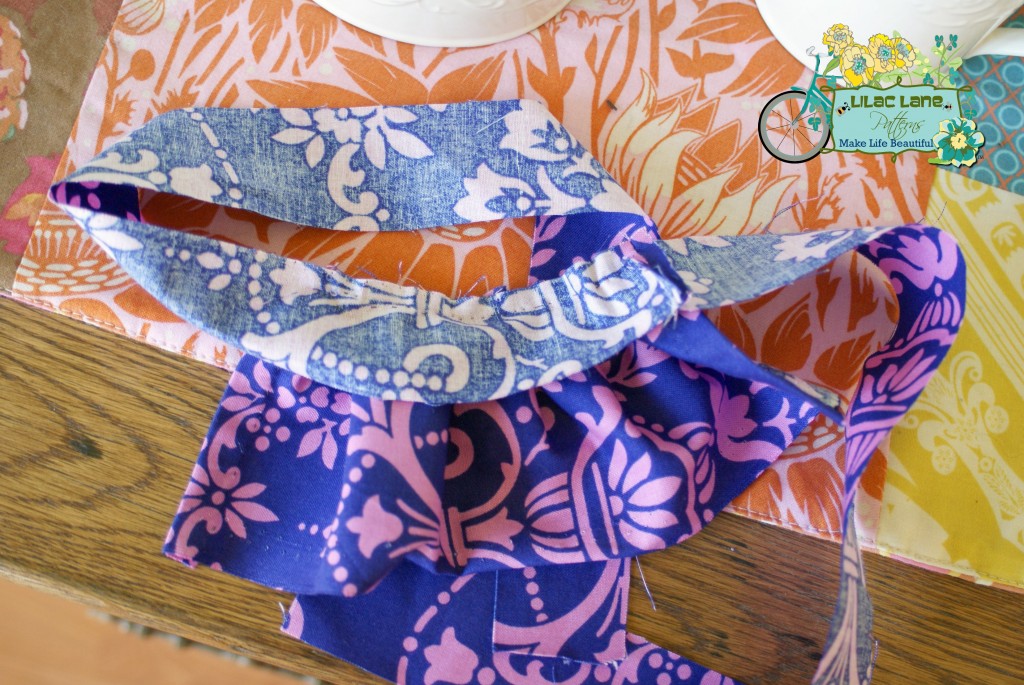 Turn all the edges under 1/4″ just like you did earlier.
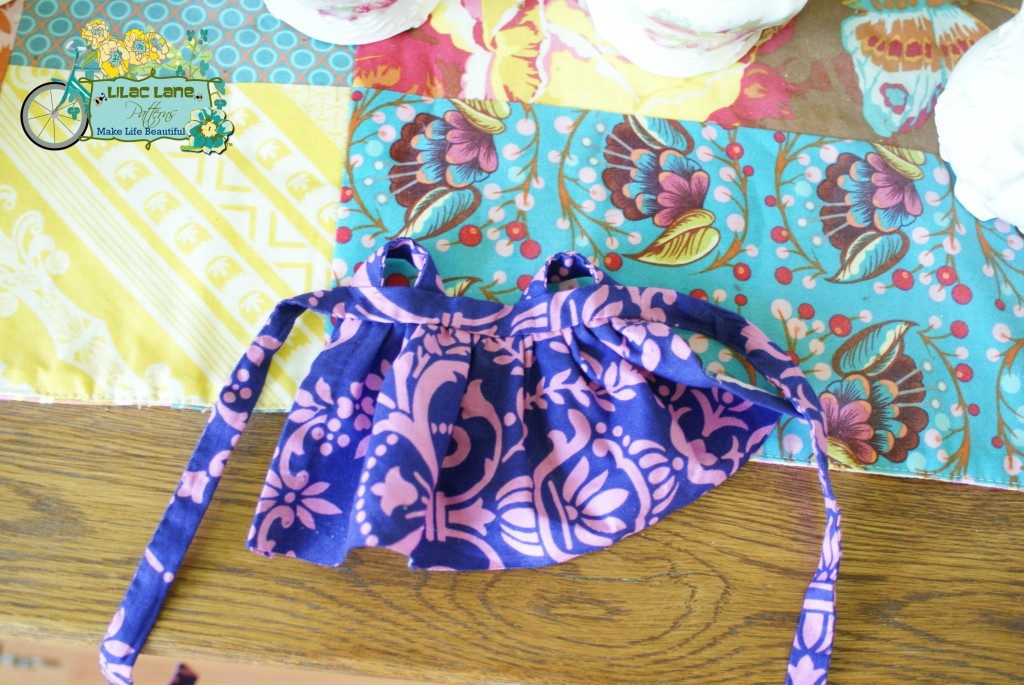
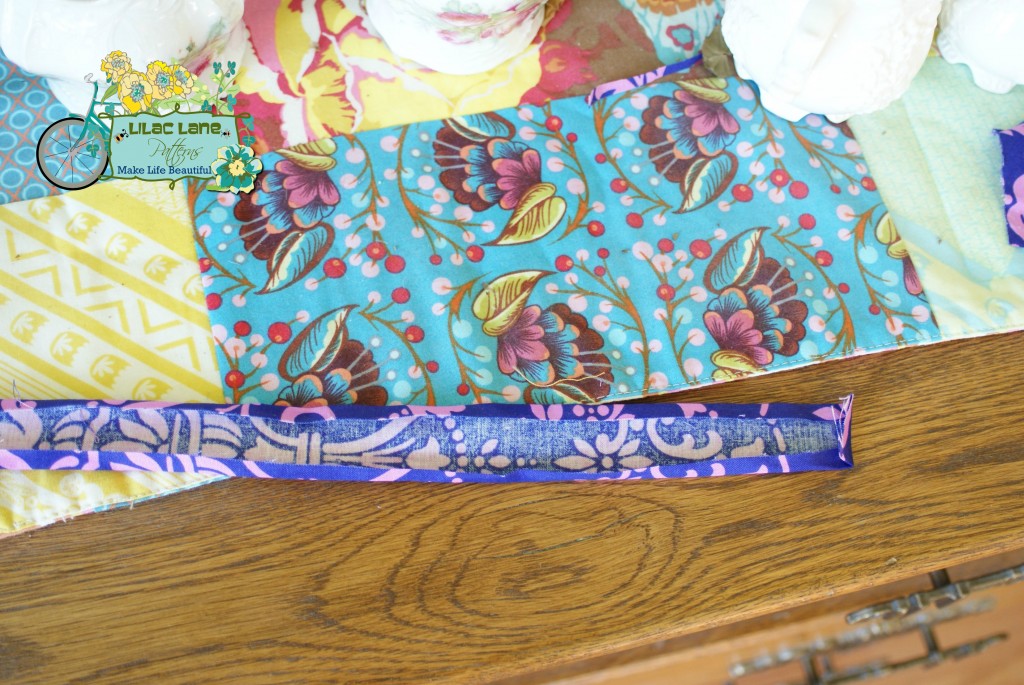 Now fold this in half and again whip stitch or otherwise close the ties all along each tie and across the body, sewing the turned under edge to the back side of the dress and hiding the stitches in the gathers. You can now try the dress on your doll. Modesty prevents me from leaving the dress like this, but it COULD be a finished project here.
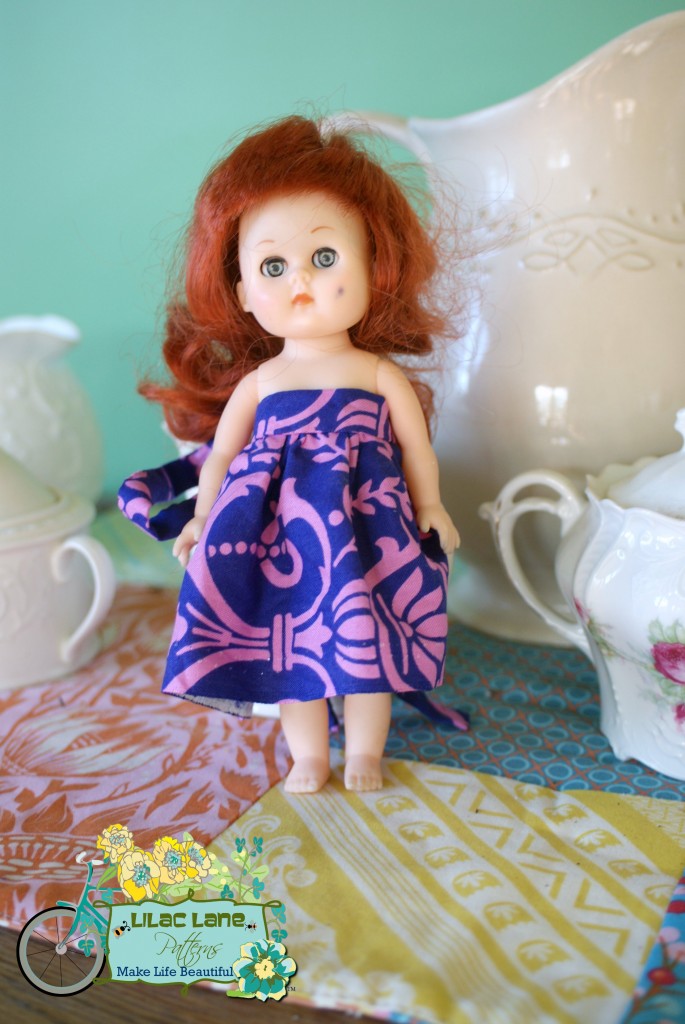 Now make two little straps just like you made the strap with ties. The length will vary greatly among dolls, but for this little doll, each strap was about 2 1/2″ long. You can measure with your fabric while the doll is wearing the dress. The straps will be attached at both the top of the dress and at the seam between the gathered skirt and the strap across.
When you’ve created these ties, pin them in place where they look best on the doll and then sew across at both of the above mentioned places.
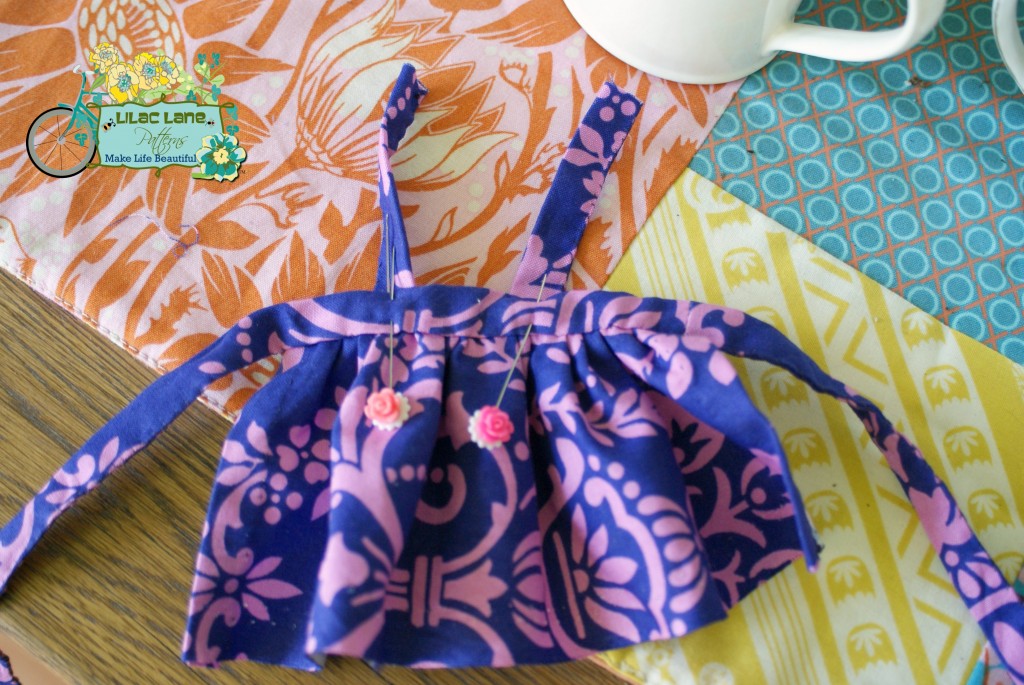 Now put the dress on the doll again, tuck in the straps where they should be in the back and pin in back. Sew into place just like the front straps. (See, I told you my ties were too long!)
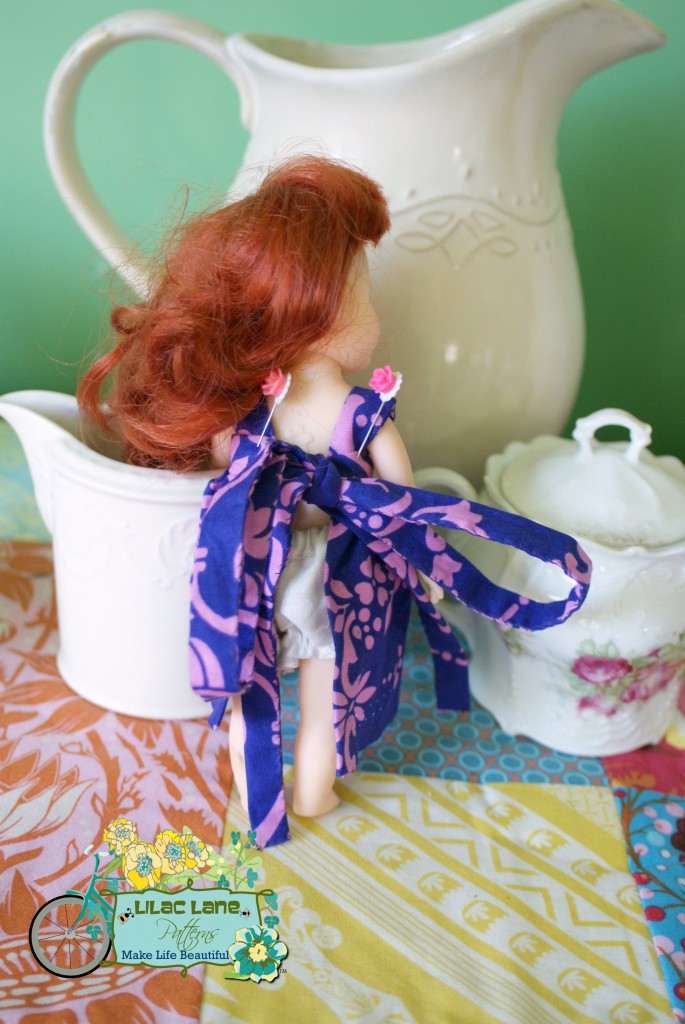 When you’ve done this, your dress is finished! What a fun project — a great project for a little girl to practice her first stitches. I’d love to have you share your pictures with me on the Lilac Lane facebook page.
Thanks so much for following along!
xo,
John 14:6



Very sweet! It is so hard to work with doll clothes on a large machine!
This brought back memories of making clothes, by hand, for my Barbie doll! Very sweet!
Thanks for the tutorial!:D
How cute, what a fun little project!
So cute, brings back so many memories! Thanks for the tut.
What a cute project! I’ll bet your girls have the best dressed dolls in the neighborhood.
How cute! And that’s a great idea to just hand sew it (instead of struggling with it on the machine).
I wish my granddaughter liked dolls. This would be a great way to introduce her to sewing.
What a cute little doll dress. I had 3 boys so I never got to make doll dresses! Maybe one day I’ll have granddaughters!
so adorable…will make some soon!
Totally adorable!
What a sweet little idea! A great projects for kids too.
Really adorable!! I wish I had little girls so that I could make these cute dresses for their dolls….maybe someday I’ll have granddaughters
So cute, and much nicer than the clothes I tried to make for my son’s teddy bear!
So cute, thank you. I’ve been a doll clothes sewer for many years. That’s what actually started out my sewing life – over 60 years ago!! It’s still fun and I can see and hear that you love doing it, too. Thanks for so many great tips.
You made that look so easy. thanks for sharing.
So cute! When I was young I used to sew clothing for my dolls and bears :-). What a great tutorial!
So cute! It looks so easy to hand sew it….thanks for the sharing:)
how cute! And, how simple–love it!
These Barbie doll clothes patterns are created for you to use personally and for charity. Hope you enjoy Patsy’s patterns and add them to your collection.
This simple to knit beige pleated skirt was knitted from one of many vintage doll patterns. This one, from Design 959, was entered into public domain on 12/30/1993. The entire package includes a bathing suit, cover up, shorts, slacks, a cable knit dress, a jacket, and sleeveless shell to coordinate with this skirt.
I couldn’t read this post! I’m sure the dress is lovely but dolls completely freak me out… I’m going to have to go outside for a breath of fresh air after catching a glimpse of this one!
inch from the bottom and top edges of the casing you created. Press casing. Do this for both the front and back of the dress.
the zig zag type of dresses are so unique to look….
this is more suitable for the little girls…these little girls are looking so cute to wear this dress.
on my childhood when i was young i made many dresses for my little doll..
thanks.