the Ruby market tote: Assembling the Bag
Today I have the last installment of the Ruby market tote: Stitch & Quilt Along. At this point the embroidery should be finished, the outside of the bag pieced, the lining should have the pockets all sewn in place, and the handles and ties are ready to go. We’re just ready to put all the pieces together. {I didn’t realize how few photos I took when I got to these steps, so if anything needs clarification, feel free to ask in the comments and I’ll leave a response as well.
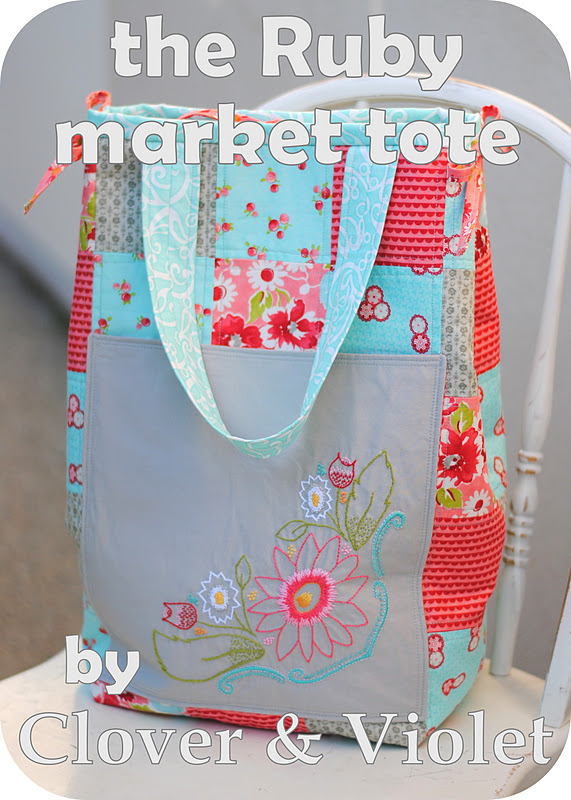
First of all, we’ll start with the pocket. Trim your embroidery to 11″ square {it should be the same size as the patchwork pocket reverse from the last post}. Place the two pieces right sides together and stitch 1/4″ around the edge, leaving a 4″ opening along the bottom. Turn right side out and position 6 1/4″ from the top of the bag, over the three center squares, as shown:
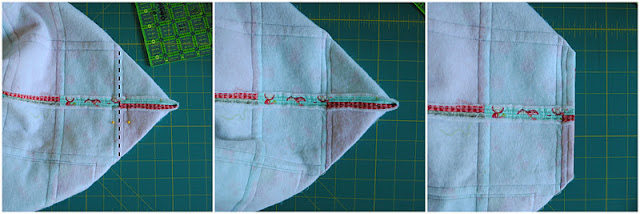
To make the bag, fold in half, right sides together, and sew the long side seams with a 3/8″ seam allowance. To make the corners, with the bag inside out, fold the point out and measure 3 1/2″ from the point, draw a straight line and sew. Cut the point 1/2″ from seam allowance, as shown:
Repeat with the lining, but leave 2 1/2″ of fabric beyond the seam. Then, fold the point up to the bag side and pin in place.
Then top stitch the side of the bag, making sure to catch the bottom corner. It should look like this:
Turn the patchwork bag right sides out and place the lining inside the bag, pin in place {I like to pin in the center front and back, and the sides}. Optional: Before placing the lining inside the bag, cut the plastic canvas to the shape of the bag bottom and sew inside {note: the bag will not roll if the canvas is sewn inside, the second option is to set the canvas in the bag when in use}.
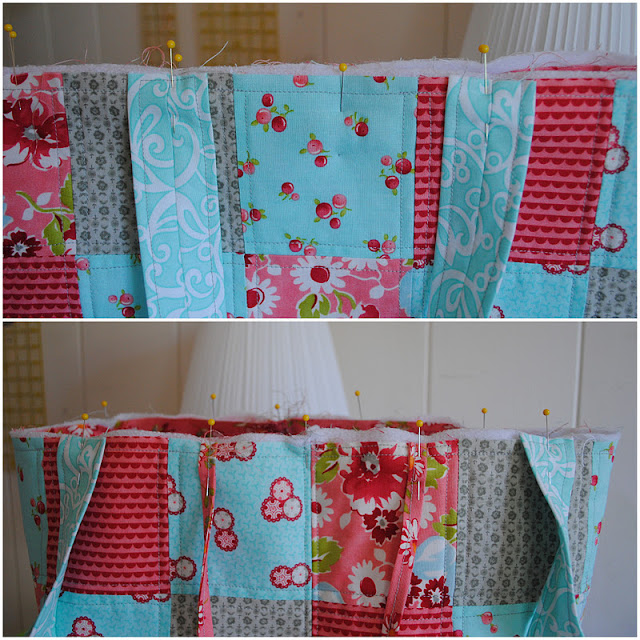
Then, pin the handles 1/2″ from the inner edge of each square next to the center, as shown. Pin side ties 2 1/2″ from center seam on both sides. Top stitch around the top.
Edit to add: Pin top ties {not pictured here} to lining in the center front and center back of the bag.
To bind the bag, fold the 4″ strip of binding in half long ways and press. Match the seam in the binding to one of the side seams. Then pin the binding around the bag, stopping about 3-4 inches from the opposite side seam on each side of the seam {note: for the picture I used one continuous cut of fabric, so I centered my seam on the back of the bag}. Stitch in place using a 3/8″ seam allowance.
Then, sew the two strips together and trim the binding. Stitch along the opening. Then fold the binding to the inside of the bag and stitch in place as for a quilt binding.
And there you have it, your bag is finished! If you’ve been Stitching & Quilting Along with us, please link you bag up {either a blog post or Flickr photo} to the linky below. The linky will be open for two weeks, and then two winners will be drawn. {For a starter kit and pattern of one of our popular bags: the Madeline bag or the Isabella bag. Fabrics are still to be determined. Prizes will not be mailed until after the new year.}
In addition, if you finish the bag a free copy of our newest pattern {a coordinating clutch!} e-mailed to you when it is complete, so make sure you include your e-mail address with your entry. Thanks for joining us.
Don’t forget to show and tell in our Flickr Group! Did you blog about the quilt along, your fabric selection, or threads? Share your post here {please link only to a specific blog post or Flickr photo}:


I went thru all the previous steps and the assembly and miss how you attach/add the side ties?
Ok, figured it out – after re-reading, sorry.
Does anyone have any tips for lining up the seams when the long sides of the bag (not the lining) are sewn? It’s hard to see where the fabric is under the fusible fleece.
@Anonymous, the way I line mine up is to start at the bottom, fold the bag in half, then line each square up and pin it as you go up. That way they will all get lined up and you can see each one individually as you work your way up the bag.
Love how this came out! I have two questions, do you reinforce the outside of the bag at the seam like you did on the inside? It is difficult to tell in the picture. Also, there is a tie on the inside of the bag as well isn’t there? I got where the side ties come in but not the inside tie. Is it just attached when you sew on the binding? Thanks so much for this great bag and all the time it took you to make the tutorial, especially with all that you have going on!
@graceparfait, I added the info about the top ties, I seem to have left it out, thanks for drawing it to my attention! Also, I didn’t top stitch the side seams on the outside, but you could if you want to. Hope that helps!
I loved making this bag. I gave it to my Aunt Debbie for Christmas and she was beyond thrilled. Thank you for hosting this!
THat embroidery is lovely! And I like the way you made the bottom/corners of the bag. Might have to employ that technique on my next bag project!
I finally finished! I really liked this project and have an idea for making a Minnesota Twins themed one for my husband’s birthday.
http://www.flickr.com/photos/15632105@N04/6920875143/
HI! Coming to the home stretch on my tote, loving the process. I used PBJ charm squares with Essex linen for the embroideried pocket. My question has to do with the binding… I can see clearly on the flicker picture above how their handles were sewn. I have stitched the binding on, turned and basted (Yes I still baste!) the strip to the inside. I normally hand whip my binding on, but to make it sturdier, I will machine stitch in the ditch. Do you leave the handles in the downward position like they naturally fall , or do you turn them up and then stitch the binding so it forces the handles in the up position? Hope this makes sense! It is very bulky to turn up and so thru the thickness of the handles , but handles are suppose to be “UP” so thought that was best. Any suggestions? All the ties can jut stay how they are, I may not always use them, so not too worried about how to sew those into the binding. Thanks for your help!