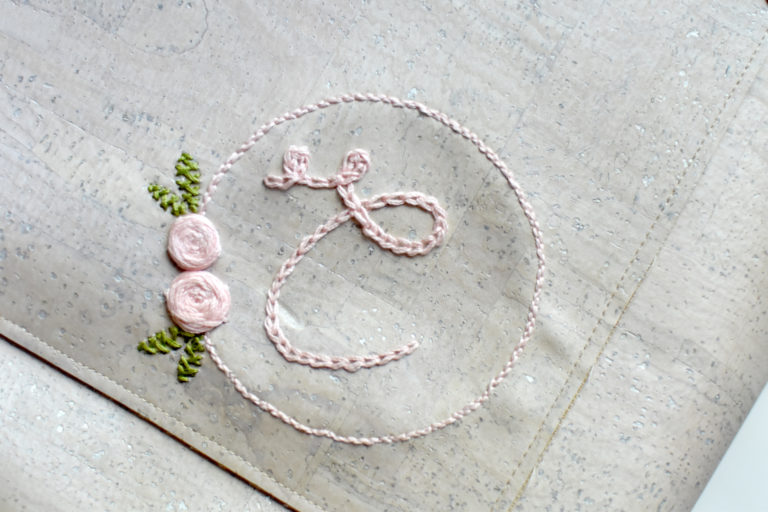
Embroidery 101: Chain Stitch
The Chain Stitch is another outlining stitch. It is quit a bit bulkier than the Back Stitch or the Stem Stitch; therefore, it adds a bit more weight to the outline than the others. Since it is a heavier stitch, it will work for lines that should be noticeably accented, but is not generally used as a more intricate outline stitch.
It is represented, as with the other outline stitches, simply by a line, but the pattern will usually show when the outline is not just a basic back stitch. Start by bringing the needle up at the beginning point of the design.
Insert the needle near the initial spot, but make a small stitch and bring it back up a short distance down the line {this will be the length of the chain}.
Before pulling the needle through, wrap the thread around the point of the needle {similar to the Lazy Daisy Stitch}, and hold in place.
Pull the needle and thread through the fabric. Be careful not to over tighten your loop.
Repeat this process to form the remaining links in the chain.
When you have reached the final length,
stitch on the far side of the last chain link, instead of right next to the stitch as before. This will tack the last stitch down.
A finished length of Chain Stitch will look something like this:
This is an easy stitch and you’ll be surprised how quickly it comes together once you get a rhythm down. Happy Stitching,


So, sort of like a lazy daisy stitch with direction?
@Melinda Yep, that’s exactly right!
Are you left handed ?
No, I am right handed.