French Seam Zipper Pouch (A Tutorial)
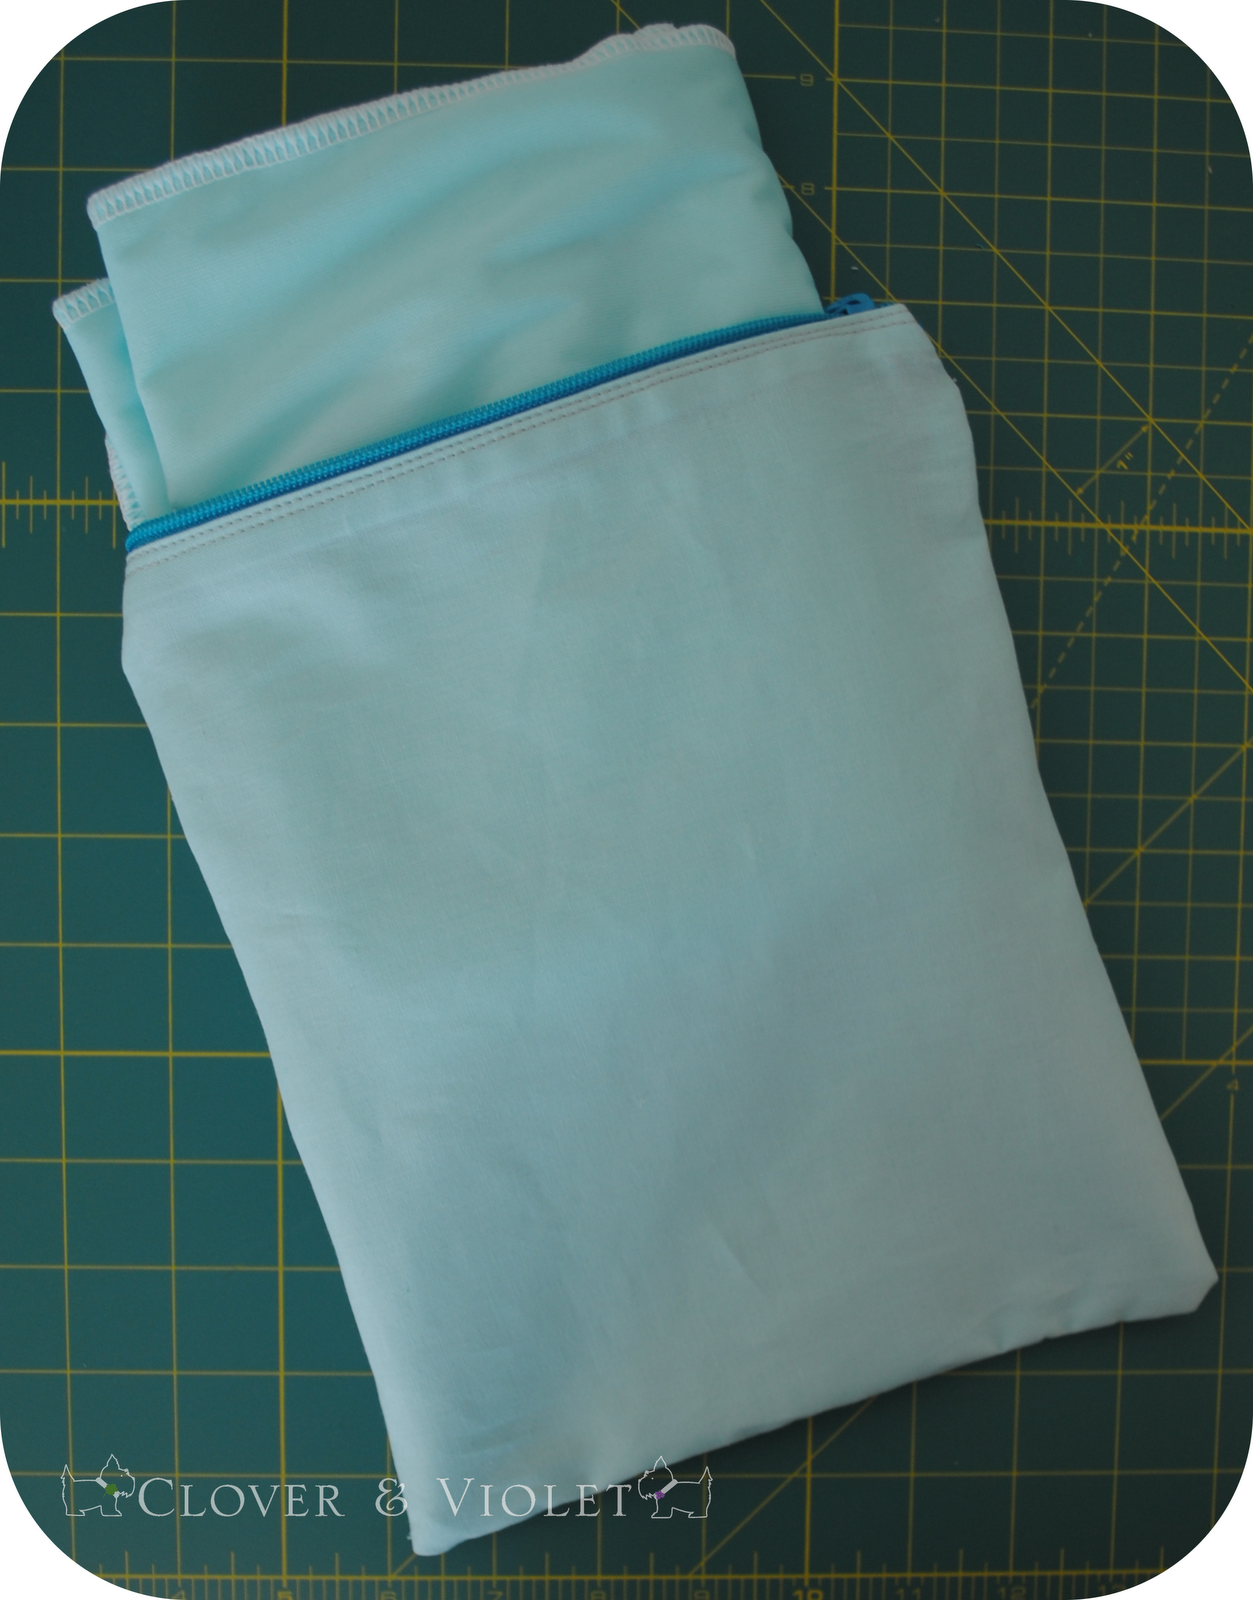
I’ve been carrying Silas’s changing pad around in a zip-top plastic bag for way too long, so this morning I made myself something new, and tried a new technique: french seams {thanks to my friend M, who convinced me it was easy}. Since it did turn out to be quick and easy, I thought I’d share it with you.
First, determine the size of your finished bag, then add 1 1/2″ to the dimensions {example: my finished bag is 8″ wide x 9 1/2″ tall, so I cut two rectangles 9 1/2″ x 11″}. At the top of each rectangle, fold 1/4″ and press, then repeat to finish the raw edges.
Optional: fuse a strip of Steam-A-Seam 2 or other fusible tape to the folded edge.
Repeat for the other side, then fuse to the right side of the zipper. Using a zipper foot, stitch each side of the bag to one side of the zipper.
Move your zipper pull to the middle of the zipper {I like to have it all the way open when I am stitching so it does not get in the way of my foot}. Then, place your fabrics wrong sides together and pin around the edges.
Using a 1/4″ seam allowance, stitch around three sides of the pouch, back stitching at the zipper to secure in place. Trim the points and at the closed side of the zipper.
Turn bag wrong sides out, push out corners, and press seams. Stitch a 3/8″ seam allowance around the same three sides of the bag, this will seal the raw edges. Back stitch at the zipper for security.
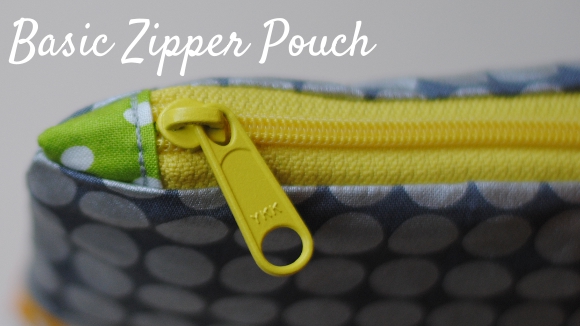
At the end of the zipper where the pull will close, using a hand sewing needle and thread, stitch the zipper closed tightly with a few wrap stitches. This will secure the teeth of the zipper in place so the bag will close easily and the stitches will be sturdy enough for repeated use.
Then, turn the bag right sides out and you’re finished! This is a quick alternative to the traditional zipper pouch because it does not require lining, yet the seams are still fully finished. It is perfect for the kind of thing you’d like to have in its own pouch, but don’t really need the pouch to be elaborate. I plan on making a few more in varying sizes, for phone chargers, the GPS, and other everyday items {and a cute print would spice it up a lot…I picked Kona Aqua because it matches my variety of diaper bags}. If you make one of these, we’d love for you to add it to our Flickr Group!



Love it! I have been obsessed with making little zipper pouches with a key ring. I’m thinking I might have this whole zipper thing down:)
Nice little bag! It’s great to have something to hold all of those diaper changing needs! Have you also found all the great tutorials over at http://www.WeAllSew.com?
Happy Friday,Happy Good Friday, Happy Earth Day, Happy Jelly Bean Day ( yes it’s actually jelly bean day)Hugs from Katherine. P.S have you entered my giveaway?
I have always been afraid of zippers….until I saw this tutorial. Just the pic, without reading, makes it “appear” easy. I can’t wait to give zippers a try.
What length of zipper did you use for that sized bag – 7″ or 9″?
Thanks!
There is definately a lot to learn about this topic. I really like all the points you made.
Feel free to surf to my webpage … T