Take-Along Quilt {tutorial}
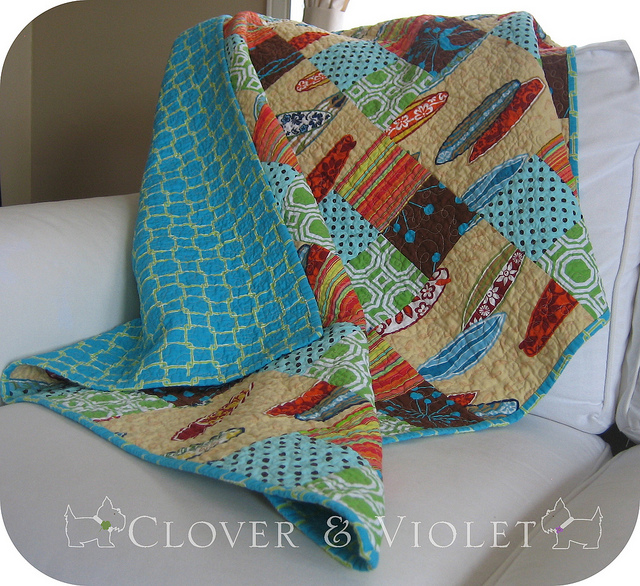
- 4 fat quarters
- 1 yard large print
- 1 1/3 yards backing
- 3/8 yard binding
- 41″ x 48″ batting
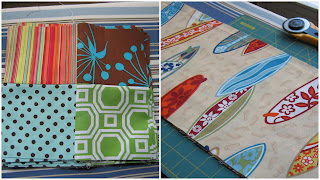
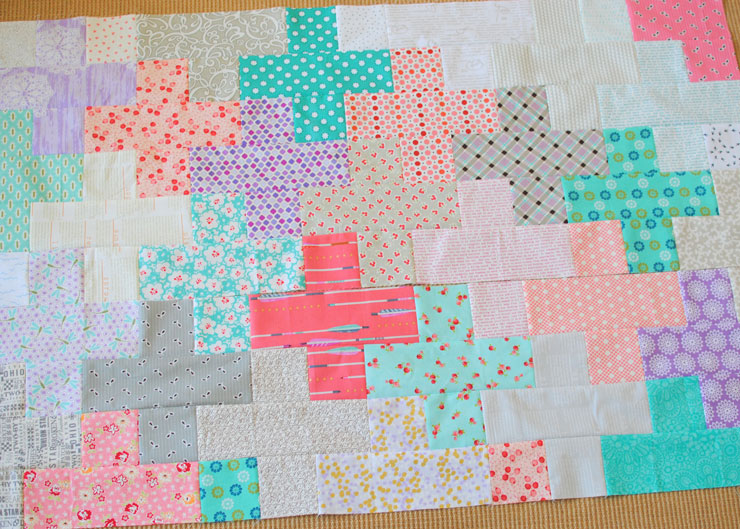
Cut each of the fat quarters into four (4) 4 1/2″ strips for a total of sixteen (16) strips. Then arrange your strips into desired pattern.
Sew all the top and bottom left strips together, repeat for the top and bottom right strips. You should now have eight (8) pairs of strips. Cut each pair into 4 1/2″ x 8 1/2″ rectangles for a total of thirty-six (36) rectangles.
Pair the left and right rectangles and sew along center seam creating sixteen (16) identical four patch blocks. Cut the yard of the large print into four (4) 8 1/2″ strips, and then the strips into four (4) 8 /12″ squares, for a total of sixteen (16) blocks.
Sew blocks in alternating rows of five, the first row beginning and ending with the large print, the second beginning and ending with the four patch, and so on {so sorry, I ran out of daylight and couldn’t take any more photos}. Join all six rows of five together to make quilt top. Layer backing, batting, and quilt top together, quilt and bind as desired {if you need help quilting or binding, I can point you toward some great tutorials online!}.

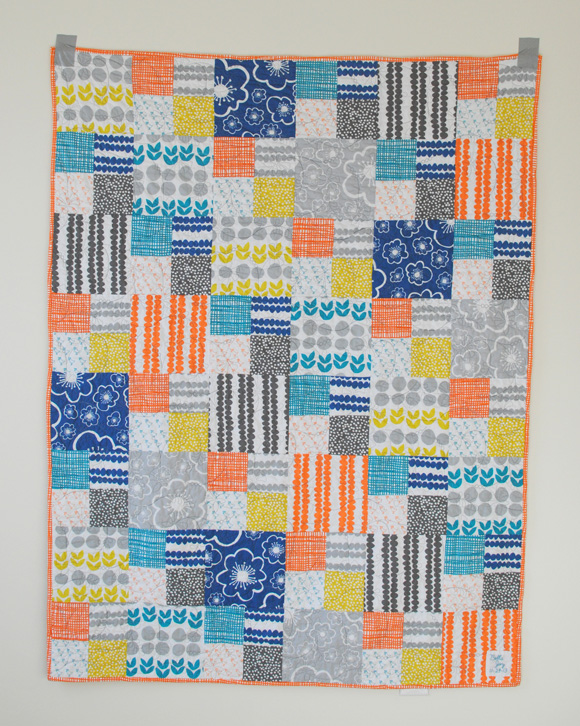
Update: Here is a quilt made using 14 fat quarters {8 for the four patches and 6 for the large squares}:



What a fabulous tutorial. :o)
Thanks for sharing! Tricia Anne
Thanks for the easy to follow tute! I’m posting the pics to flikr now :o)
Thank you for this great tutorial! I am teaching my daughter to sew/quilt long-distance (from Idaho to Washington D.C.). I am always looking for tutorials that are easy enough for a beginner, yet have the finished look of a pro. I also love your wonderful choice of quality fabrics. It makes all the difference.
Why can’t I print page two properly of clover and violet?
I can’t read the directions on page 2. There are write-overs on them. I like the easiness of the quilt and really was ready to make it. Can you send the directions to me or have any other suggestion (or searchers) that I might try.
It looked like a great tutorial until page 2. Thank you.
I just saw this tutorial through Fave Quilts– I think it would be perfect for a last minute Christmas quilt 🙂 Thanks for sharing such a fun tutorial!
I love this as a quickie quilt! I, too, buy fat quarters and then don’t know what to do with them and this pattern gives me lots of ideas! Thanks for posting it.
Have a wonderful holiday!
What a cute and fast quilt! Thank you.
Thank you for this pattern, I have used it to make my first quilt which I am really pleased with. I wanted a pattern that was easy to follow for my first attempt at quilting so that I didn’t make a mess of it. I work part time and have a toddler so sewing has to fit in for an odd hour here and there.. I made the quilt for my daughter and she loves it. I enjoyed making the quilt so much that I now want to make another one.
Where did you find the cute surfboard fabric?
Amanda they have some available at http://www.homespunhearth.com
HI, I love this quilt pattern and tutorial but I was wondering what the seam allowance is. Thanks!
-Mary