Lone Quilt Block Pillow {Tutorial}
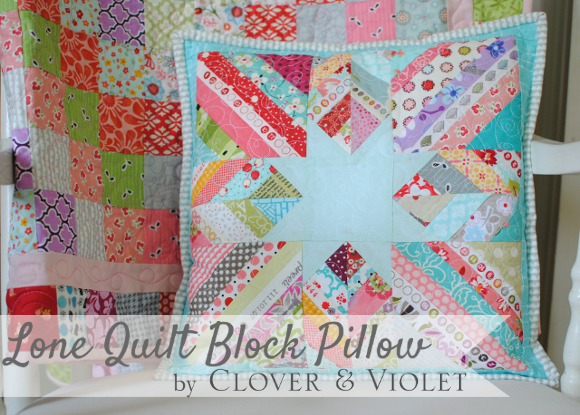
Have you ever wondered what to do with those lone quilt blocks that seem to find their way into your sewing room? I know I have a few, but one of my favorites is my scrappy string star, but I just don’t see myself finding time to make it into a whole quilt any time soon {or ever, for that matter}.
If you want to make a pillow just like mine, you can find the scrappy star block tutorial here, tips about sewing with selvages here, and this block before it was a pillow here.
First, find a similar sized pillow form. Don’t worry if it is not the same size. My block measured 12 1/2″ square {unfinished} and I used a 14″ pillow. Since this is an improvisational tutorial, adjust your measurements to fit your quilt block and your pillow form. For a 12 1/2″ quilt block and 14″ pillow form you will need:
- 12 1/2″ quilt block {this is the unfinished size, so if the block will be a 12″ block when the seam allowances are taken in}
- 2 – 1 1/2″ x WOF strips for border
- 2 – 2 1/2″ x WOF strips for binding
- 1 – 15″ x 9 1/2″ for back
- 1 – 15″ x 6 1/2″ for back
- 14 1/2″ square prewashed flannel
- 14 1/2″ or longer invisible zipper
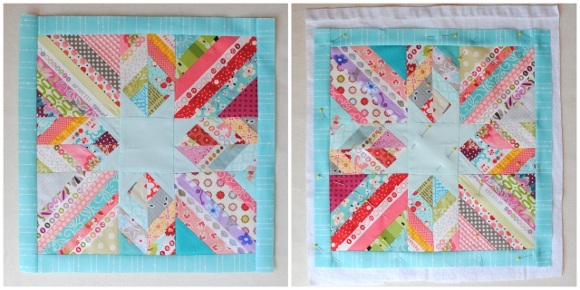
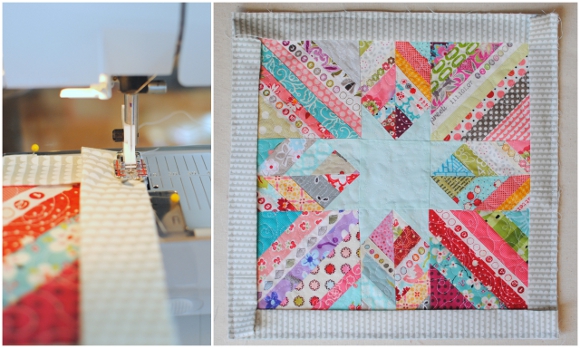
Begin by sewing a 1 1/2″ border around your quilt block to bring it up to the size of the pillow. This will allow you to make almost any quilt block into any size pillow, rather than worry about making the pillow the exact size of the block. Pin your pillow front to a 14 1/2 {or larger} piece of prewashed flannel {like you’d use to make pajamas}. I prewash my flannel because it shrinks a little the first time you wash it. I prefer flannel because then I don’t need to make a quilt sandwich like I would with batting, I can just quilt on the fabric and flannel without a backing. This adds little bulk, but still allows for a textured look after washing.
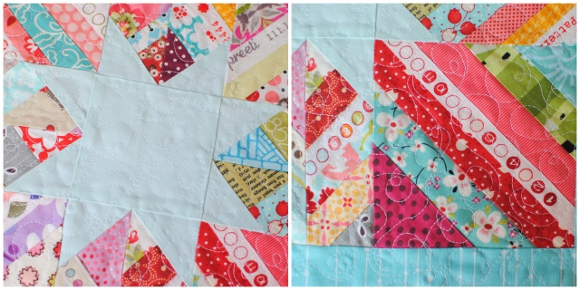
Quilt your pillow as desired. I used little double loops because I wanted to practice before I started in on my scrappy trip quilt again. Set your pillow front aside. Now we’re going to make the back.
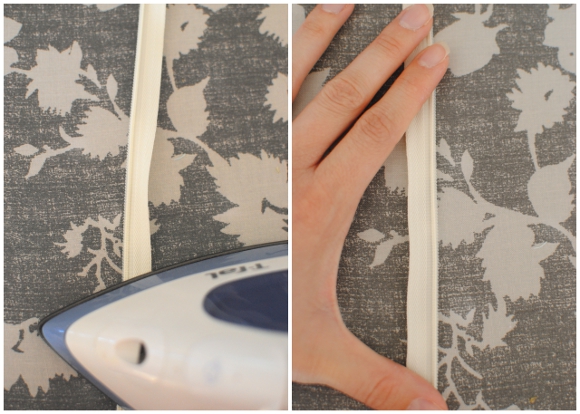
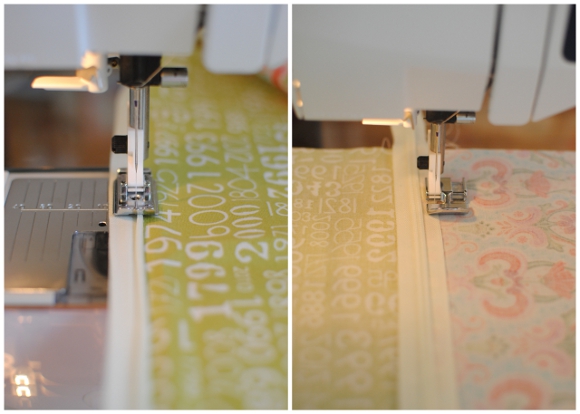
First, take your invisible zipper and press the zipper open. This will make it much easier to sew right next to the teeth, even if you’re using an invisible zipper foot! It was very difficult to get a picture of what this should look like, but if you examine the zipper you’ll see what I mean.
Next, sew your zipper to the right side of one of your backing fabrics, making sure the edge of the backing fabric does not extend beyond the zipper tape. We’re going to use the zipper tape to finish the edge so we do not have any exposed edges or need for zig zaging or serging. Sew the other side of the backing fabric to the other side of the zipper. Then, with the zipper closed, top stitch the zipper tape in place to finish the edge.
I intentionally left my backing a couple inches larger than my pillow so that I wouldn’t have to line up any edges, I could just sew my zipper quickly and trim it to the right size.
Trim the back to the size of the front, being careful to open the zipper so that the zipper pull is not cut off. Then pin the front and back together, pinning the zipper ends right next to each other with the sipper still a couple inches open.
Sew binding on as for a quilt, making sure to back stitch two or three times at each zipper end. I finished my pillow by machine stitching the binding down, but you could hand stitch it too.
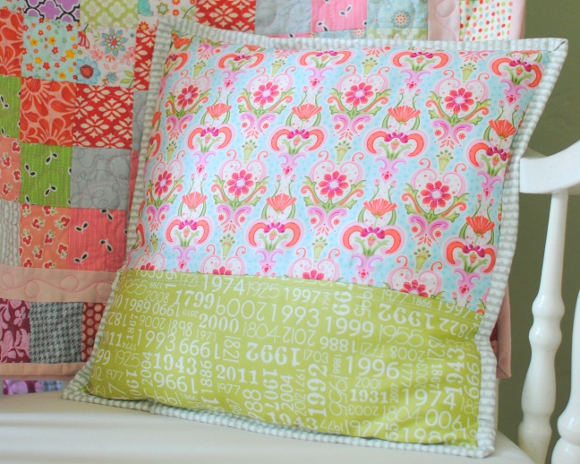
And there you have a fun, quilty, pillow, complete with a zipper for easy washing! I hope you’ll dig into your lone quilt blocks and show them some love {or make a new one just to become a pillow!}.



This turned out so pretty. I made some pillows recently, they go together quickly which is a nice bonus! XOXO
Another beautiful job!
I love the invisible zipper on the back of the pillow. I am going to make one! Thanks for sharing this with my blog. You’re awesome!!
Thank you for this nice tutorial~ Very easy to follow…and I love your colors on your projects and blog! ♥♥♥
Thank you so much! My Mom asked for new toss pillows for her bed for Mothers Day and I was needing an idea for one of them and I think your pillow tutorial will fit the bill. Again…Thanks!
I wish I would have seen this a day or two earlier, I would have made it my bee block for May in another bee I am in. Beautiful
Thank you so much for the tut!! Beautiful work and colors. Got to love those blind zippers.
Love your pillow! Thanks for the tutorial 🙂
This is such a lovely pillow! Thanks for the great tutorial, I can see myself making this pattern a lot – not just prefect for scraps but also a terrific gift.
This is such a pretty pillow…I love using selvedge strips and your design uses them perfectly! A wonderful tutorial too, very inspiring!
Helen x
This is such eye candy! Very fresh and fun
Thanks for the great tutorial!! I’ll have to try this one!
This is really a great idea. I am trying really hard this year to use up scraps and leftovers and this will be a great way to use them. Thanks!
A gorgeous cushion, well done as ever.
This is really nice….there is no shortage of scraps at my place! LOL! Christine
ChrisW Designs