Ultimate Guide to Magnetic Closures for Bags
I wrote a blog post last year to give a quick overview of my favorite bag items. But, I’ve been getting so many questions about the sew-in magnets for bags that I love to use and put in many of my patterns. So I wanted to break it down in a little more detail. In this blog post I’ll help you figure out what options you have, what to buy, and how to use them.
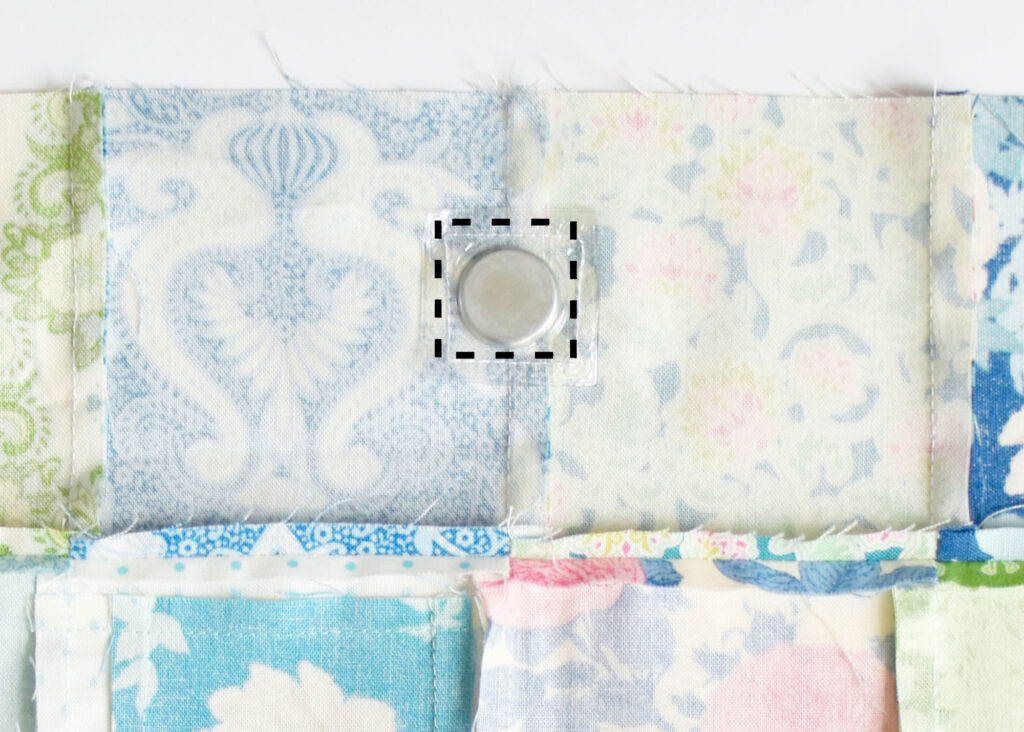
Sew-in Magnets in PVC
The magnets you see above are my very favorite bag closure. They’re easy to use, cost-effective, and have great results. I’ve been buying them for years from Tantalizing Stitches. Not in the United States, see my where to buy note at the end of this post.
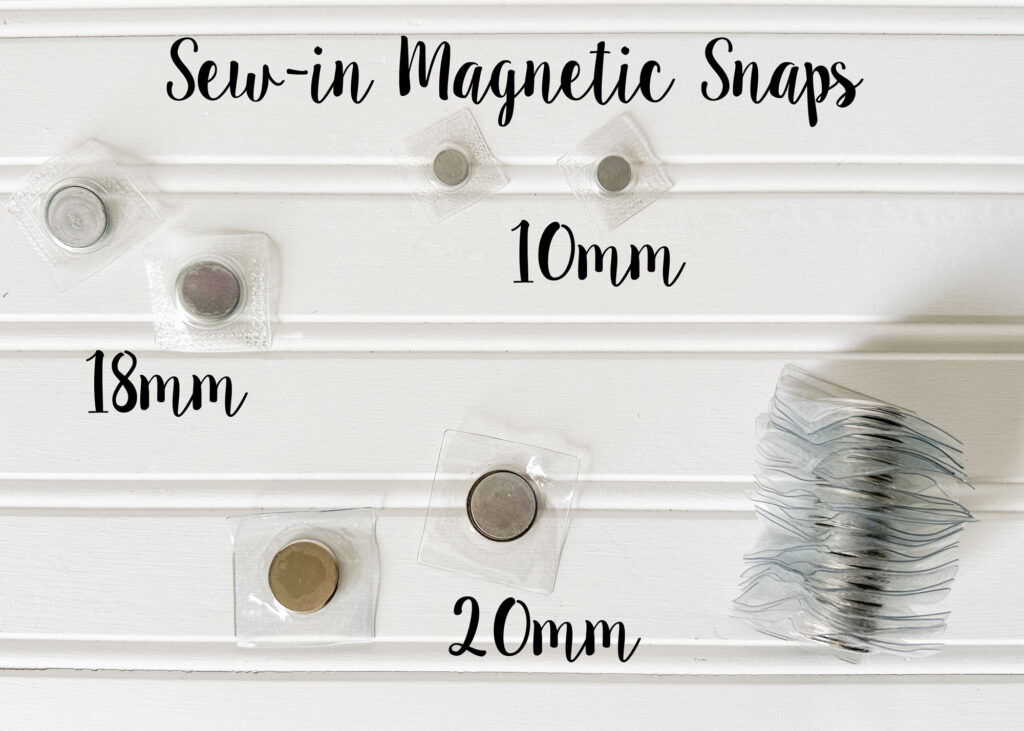
In this photo you can see three sizes of magnets. I like the smallest ones for projects like the Julia wallet, and the larger ones for bags and organizers like the Louisa bag and the Hyacinth travel case. My most used size is the 18mm.
If you haven’t tried these, I highly recommend them. I love that you don’t have to cut your bag at all to install them, and when using them, simply sew around the magnet through your fabric.
When I buy the larger magnets they come separated north and south. You can kind of see in the photo that each magnet has a protective metal piece around it, so there’s a front and a back. What I like to do, and you can see in the side of this photo, is snap the two sections together and then always take one magnet off of each side, to make sure I’m using the magnets evenly.
I like to buy a larger amount—I picked up 15 of each size this last time. It reduces the individual cost and I know I’ll find plenty of projects to use them in.
Craft Store Sew-in Magnet
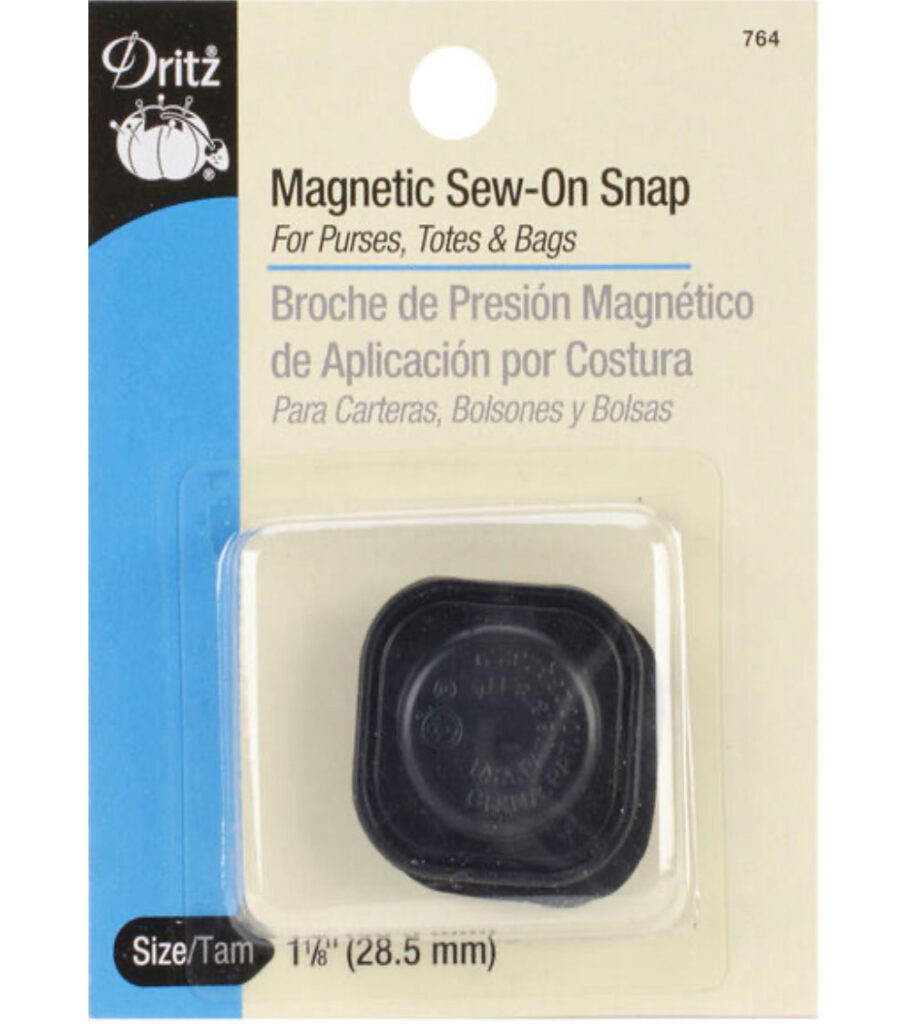
Dritz also makes a Sew-on magnetic closure for bags, which is what got me started using the sew-in magnets in the first place. I happened to find one in a craft store many years ago and since I was hesitant about the magnetic snaps that get punched through the fabric, I decided to try one of these and I’ve never looked back!
These magnets are cost-prohibitive at $9 for a single magnet, I generally don’t purchase them. But, if I need something and have a coupon, I’ll grab one of these for a single project. Though I did find a 12-pack for $40 on Amazon, if you want to order some quickly.
DIY Sew-in Magnet
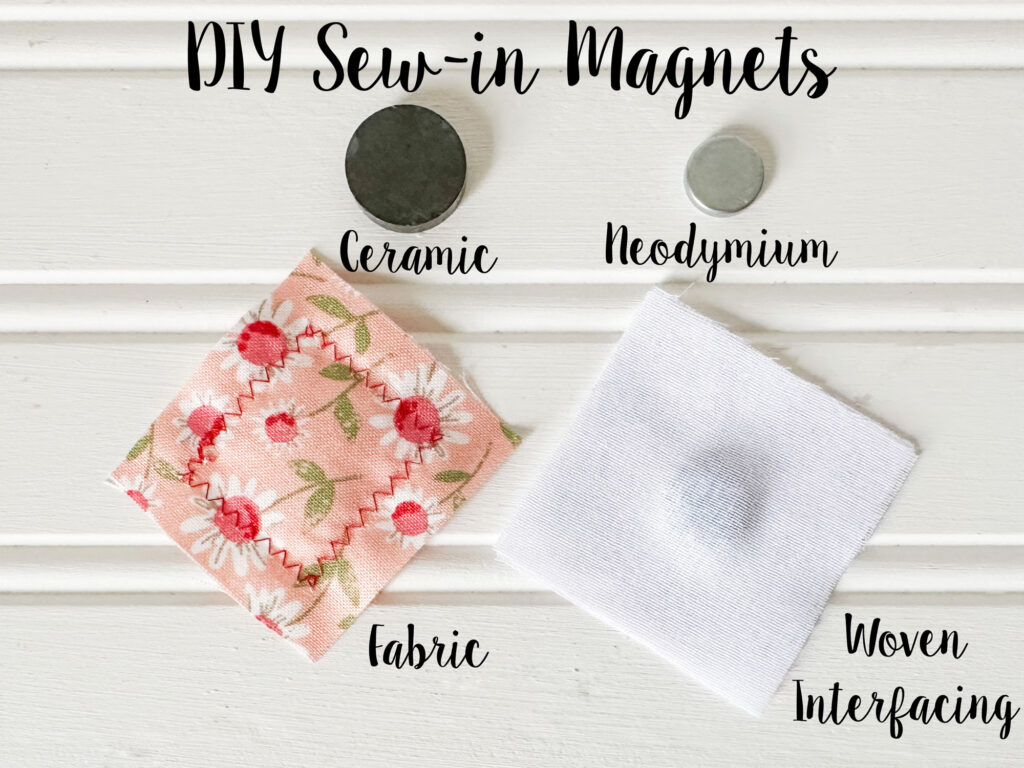
Another option is to make these magnets yourself! Although I prefer just to buy the PVC-encased magnets, if I’m out I’ll use some neodymium magnets that I often buy to make needle minders. In this photo I also show you ceramic magnets, I do not recommend using these with your sewing projects for anything because they can leave a black residue on the fabric. I was using one as a needle minder and when I moved it there was a spot! So, now I just stick to the neodymium, also called Rare Earth Magnets.
To make my own sew-in magnetic closure for bags, I either sew the magnet between two scraps of fabric. I used a red zig-zag on the fabric above so you can see my stitching. I try to choose a fabric that won’t show, but I had this pretty scrap on my cutting table already, so I used it for this post.
The other way to do it is to fuse it between two pieces of woven interfacing, like Pellon® Shape-Flex 101®. The fused layers together keep the magnet in place, and then I just sew it in.
Tips for Using Sew-in Magnets
Sew-in magnets are so easy to use, that I don’t really have too many tips for them. But, I wanted to share a few anyway.
- Be very careful not to hit the magnet with your sewing machine needle. This will break your needle and could potentially be dangerous as well.
- Try to put as few layers between the fabric and the manet as possible. Usually, I place the magnet just between fabric, or between fabric and only woven interfacing. If the magnet is behind fleece, batting or foam, it might not stick well.
- Sew the magnet first. If you’re using foam, batting, or fleece in a project, sew the magnet to the fabric before adding or fusing the foam, batting, or fleece.
- Mark your magnet with washi or masking tape. If you’ve placed your magnet and intend to quilt the project afterward, stick a piece of tape over where the magnet is, then you won’t accidentally sew on it.
Regular Magnetic Snaps
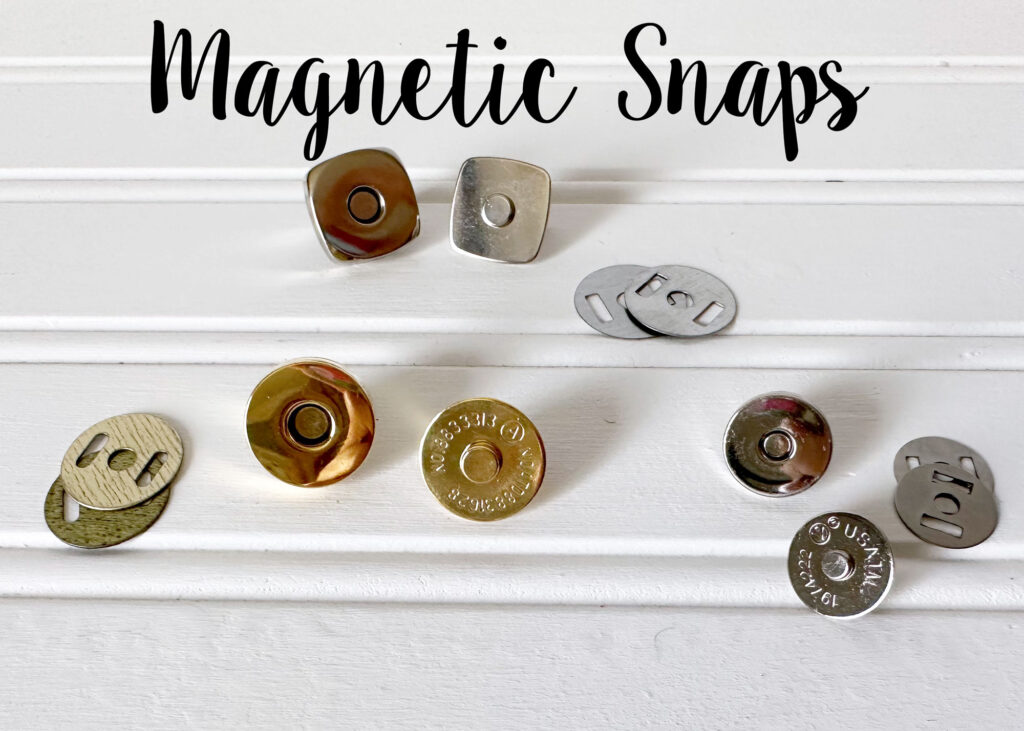
I do want to add a bit about magnetic snaps. If you’ve read this whole post, you’ll know that when I first started making bags I was afraid to use a magnetic snap because I didn’t want to cut into my bag! But, I’ve never actually had any difficulty with using these snaps, the few times I have used them.
So, if you’re familiar with these snaps and love them, that’s great and you can easily substitute the sew-in magnet in any of my patterns for one of these snaps. Since I fell in love with the sew-in magnets, that’s what I use and so that’s what I include in my patterns. I am a big proponent of using what works for you, so I couldn’t finish this post without saying, if these are your favorite, go for it!
Where to Buy the Sew-In Magnetic Closures for Bags
In my Ulitmate Zipper Guide, I included a list of shops that I have bought these supplies from. I exclusively buy my magnets at Tantalizing Stitches in the United States. They were the first shop I found them at, and I’ve just loved them so much since my first purchase, I keep shopping there.
If you search “Sew-In Magnet for Bags” you’ll find a wide variety of shops that carry them. Since I don’t have any direct knowledge of any of the shops, and most small quilts and fabric shops have excellent service, I don’t have any reason to recommend one over another.
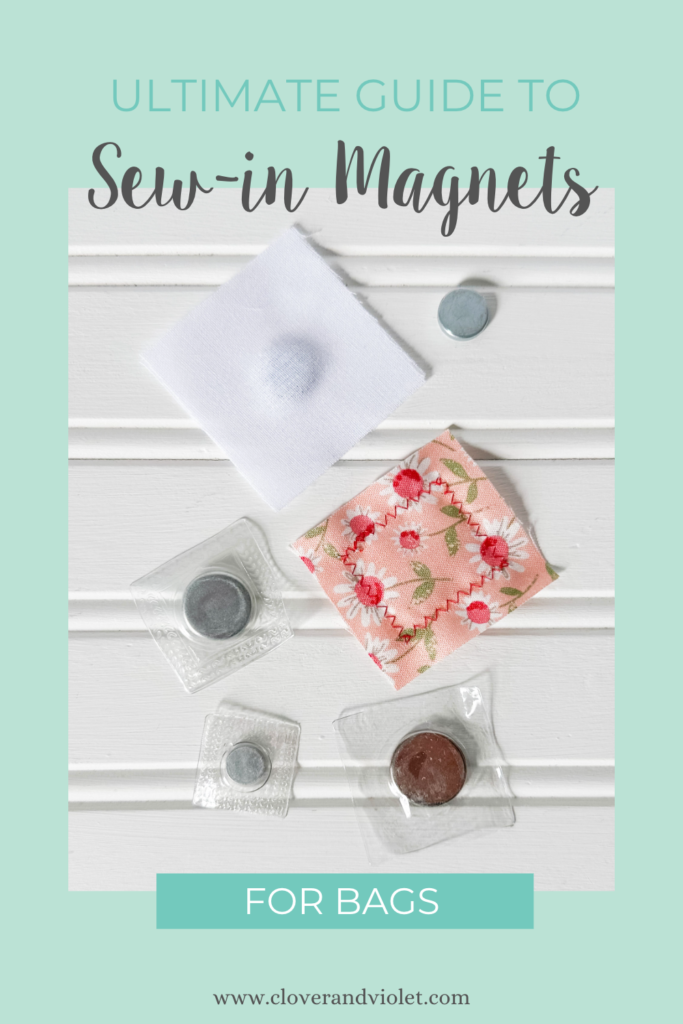
Instead, just use these photos to help you know for sure you’ve found the right thing, and pick one that works best for you!
Note: If you live in another part of the world and have a favorite shop that you have purchased these from, feel free to leave a comment with the info!
want posts like this delivered to your inbox?
Sign up for the Newsletter and get the Mini Needle Book Free plus never miss a post!
Disclosure: This post contains affiliate links that, at no additional cost to you, I may earn a small commission if you purchase using my link. I only recommend things that I fully endorse and would buy myself. I appreciate your support if you chose to use my link for purchase.

HI! Just thought I would comment on your article on “sew in magnets”. I always used the regular magnets for closures on a handbags or a zipper. I will deffinity use a sew in magnet on my next project. Thank you for your info on this topic.
Carol
Those sew in magnets are wonderful! Jennie has some great tips and tricks, doesn’t she? We are so glad you found the article useful. We love hearing that!
Brittany
Team C&V
How do you keep the magnets from sticking to the sewing machine needle when making your own sew-in magnets?
It is definitely tricky! Our best advice really is to just sew slowly and carefully and try to keep them away from the needle as much as possible. Hope that helps!
Brittany
Team C&V
Thanks for this post, it was really helpful. I’m wanting to keep side plackets for hanging pocket access on a late Victorian skirt neat and closed, so I’d gotten some of the pin ones, then found some of the plastic invisible ones, and also some long rectangular rare earth magnets from aliexpress in the hope that I could sew them in somehow. Thanks to your post I now know how to do that, and I think that a 5mmx50mm bar is the right solution for this project… thank you!